We went to Northern California for the holidays!
 |
| From CA Crafts & Activities |
And Saw Tons of family and friends!
 |
| From CA Christmas 2013 |
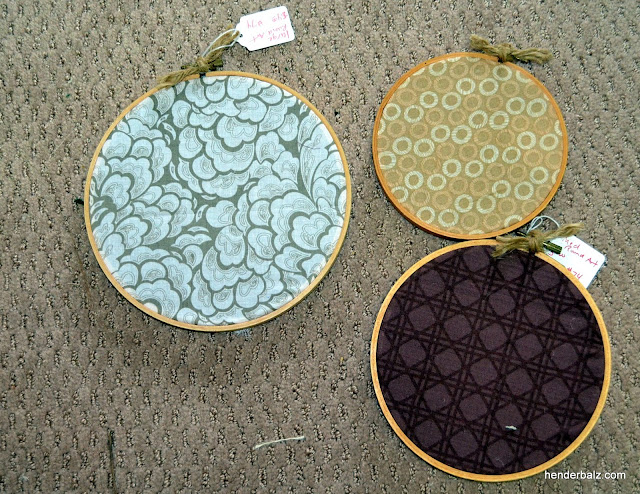
And this is what we did with them!
 |
| From CA Crafts & Activities |
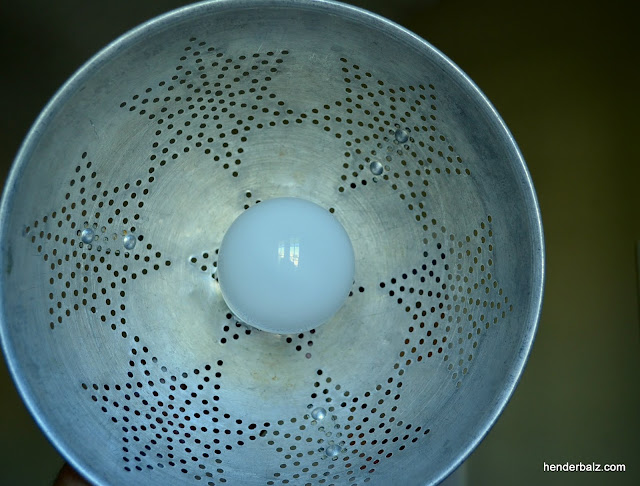
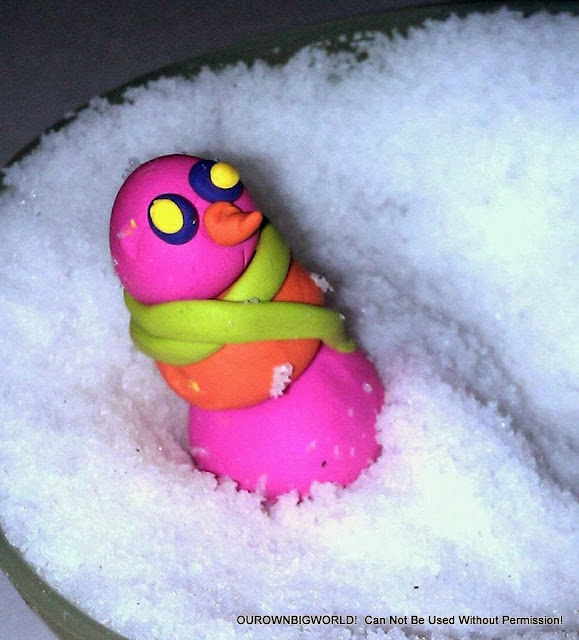
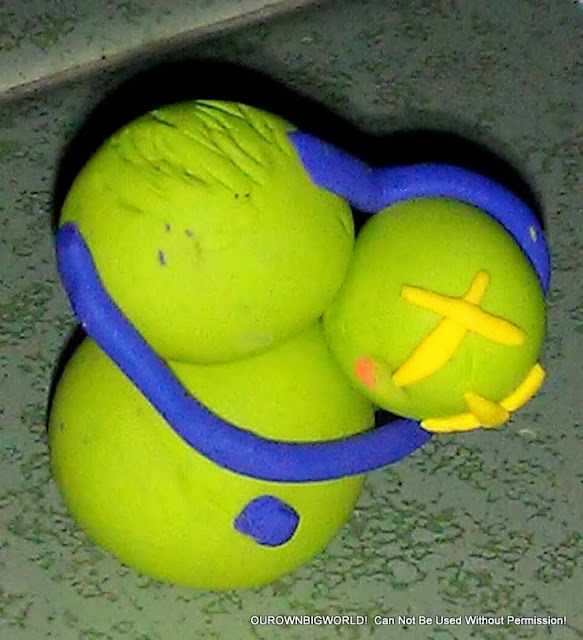
WE MADE SNOW!
And Tiny Little Polymer Clay Colorful Snowmen!
 |
| From CA Crafts & Activities |
Including the above one holding his own head!
 |
| From CA Crafts & Activities |
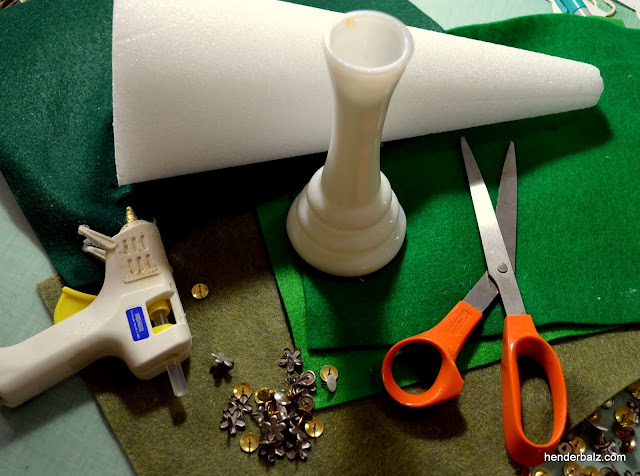
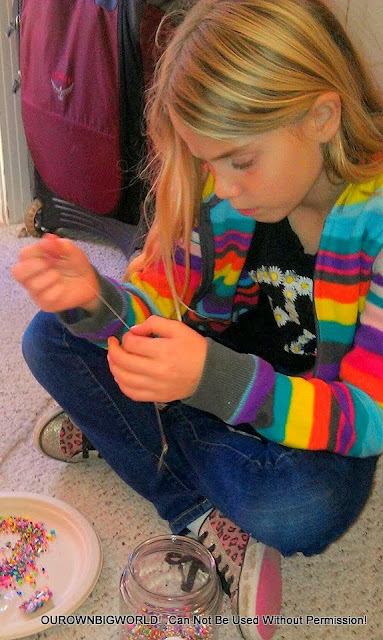
And We Beaded!
 |
| From CA Crafts & Activities |
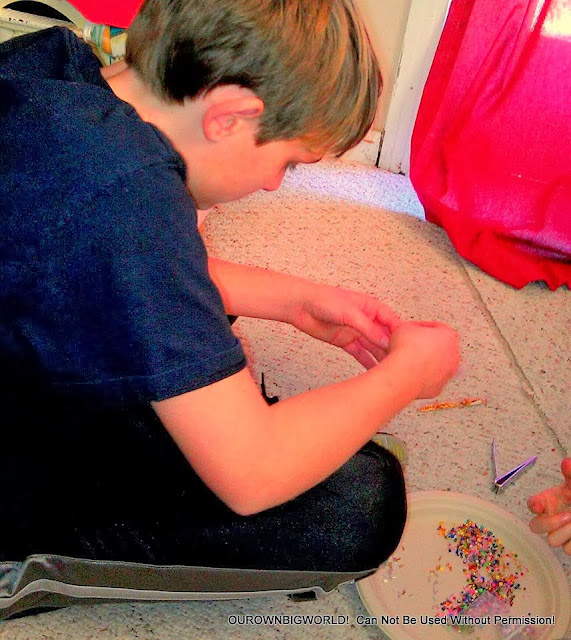
And Beaded More!
Taking a Break from Crafts…
 |
| From CA Crafts & Activities |
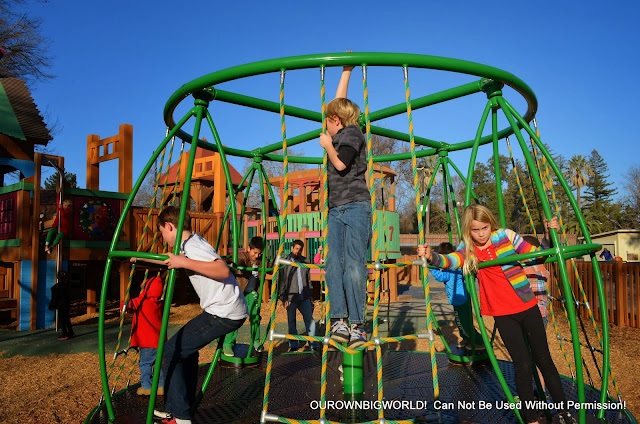
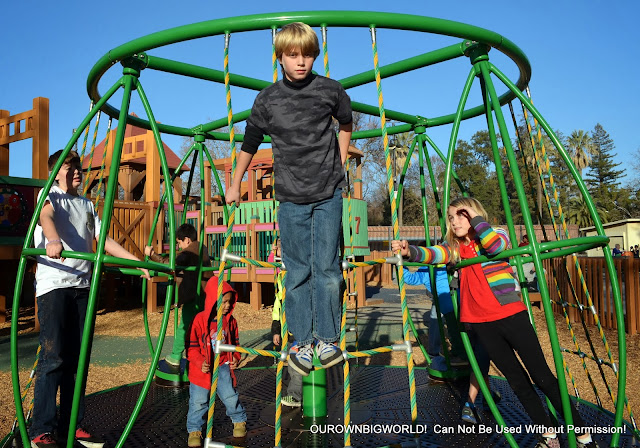
We Went to the Playground!
 |
| From CA Crafts & Activities |
Where There Was This Cool Play-Ride-Thing!
 |
| From CA Crafts & Activities |
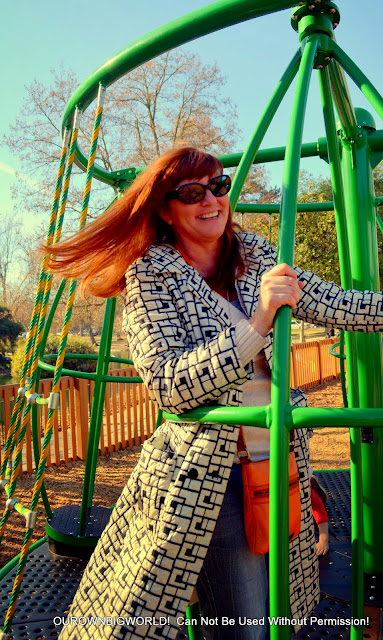
I Had to Join in On the Fun!
 |
| From CA Crafts & Activities |
And it was Uncontrollable Laughter Fun!
Yes, I am the Big Kid Auntie!
Back to Crafting…
Kind of…
 |
| From CA Crafts & Activities |
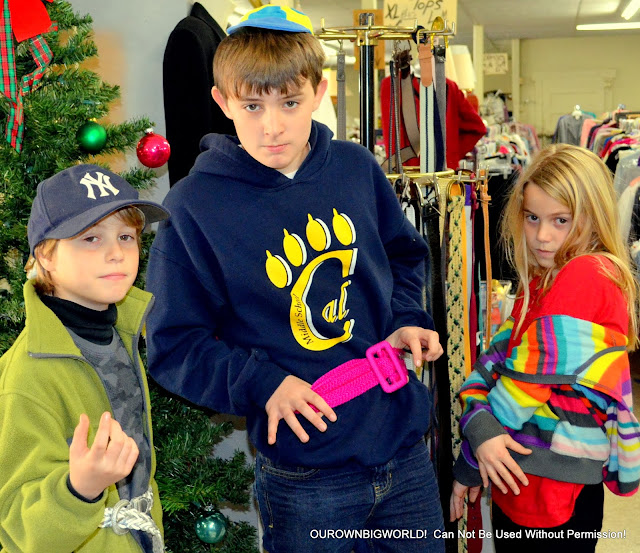
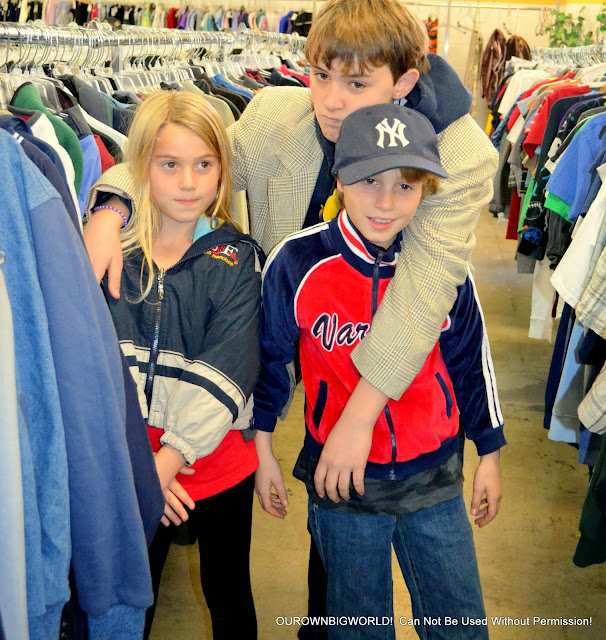
Thrift Store Photo Shoot!
 |
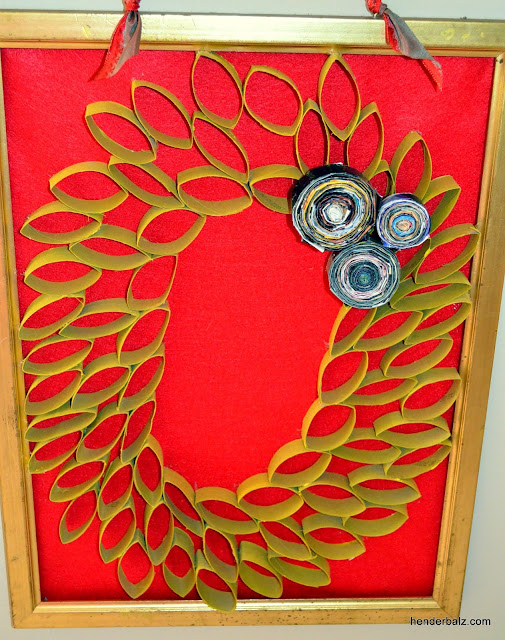
| From CA Crafts & Activities |
For Something WE ALL Made Together!
 |
| From CA Crafts & Activities |
A VIDEO!
Introducing…
Thrift-mas Shopping!
Starring Mis Sobrinos!
WHAT A FUN DAY WE ALL HAD…
And although the kids seem kind-of tired…
They were not!
Just shy about singing in public places!
The oldest came up with the lyrics on his own too!
And Now Some Winter Activity Fun!
 |
| From CA Crafts & Activities |
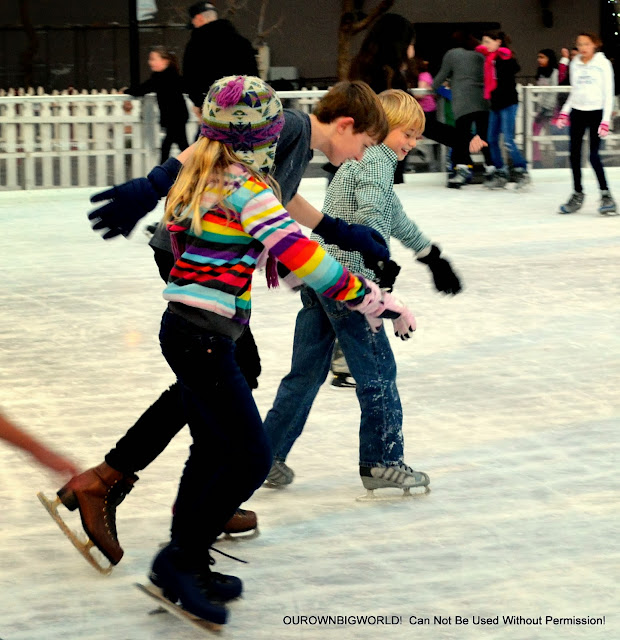
Ice Skating!
(Not sure how I made it snow in the photo…but I like it)
 |
| From CA Christmas 2013 |
On Your Mark, Get Set Go!
 |
| From CA Christmas 2013 |
No Falls For Me…
But My Hips Were Hurting!
 |
| From CA Christmas 2013 |
So My Big Sister Took Over Auntie Ice Skating Responsibilities!
On to More Activities…
 |
| From CA Crafts & Activities |
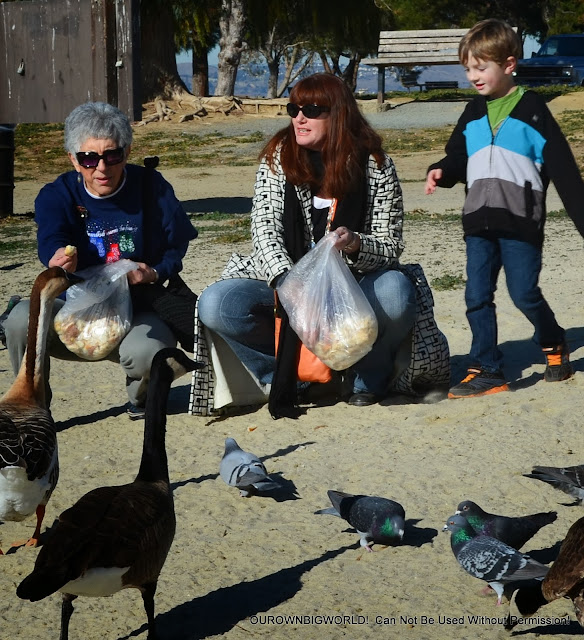
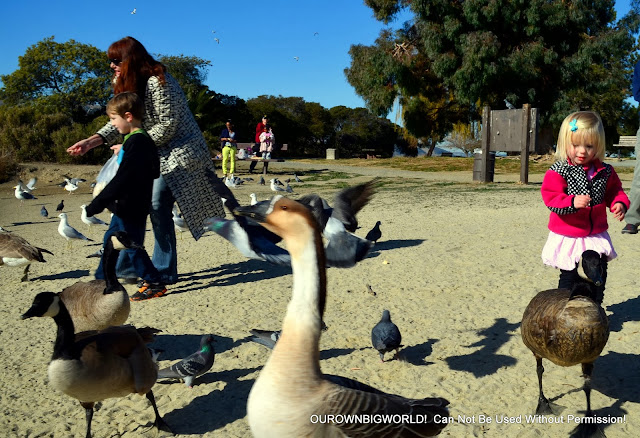
Bird Feeding with the In-Laws and Friends!
 |
| From CA Crafts & Activities |
Little Friends!
One of My Favorite Things…
 |
| From CA Crafts & Activities |
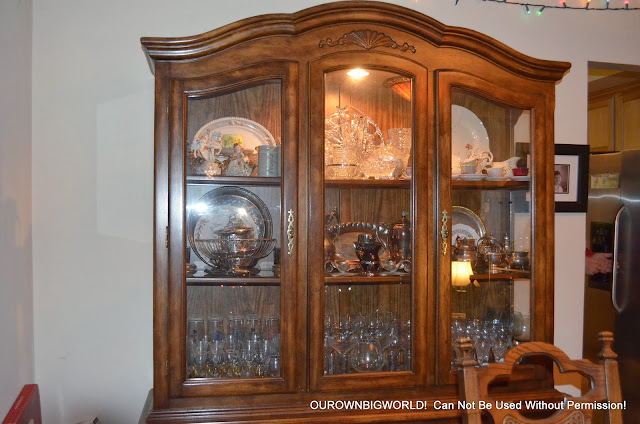
Organizing this Hot Mess China Cabinet (I Love Mom In-Law)…
 |
| From CA Crafts & Activities |
Into this Nice Display Piece!
While at the In-Law’s I also Decorated the Christmas Tree!
 |
| From CA Crafts & Activities |
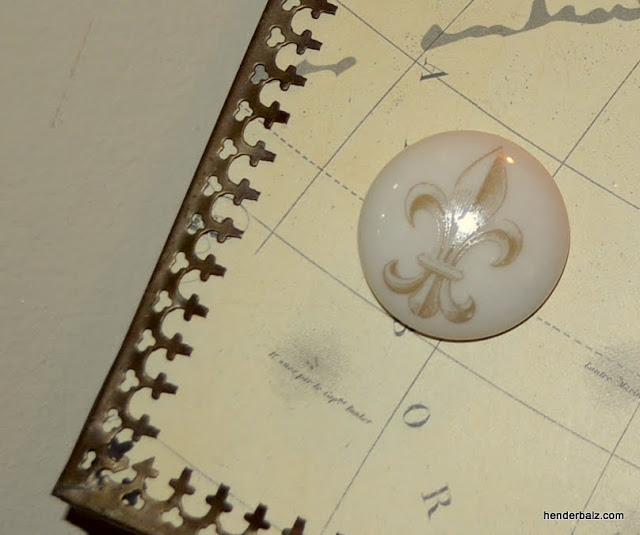
And Found these Awesome Vintage Pieces!
And the Hub…
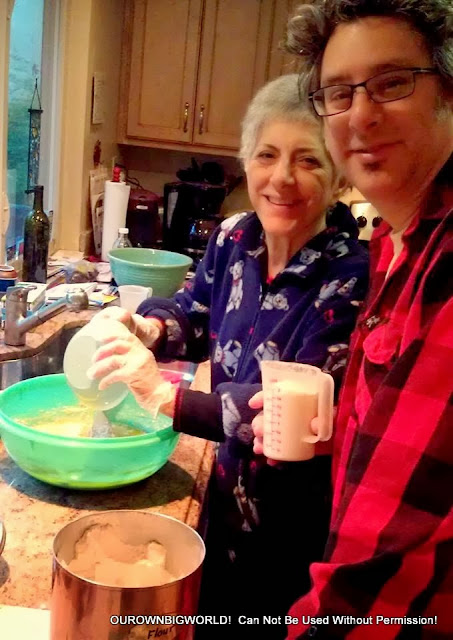 |
| From Craftmas Activities! |
Made Kelicha Cookies with his Mom!
 |
| From Craftmas Activities! |
Yum Yum!
We Also…
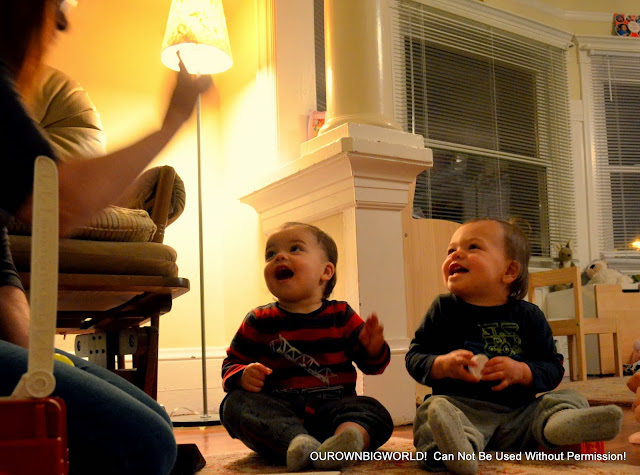 |
| From CA Christmas 2013 |
Entertained…
 |
| From CA Christmas 2013 |
Held…
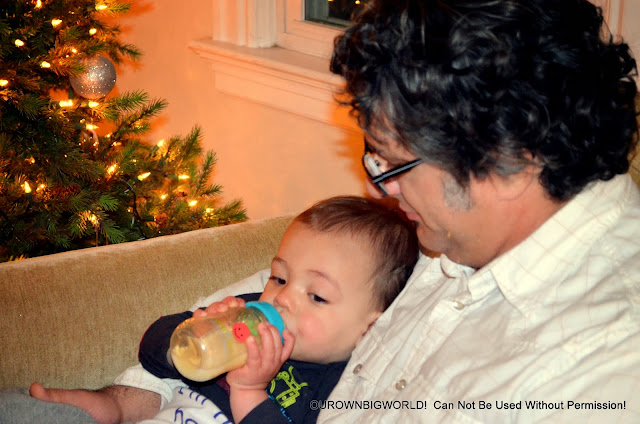 |
| From CA Christmas 2013 |
And Fed Babies!
 |
| From Craftmas Activities! |
We also Danced!
 |
| From Craftmas Activities! |
Boy, Did We Dance!
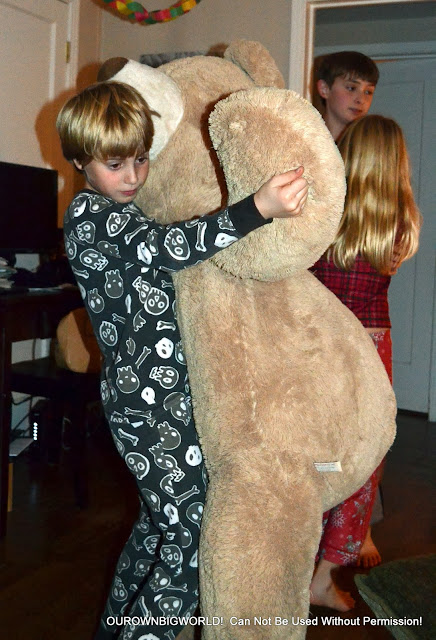 |
| From Craftmas Activities! |
So Did the Giant Bear!
Never a Dull Moment in Northern California!
Although I did make any items to sell in this blog post…
Feel Free to Visit OUR OWN BIG WORLD! to see things I have made and other items for sale!
—————————————————————————————————————————————————————————————————