If You Have Seen Any of my Other Posts, You May Know I Like using Od Leather Belts in some of my Projects.
DON’T MAKE ME TAKE MY BELT OFF!
And
Well, I have Not Stopped. Actually, I have bumped it up some.
We moved from a house in rural Georgia to a tiny apartment in the Loop in Downtown Chicago. I could not bring many craft or art supplies. I grabbed what I could, and that was belts.
 |
| From NecklaceHolder |
You can Take me Away from All my Supplies, but You can’t Take Crafting Away from Me!
We Moved into said Tiny Apartment with No Art or Decor on the Walls.
 |
| ChicagoLivingRoom |
What is a Craftsy Artsy Girl to Do? Make her own Decor and Wall Art Pieces!
And All I Had Was Belts! So Belts I Used!
 |
| From NecklaceHolder |
There are the Buckets for my Jewelry!
 |
| From NecklaceHolder |
And the Bathroom Cotton Ball Bucket!
 |
| From NecklaceHolder |
But all These Buckets Did not Help Decorate My Walls.
So, I had to Up My Belting Game!
 |
| From NecklaceHolder |
Bam! Belt Art!
The Above One for the Living Room.
 |
| From NecklaceHolder |
And This One for the Grey, White and Black Bathroom!
Oh yea…I Was on an Old Leather Belt Art Hot Streak.
So Don’t Stop Me Now Lord!
 |
| From 104D5100 |
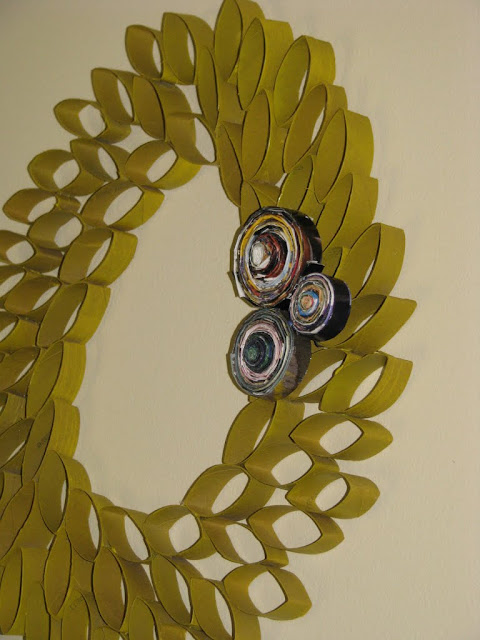
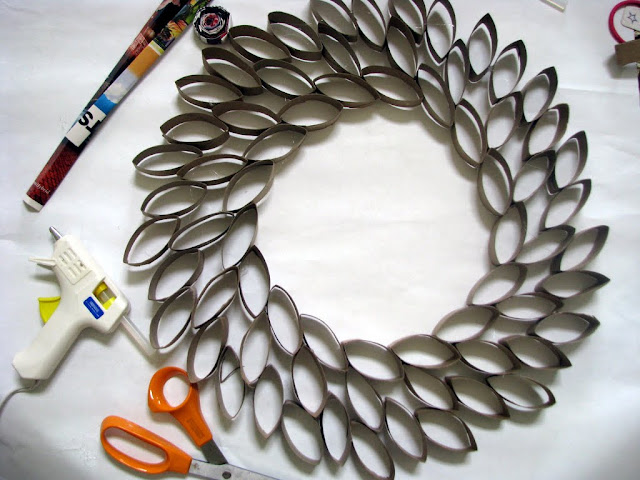
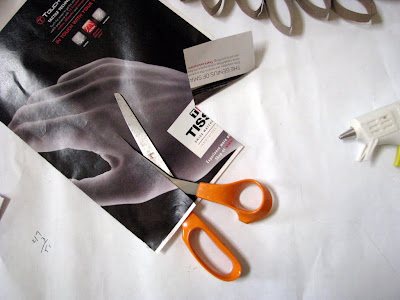
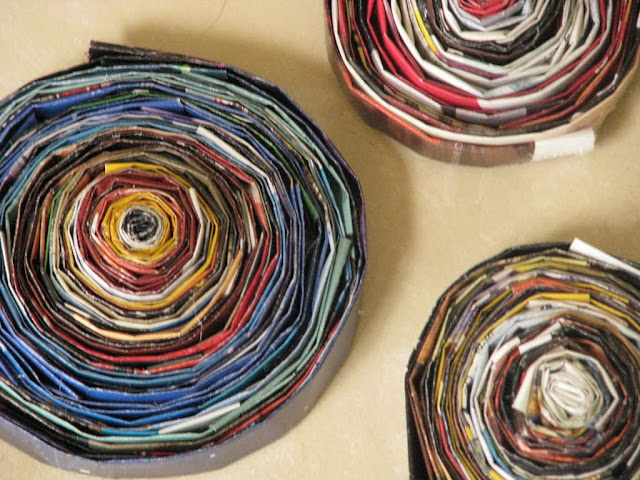
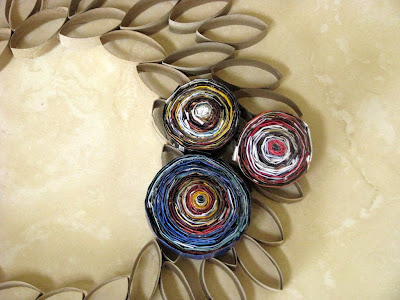
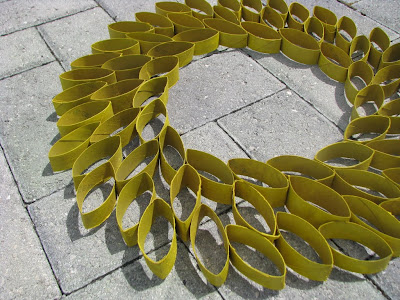
I Needed something More Flowing and Organic-like to hide the spread out holes in the Wall.
I Put my Mind to the Test and This is what My Mind Did…
With the Help of some Recyclables!
 |
| From NecklaceHolder |
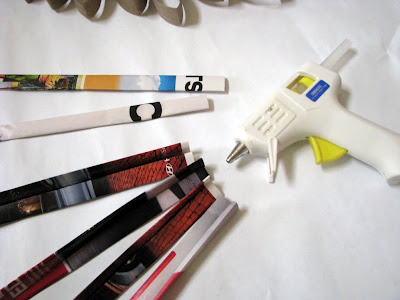
Two Belts and Cut Up Toilet Paper Rolls!
 |
| From 103D5100 |
My husband LOVES this one. I Love the Other Two Wall Pieces.
And I am Not Done There.
Yes, More Belt Decor!
 |
| From NecklaceHolder |
This One Has a Purpose!
 |
| From NecklaceHolder |
One Day I Got Sick and Tired of My Knotted Tangled Up Necklaces.
I Had the Wood Board already, but Could not Find the Right Hooks, that Weren’t Hooks.
 |
| From NecklaceHolder |
And Then It Came to Me! BUCKLES!
I Have Lots and Lots of Buckles!
 |
| From NecklaceHolder |
My Necklace Problem is Solved.
And I No Longer have a Blank Bedroom Wall!
 |
| From NecklaceHolder |
Although It Seems like we are Crowded with Belt Decor…it is Spread Out enough Not to be Overwhelming.
This is Now how the Couch area Looks, Minus the End Tables and Lamps that have been Added!
 |
| From 104D5100 |
Not a Belt to Be Seen!
Mind You Guests do Not Miss the Old Leather Belt Theme We Got Going On Up in Here!
Wait!
I am not Done with My Leather Belt Upcylcing Art Extravaganza! No, I Am Not.
There were Bits and Pieces of leather Belt that I Did not Want to Waste…
So Here Is What I Did with Them!
 |
| From NecklaceHolder |
Yes, Greeting Cards. The Above is My Dot Dot Dot Collection.
 |
| From NecklaceHolder |
And That is My Dash Collection of Greeting Cards.
And with that, I will Now Sign off…
But Before I Go, I Must Inform You that All of This is For Sale.
And If Anything Above is Not on my Etsy Shop Yet, Just Let Me Know!
Good Day to You.
————————————————————————————————————————————————————