Posts Tagged ‘recycle’

From TubesLove

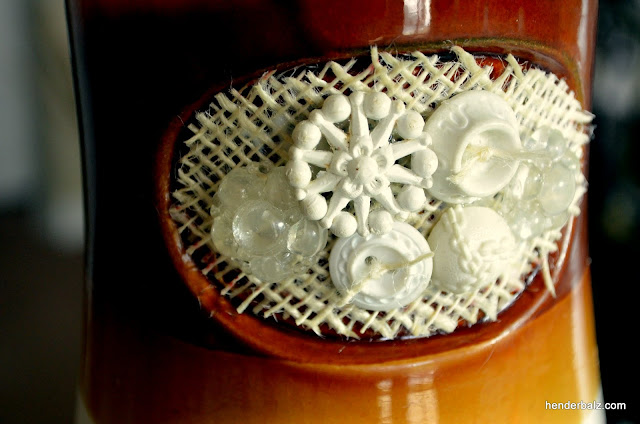
It all Started with the above tins that my Friend sent me.

You see, many years ago I turned tiny tins into nicely decorated pills boxes for all my girlfriends. I used to make small Christmas gifts for most of my friends every year. I guess she thought I could do something with her collection.

I had recently moved right into the inner city of Chicago. Along with the Skyscrapers, great views, museums and awesome restaurants there are also people down on their luck. I had not been in a living situation in a long time were I saw people who were homeless, out of work and/or sick asking for money in my neighborhood, every day, every where I walk. My heart was breaking for them.

I came up with the idea to use the tins to decorate and insert some  money and small things for these people, my TINS of LOVE! Then I realized they were way too small for what I wanted to do.

From TubesLove

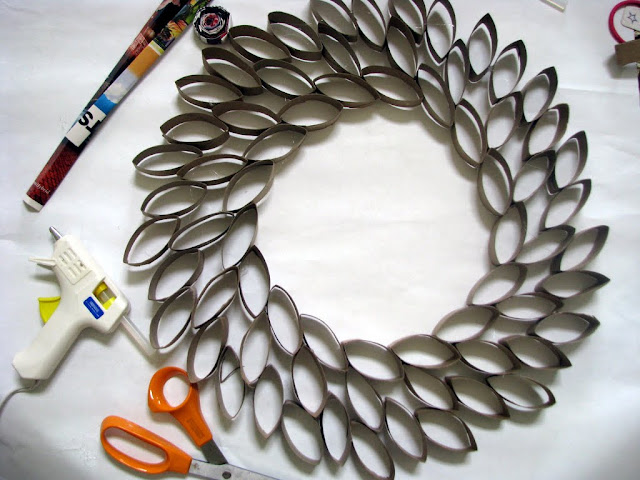
I was saving Toilet Paper Rolls for Art projects. When I realized the tins were too small, I looked at a roll one day and thought this size would be better, my TUBES of LOVE!

From TubesLove

The plan was to start handing them out right before Christmas and throughout the winter for as long as I had supplies.

I had already been collecting 1 dollar bills and quarters to put in my TUBES of LOVE. I told a few friends and family about my plan. My Mother Inlaw, who collects a lot of stuff, sent me a box of stuff to stuff in my TUBES of LOVE! I also bought big multi-packs of gum.

From TubesLove

After Halloween, I collected leftover single wrapped candy from my neighbors and bought bags on sale for the TUBES of LOVE, for a bit of fun.

From TubesLove

I made a list of all Shelters, Food Pantries, Soup Kitchens and Warming Centers in Chicago for each one of my TUBES of LOVE.

From TubesLove

On the Sheet of Paper, I wrote a Note.

From TubesLove

I thought of items besides the money and candy, and thought soap and aspirin could be helpful. I had some hotel soaps and shampoos. The little bars of soap were too big, so I started to cut them down to a size that would fit, wrapped them in clear cellophane and labeled them.

From TubesLove

I also divided a large bottle of acetaminophen into packs of 6-8 pills each too.

From TubesLove

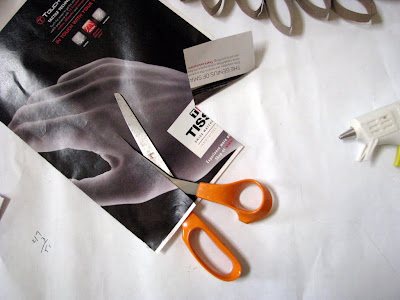
I had to cut the sheets of info down to fit better inside the tubes.

From TubesLove

The plan was to roll it all up and then stuff it in the TP Roll/Tube!  Yes, All of the below would fit into One TUBE!

From TubesLove

I started with rolling the items up in a dollar bill.

From TubesLove

Then I would roll that up with candy on each end in the folded in inforamtion Sheet.

From TubesLove

Easy Peasy!

From TubesLove

It all Fit Perfectly!

From TubesLove

But just so stuff would not fall out when it was opened, I put a small piece of tape at both ends.

From TubesLove

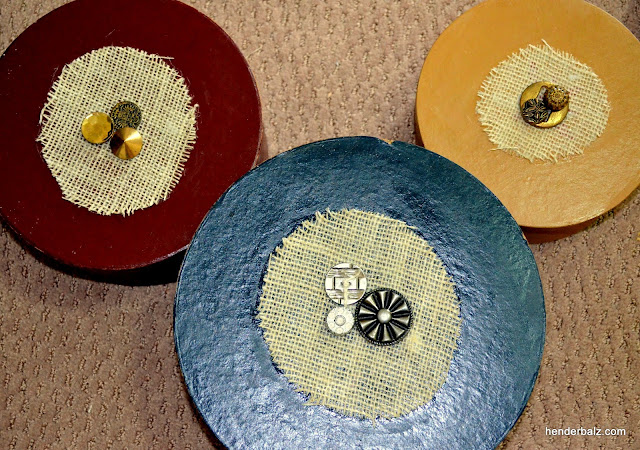
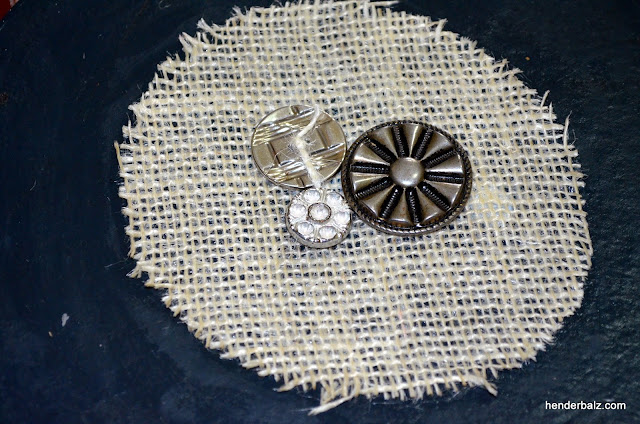
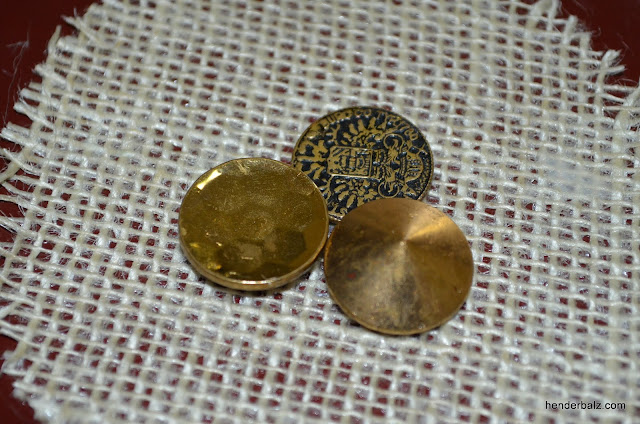
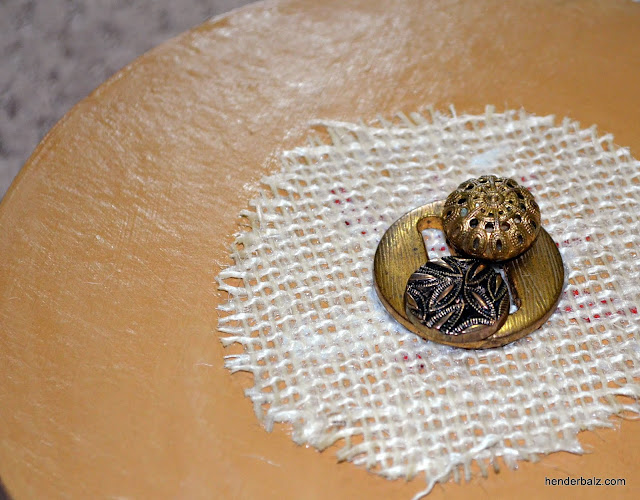
After I stuffed around 30 Tubes, I then decorated each TUBE of LOVE.

From TubesLove

Just Basic Decorating, as I was going to Wrap them as well.

From TubesLove

First Round of TUBES of LOVE Ready to be Wrapped!

From TubesLove

Fun and Light-Hearted. Literally, there are little hearts on them!

From TubesLove

Stuffed with Love!

From TubesLove

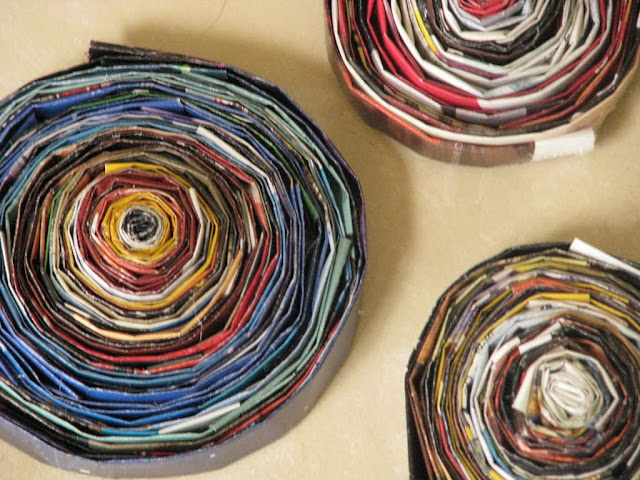
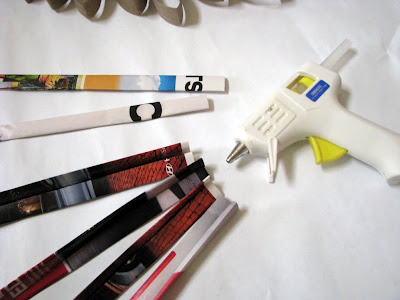
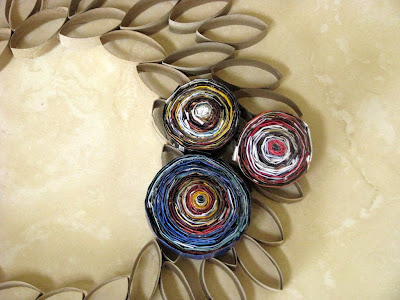
Part of the Idea for TUBES of LOVE is Recycle / Upcycle. So along with all the other items I saved, I also saved paper bags. I cut the bags up to lay out flat.  I painted it all

From TubesLove

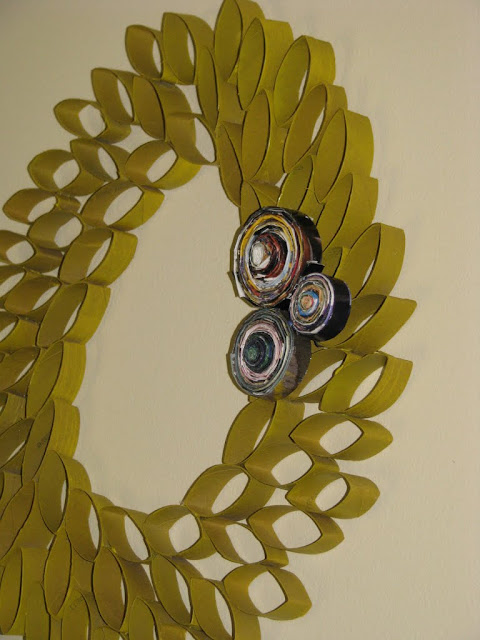
I had 2 sessions of fun using paint and markers.

From TubesLove

I wrapped them “candy” style using string at each end. The First Batch was Done!

From TubesLove

They were all handed out before we left town to have Christmas with out family. During the time away I got my nephew and nieces involved with making more TUBES of LOVE! We also handed some out in Sacramento, CA, where they live. The rest I brought back to Chicago with me. Below is two of the TUBES of LOVE my twin nieces Stuffed, Wrapped and Decorated.

From TubesLove


an

From TubesLove

I received 3 boxes of supplies from friends and family!  I was overwhelmed and very happy.  After exploration of these boxes, I realized many of the items were over-sized for the TUBES of LOVE.

From TubesLove

So I went bigger, Bigger TINS, that is! It all started with tiny tins and now I was back to tins, but bigger and better! I went to the Salvation Army Outlet Store here in Chicago. I bought Tins, and Socks as I learned they were highly needed. The women checking me out, actually gave me a better deal on the items after she heard about my TINS of LOVE project.

From TubesLove

So Much More Love Stuffing! The tins I used would vary in size, but I do not want to go too big as I need carry them as I give them out.

From TubesLove

I still decorated the TINS of LOVE like I did for the TUBES of LOVE, but since many of the TINS were already nicely decorated, I now do less decorating and more stuffing!

From TubesLove

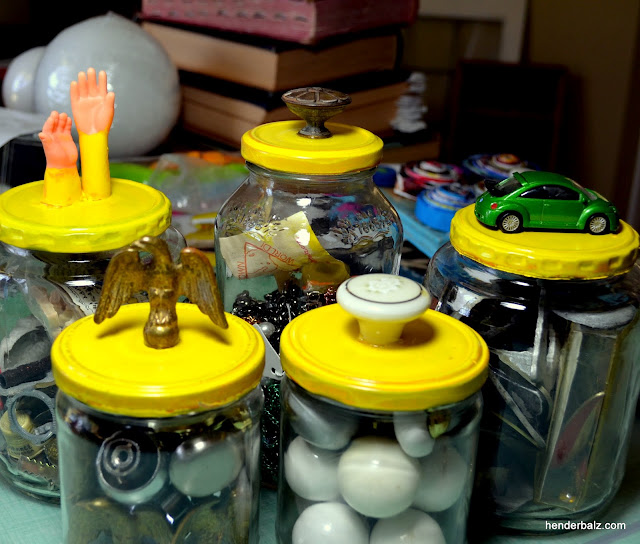
At Top of the Above Photo, on the right and left, you will see TUBS of LOVE. Yes, I have expanded to using Plastic Tubs/Containers/Jars as well. Happy to recycle/upcycle as much as I can!

The TINS of LOVE above are my current batch.  I am down to just a few more as I handed some out the other day.

I have supplies to make more, but I need more containers!  I will do another batch of TUBES of LOVE before I get more TINS/TUBS. I am going to Cleveland soon and will see if I can give away some of the TUBES of LOVE there.

From TubesLove

I will hand them out for the rest of Winter or until my supplies run out.

If you have any questions on how you can do this as well, please comment below and I will get back to you as soon as possible.  Or if you want to donate any stuffing items to my TUBES/TINS/TUBS of LOVE Project, please comment as well and leave your email address for private communications.

By Education, I am a Recreational Therapist. I have worked with Youth a lot in this position and my favorite activities were art related, if I could include a lesson that made the project even better.  I would love to do this project with more Children. I can volunteer with programs within Chicago if you would like me to lead this project at your program!

Thank you and I hope you Enjoyed this project of mine!

————————————————————————————

RSVP-Stamp-6

Advertisement

The GNOME SHACK!

It is a pick storage unit, a craft in action, a never-ending evolving gallery…

BUT MOST OF ALL IT IS OUR HOME FOR NOW!

From GnomeShackPorch

WELCOME!

Something that many do not know…

Is when we move, we move with just a limited amount of stuff.

So I pick, thrift, yard sale, flea market, estate sale & auction to make a new place our home.

Photo Details:
1) Picked the pallet the The Hub never took apart…so went through scattered pickings and ended up with the idea of the tar sap cups flower pockets!
2) Picked the galvanized gas can which holds the locally made wood Sweet Vidalia Onion!

Since we have not gone in yet…
Let’s check out my now Beloved Southern Front Porch…
Gnome Shack Style!

From GnomeShackPorch

Inviting, eh?
And we are not even inside!

Photo Details:
1) Retro Orange Pretzel Tin Can…it travels with us…for now!
2) Got the awesome never been used 1970 hammock at an Estate Sale in Savannah!

From GnomeShackPorch

The Porch Conversation Area!

Photo Details:
1) Got the Porch Swing at the Peaches to Beaches 700 Mile Yard Sale and then painted it!
2) I bought 4 ladder back chairs with very damaged seats and came up with this design for what I love to call my “Porch Lounger”.
3) A 75 Cent Table that I decoupaged and painted!

Now, Let’s Go Inside!

From GnomeShack

The Front Siting Room, Which Doubles as a Guest Room!

Our place is small!

Photo Details:
1) Couch was bought at a Savannah Estate Sale.
2) Retro Folding Chairs Travel with us as well as vintage wood/metal boxes
3) My painted framed photography also travels with us…for now.
4) Most on mantel is for sale, except Gnomes!

We do not have an official entry way/foyer, so I had to make one!

From GnomeShack

And here it is!

Photo Details:
1) Coat Rack I made from pallet board and thrift knobs.
2) Thrift store Mid Century Shelf turned Shoe Rack.
3) A Men’s valet for keys and extra coats recently bought at a flea market.
4) Sandal bin is vintage enamel pan recently bought at a yard sale.

Two More Views of the Front Sitting Room!

From GnomeShack
From GnomeShack

Vignette Areas…
Or More like Picking Storage Spots!

Photo Details:
1) Vintage suitcase Valet turned side table with painted glass frame turned tray!
2) Picked Very Rustic Wood stool, Thrifted Mid Century Clock & Junk Store found Antique Chimney Screen!

To the Left of this Sitting Room is our Bedroom.

From GnomeShack
From GnomeShack
From GnomeShack

And there it is!

Okay, it is also a bike, craft, arts and tool supply storage area!

Photo Details:
1) Suitcase night stands and stairs for old cat to get into bed are also used for storage.
2) I recently bought the missing drawer dresser on the cheap, repainted and such, and there you have it.
3) Mid Century Shadow Box / Bar Mirror for my pretty up area.
4) Lights over dresser are yard sale found trouble/mechanic lights.
5) Circle Art are  Yard sale found Needlepoint hoops with some material scrapes and some material I personally designed!
6) Tool, Arts & Crafts Supply Shelf bought at a Yard Sale.
7) I made the Hat Rack out of Pallet Board and Thrift store Knobs

Now Back into the Front Sitting Room! You can go straight through it to get to the Dining area of the very large Kitchen.

From GnomeShack

I’m realizing it is very mid-century in there!

Photo Details: 

1) Table we brought, but will probably sell before we leave.
2) Tension Pole Light in corner is very much for sale.
3) Shelves on both sides are filled with picked decor pieces, photos, kitchen supplies and a bar supplies.
4) Beloved Step Stool was picked in a junk shop.
5) Art on wall was picked recently and for sale!

Through the dinning area is the kitchen!

From GnomeShack

The Kitchen Side of the Huge Room.

Photo Details:
1) Yes I have vintage hand strainers as wall decor and canvas carpenter bags as recycle bins!

From GnomeShack

The Main Kitchen Corner!

Photo Details:

1) I made a light out of a dog chain, a vintage soda shop glass crate, a colander and an Ikea light fixture.
2) The decor on top of the fridge is part of my picked galvanized metal collection.
3) And counter storage is in vintage tin colanders!

From GnomeShack

The Other Side of the Huge Kitchen is the Laundry Room!

Photo Details:
1) Old gas stove burner grates for wall decor!

Through the middle of the Large Eat In Kitchen is the Family Room!

From GnomeShack

View from the Door…this is where we spend most of our time at home!

From GnomeShack

View from the side with Wall of Windows.

From GnomeShack

Big Overstuffed Chair The Hub has had for, maybe, 15 or more years!

Still Comfy!

From GnomeShack

The Rest of the Family Room!

Photo Details:
1) Wall Decor Over Couch is a piece of old factory life. It states the days that has gone by without any accidents. The numbers can be changed on the back. Picked this as a gift for The Hub…who is a safety freak.
2) Other Wall Art is My Photography.
3) Cat Throne is vintage blue suitcases, an old moving blanket stuffed into the top one and a vintage piece of chenille bedspread covering to make it pretty! And yes, that is our 18-year-old cat asleep, wheezing, snoring away on it!
4) The desk is an old chrome and Formica table yard sale pick!
5) Round Table picked at a Junk shop.
6) Side table are part of my old wood food box collection!
7) Wood piece in corner is the bottom of a mid-century coffee table!

Almost Done Touring The Gnome Shack!

From GnomeShack

The Tiny White Bath!

From GnomeShack

And the very stained sink!

But this little room holds some of my favorite pieces!

Photo Details:
1) To left of toilet is a vintage galvanized metal miners milk can recently picked
2) To the Right is vintage adult and child’s enamel chamber pots.
3) Under the sink is an antique maple sapping bucket with a recently picked stool and metal box that I have had for maybe 20 years.
4) There are curtains on the wall close to the sink, not because there is a window, but a door.  In renovating, I guess they forgot to take the door out!

That is the Gnome Shack!

It is home for now.

I used to say, “Home is where my Backpack is”
But now Home is where The Hub and His 18 Year Old Cat is.

All the things…
Are just ships passing us in the night.

We help it all find it’s forever home…
If we did not adopt it ourselves!

If you are interested in buying anything you have seen in this post or are interested to see what I do have for sale,
Please Visit My Online Shop…

OUR OWN BIG WORLD!

If you can not find an item in the photos that you are interested in buying, please comment below and I will get back to as fast as I can.

Thank you for visiting OUR OWN BIG WORLD…

We Hope You Like it Here!

——————————————————————————————————————————————

RSVP-Stamp-6


UPCYCLE LIGHT!

From Vintage Strainer Lamps!

EASY PEASY!

From Vintage Strainer Lamps!

To start the hole, I used pliers and a hammered it just a bit in the centered dot in the centered star of the bottom of the strainer.

You can see the finished hole in the photo.

Oh, and yes, those pliers have a pink rhinestone on them!

From Vintage Strainer Lamps!

To help enlarge the hole, I snipped from the inside with wire cutters.

From Vintage Strainer Lamps!

Then I would push this vintage soda bottle into the hole to make it more round!

From Vintage Strainer Lamps!

Picked these up at IKEA for $5.00 each the other day!

From Vintage Strainer Lamps!

Put lighting through hole, put in lightbulb…

From Vintage Strainer Lamps!

And there you have it…and cool hanging lamp that casts spotted star shapes!

From Vintage Strainer Lamps!

That was fun!

But I was not done creating!

Back to Gnome Christmas Trees!

From Vintage Strainer Lamps!

I so need a gnome for under that tree!

From Vintage Strainer Lamps!

Now, let’s see if these things sell!

———————————————————————————————————————-

Yes, Gnomes celebrate Holidays too.

And they, just like us, need Christmas Trees.

I have made it my goal to supply them some this holiday season.

From Felt Tree

Let me talk first about the tall one in the back.

Or better yet, let me show you how I made it!

From Felt Tree

Supplies: Cone, felt, glue gun, scissors and maybe some tidbits for decorations (I used some brads and tacks).

From Felt Tree

Cut, cut, cut out your tree leaf thingies.

From Felt Tree

Glue them, one at a time to the cone, all of them!

From Felt Tree

Start adding your decorations as you go.

From Felt Tree

Figure out your topper and decorate.

I decided on decorating a small Styrofoam ball with the brads and tack.

From Felt Tree

There you have it, the first of many…

From Felt Tree

A Gnome Christmas Tree!

For those Gnomes who like simple lines…

From Felt Tree

The Bobble String Christmas Tree!

Yes, it bobbles a bit from the way it is attached to its stand.

And now for those Beachy Gnomes…

From Felt Tree

The Pearly Shell Gnome Christmas Tree!

I made both the string and shell trees awhile ago…lots of string, shells, glue and patience, and you too can make them.

As you can see from the first photo, there are many other trees.

Some are vintage and some are just darned cute.

From Felt Tree

I had to have a variety, so many Gnomes so many different trees needed!

And these two are my favorite!

From Felt Tree

They so remind me of my Italian Grandparent’s Christmas decorations. Under their Aluminum Christmas Tree (Yes, I said Aluminum) they had this tiny outdoor winter skating Scene (a mirror was used to make the frozen pond) with these tiny trees all around it!   Ha, but they have sold already…should have put a higher price on them! 

I have two more in the making, but not sure they will get finished in time.

Gnomes…I got you covered!

Elves get all the attention during the holidays, give some love to any Gnomes you may know!

EARLY HOLIDAY BONUS CRAFT FOR YOU:

From Felt Tree

I made the wreath awhile ago, Click here to see how I did it: The Garbage Wreath

But then I put it in an old frame and threw some red felt on the back for that something special and different Christmas decoration!

HAPPY HOLIDAY CRAFTING TO YOU!

———————————————————————————————————————————————————————-

I have a thing for circles, balls, orbs, globes, pizzas…anything round!

So I buy needlepoint hoops, lots and lots of needlepoint hoops.

Mind you, I do not do needlepoint!

But I do love cool retro looking material.

So, I put the two together and this is what I got!

From Button Up

This little cutie consists of three different size hoops, 3 different sample pieces from JoAnne’s and some twine.

I did glue them together, so it is a just hang one thing wall decoration!

Note to self, iron material next time!

For those that can not commit to 3…I give you this:

From Button Up

Not attached for cases where just one or two will do!

PS…the lint and stuff on the floor do not come with hoops!

I have saved the largest hoops (one really big…others quite large) for the wall on our new dining room.

Now on to something different.

I like frames, and I could not pass up this little metal one with tiny crosses!

From Button Up

I found a map, which I also love..and this little fleur de lis was calling my name.

From Button Up

All together, and they make an interesting conversation piece!

Circles, Frames and Maps…I wish I only like those 3 things!

Whatever it is for you…find new uses for your favorites!

———————————————————————————————————————————————————————-

Buttons aren’t just for clothing anymore…

Especially cool old Buttons!  

I pulled out my small collection the other day when I wanted to snazz up a few other things.

And here is how it went!

The below were just plain old round colored cardboard boxes.

From Button Up

AND NOW THEY ARE FANCY RESPECTABLE DECORATIVE CONTAINERS!

So easy…old buttons and some burlap!

From Button Up

Oh, and Mod Podge, gotta love the Mod Podge!

Wait, and some glue!

I used the Modge Podge to adhere the burlap and after that was dry, I glued on the buttons.

From Button Up

Sassy & Brassy!

From Button Up

Golden Girls!

They were so cute, I did not stop there!

From Button Up

This nice piece of pottery had the word “Utensils” across the front.

Why? I mean, if the utensils were in it, couldn’t you tell what was in it?

So, I got rid of it and prettied it up with some vintage white buttons!

From Button Up

I really like how it came out!

Can’t wait to use it now!

Any button will do…glue it on, sew it on, or even use wire for jewelry…

JUST BUTTON UP!
———————————————————————————————————————————————————————-

I have been using food jars to store my crafting and arts bit and pieces….

but could no longer handle the glass not being clear and the branding on the tops!

SO…FIXED THAT!

From Jars & Swirly Love Piece

I went crazy with the yellow, Yes…

But yellow IS awesome!

That was after I soaked and removed the labels and then used “Goof Off” to take off any date stamps and left over label glue!

From Jars & Swirly Love Piece

I know the trend is to paint the item glued on top too…

But I like the my toppers in the NUDE!

From Jars & Swirly Love Pieceof my toppers have meaning to me too!

And some of the toppers even have meaning to me!

From Jars & Swirly Love Piece

Okay, just one!  

Like the green VW Bug is a gift I gave my husband as a joke, because we play “Slug Bug” all the time!

Note: We only do old bugs & buses…other wise we would be too bruised!

But I do have to say I LOVE the doll hands….funky in a creepy way!

Truth…

I am keeping 3 of them, and I decided to put the two with old knobs in it in my shopito to see if I can sell some old inventory that I haven’t used! Paint it, shine, put it in a fun bottle…and maybe it will sell!

NOW…

The below piece I did not dedicate a whole post to because I did not photograph it along the way.

From Jars & Swirly Love Piece

It all stemmed from making the “flowers” for a wreath I made in a previous post.

Click below to see my “How To!” post!

Upcycle Wreath!

From How To – Wreath

Cutting, folding and rolling magazine paper flowers takes a lot of time!

From How To – Wreath

But the work was well worth it because…

I love with swirly, whirley, twirly look to them!

From Jars & Swirly Love Piece

I had a wood photo piece that  needed a punch of texture…

So, added felt & magazine paper loves on it!

Completing my Swirly, Twirly, Whirley Bundle of Fun!

Click below if you want to see my Wood Photo “How To!”

Photo on Wood Projects

Now, to my shopito to add, move around, and hopefully sell the hell out of…

My Old Things, Cool Stuffs, Funky Art, Clever Crafts, Upcycle Pieces, and of course, Loverly Antiques!

———————————————————————————————————————————————————————-

100% FROM RECYCLED MATERIALS…

AND IT LOOKS GOOD!

UPCYCLING AT ITS BEST!

From How To – Wreath

AND DOES NOT SMELL!

SUPPLIES YOU WILL NEED:

– Toilet Paper and/or Paper Towel Rolls (lots of them)
– Old Magazines
– Glue Gun
– Scissors
– Spray Paint
– A paper plate

START CREATING!

From How To – Wreath

1) CUT ROLLS!

Toilet Paper rolls can be cut into 5 pieces. They do not need to be perfect or the exact same size.

The paper I buy seems to stick to the roll at the end, and taking it off is the hardest part of the whole thing!

2) START DESIGNING WREATH!

From How To – Wreath

Start to lay pieces around the plate.

From How To – Wreath

Get your design down.

From How To – Wreath

3) GLUE PIECES TOGETHER!

From How To – Wreath

4) START YOUR MAGAZINE PAPER FLOWERS!

From How To – Wreath

Tear out pages of magazines, I go for the most colorful. I cut each page into 3 strips.

4) FOLD STRIPS OF MAGAZINE PAGES.

From How To – Wreath

Fold them in the width that you would like your flower to be. Honestly, they do not need to be the same size…I just fold them up, and used the glue gun to keep the edges down. I have done it without gluing them down…saves some time.

5) ROLL YOUR FLOWERS!

From How To – Wreath

Just start rolling. I glue down the last edge of a strip and then the beginning of the next edge strip. And you can make them as big or as small as you want!

From How To – Wreath

6) LAY OUT WHERE YOU WANT THE FLOWERS TO BE ON YOUR WREATH.

From How To – Wreath

Do not glue yet!

7) SPRAY PAINT YOUR WREATH.

From How To – Wreath

I picked yellow, which worked well on that white paper, but did not come out that yellow on the brown paper rolls!
So pick your color wisely, or test it. Or you can just go plain…I have another piece hanging in my living room with no color!

From How To – Wreath

Let Dry!

8) ATTACH YOUR FLOWERS!

From How To – Wreath

CONGRATS!

You made yourself a Garbage Wreath! Made art and saved stuff from the landfill!
———————————————————————————————————————————————————————-

Stuff made from free things!

Okay, made with free things…and cheap stuff I bought for under $1.00!

From Twigs and Things

VINTAGE FRAME AND COOL BRANCHES!

From Twigs and Things

TWIGS, TWINE AND A GLASS…

From Twigs and Things

AND YOU GET YOURSELF A CANDLE HOLDER AU NATURAL!

From Twigs and Things

A BOOK, TWINE…

From Twigs and Things

AND CUTE THINGS….

MAKES FOR A NICE LITTLE  TABLE DECORATION!

From Twigs and Things

IF I CAN WRAP, BUNDLE, BUNCH IT…I WILL!

———————————————————————————————————————————————————————-

I make things.

I make them from other things, such as…

Antique stuff, vintage what-nots, old do-hickies, divorced fragments, unwanted morsels, and plain ole’ garbage bits & pieces.

LIKE THIS:

From Product Photos

AND THIS:

From Product Photos

AND THIS:

From Product Photos