Archive for the ‘Crafts’ Category

This Happened!

I am now selling my art in a cool concept decor & clothing store in the Condado neighborhood in San Juan Puerto Rico!

If you are in the area, it is called Nifty Cure and it’s on Avenida Ashford near Calle Cervantes!

Squeee! Happiness! Joy!

Now I wait for more of that when one sells! I am manifesting it.

I have to say I think I need to suggest to them how to display my art…most of it needs to be on a wall.

I go back today to bring vintage stuff, some clothing for consignment as well as these cuties I just made!

I can sell from anywhere, so message me if you are interested. My pieces are one of a kind, but I can try to get as close as I can if that is what you want!

Thanks for visiting My Gnome Little World!

Yep, I went out of my comfort zone, way out.

Pickles, the Kitty Art Kritic watching me in action.

I did something that caused anxiety.

Pickles, the Sometimes Art Assistant, gives good advice.

Actually, Anxiety has kept me from doing this for quite a while.

Pickles may be a lazy Art Assistant, but look how cute he is!

I feel the positivity/art TikTok algorithm I’m on has helped me.

Love making art with my constantly curious cat, helps the mood!

Art is everywhere where I live. It has opened its arms to me. I want to feel the embrace, I crave the embrace.

I can’t believe he did not mess this up as I was upcycling old bread ties.

To get the creative cradle, one must put themselves out there. I needed to reach and go beyond my limit.

Mommacita, Pickles the Kitty Art Kritic and Sometimes Art Assistant’s Mom, even got in one the art action.

I went way out my comfort zone. It’s freeing, yet terrifying.

No cats, just me and some of my art.

When I know the outcome, I will tell you all the outcome. I have to teach my anxiety, good or bad, it’s all gonna be ok.

Thanks for strolling along with me on this art anxiety walk. Like I said in a previous post, regarding this same exact issue, BABY STEPS!

And thanks to Jim, Randy and Patty for hyping me up and supporting me on this tiny journey.

—————————————————————————-

I went out of my comfort zone, out of my own self determined box and turned my world upside down. TRY IT, THE VIEW FROM HERE IS FUN!

I just learned that word. Trash and fashion=Art? Another phrase for it is Junk Art. Whatever you want to call it, it is art made from what most people would call garbage.

A lot of my art is made with stuff I found for free or thrifted or gifted….but some of the stuff for these projects are downright trashy garbage. The worst of all worse garbage, plastics found on a beach where I wish all Sea Plastics went to die.

(PHOTO: One particular bad plastic garbage day at what I now call “Plastics Beach”.

Last month my hub and I went for a drive and without our knowledge we ended up on what may be the most sea garbage filled beach on the island. It’s in a corner of a bay and the wind and tide seem to go straight to the particular area of the beach. I was overwhelmed with the amount of it all. I didn’t just see garbage. I saw color and I saw childhood laughter. And even though I didn’t know it at the time, I saw potential. That place never left my mind, so much so, we we went back. This time, I was prepared mentally and with reusable shopping bags.

(PHOTO: My sweet husband collecting plastics and beachcombing)

This time to “Plastics Beach” it wasn’t as bad, by “not as bad”, I mean there was less bigger pieces. It was still very bad. I focused on collecting the most colorful plastics. While I was on the hunt, I noticed some big black bags at the edge of the beach in the trees. I assumed they were filled with the beach garbage. This made me feel good, but I also wondered what colorful fun things could I find inside them. Don’t worry, I did not open them. They are destined for the dump for the rest of their long plastic life.

(PHOTO: This is what we brought home in our 4 large reusable shopping bags)

I cleaned every single piece, a lot to be cleaned again. While doing this, I thought of the price of art, even art made from free stuff. It took hours to do the initial clean. I can use old, scratched, marked, broken things for art, but I can’t use dirty stuff with sand embeddeded in it with the potential to smell over time. A lot of this time consuming. Even though, I’m not big on selling my art, I support artists that do and their prices. Oh, I will sell my art, just ask me. Anyway, I recently picked an old frame out of the trash area of my apartment building. Do you see the trashy thing going here? And here is me playing with my idea of art.

(PHOTO: The first juxtaposition of pieces inside of the frame.)
(PHOTO: I almost love this view of the piece better)

I really like it. I go through many processes with my pieces. Here is where I was before creating the one above (mind you it is not done…the things are in a box now), I recently went on a trip to where I got things for cheap or were gifted them. Fun, bright, cheerful things, including beads, miniature stuff, and vintage cabochons, but not limited to that. Here is where I went with those items when I got home.

(PHOTO: I put all the stuffy things together, added items I had already and this is what I got.)
(PHOTO: I love the neon and brightness of this piece and I will make smaller versions of it when I can thrift some fun frames.)

If you haven’t seen my art, besides using upcycled materials, I love texture for the eyes and hands. I love surprises to be found. I love that I see art when others see magazines, belts, twine, and garbage. I love that I can see how to use things in unconventional ways, like beads not beaded, a belt buckled around a canvas, old rough twine in macrame, and torn maps not used for directions.

(PHOTO: My art in my home)

Here are other versions of pieces I may do with my plastic beach finds….

(PHOTO: I love the idea of one or two bold colors. So, yes, I love this small 5×7 piece, but if I do it I will paint the frame a brighter blue.)
(PHOTO: So, I love anything round, circular, spherical, and globular including balls, orbs, globes sport supplies, decor, plastic caps and so on. This piece is a mixture of all found or saved round things. Honestly, I’m notot as fond of this piece.)

Since I’m on this maximalism, lots of stuff in one piece journey, yesterday I was playing more with some of the beads and cabochons I got at General Bead in SF recently (and vintage plastics from a friend there too). Also, I recently have been enamored with miniatures, and bought some while traveling and at a store near my apartment. Yes, new stuff. Ack, but give me a break, they are so cute. Look!

(PHOTO: I Call this “Bunny Bubbles #Yellow)
(PHOTO: See the Adorable tiny Bunny? It is actually what is called an “Nail Ornament)
(PHOTO: I call this “Bear Bubbles #Purple.) (Sorry for the bad photo.)
(PHOTO: But look at the bears…this time 2 sizes!) (Squeeee!)

Okay, before you go crazy making orders and wanting to buy…none of these are made yet! 😉

But I did just paint the large frame, and I am looking for a back to adhere items safely to it. Will update this post when I’m done!

Once again, Thanks for visiting… My Gnome Little World!!

—————————————————

I live there.
Webbed Map of Life
(Photo: In the works.)

I don’t have any photos of the beginning of this piece, but I can tell I did not have this end in mind. But, here is a video of the very start.

https://www.tiktok.com/t/ZTREYCYHm/

After I decided to use an old map to tear up, I was thinking of amap of life. Then when I was doing the needlepoint it looked like Morse code, so I decided to sew in words that have to do with living life. I finished the 5 Strips and there it sat for a couple of months. I was in a rut, I didn’t create.

(Photo: What word do you see?)

While we were packing for the move, I packed in the strips along with some supplies. Then we moved and then I was so moved to create again.

(Photo: We make ties to people to places and even to things.)

I needed something for structure and to represent the steady stuff, the structure of our lives. Wood was the strength needed and pink was the perfect amount of innocence and love.

(Photo: Upcycled Art of Life)

I used floss because it has 6 threads that brings it together to be. No one stands on their own.

Ok, and I had plenty of it.

(Photo: We are all interconnected.)

The art piece told me what to do with the hanging floss as soon as I held it up. All the hanging floss had to be connected to each other. Some webs may look chaotic, but there is a method in the madness. Life looks a mess, but maybe that is as it should be.

(Photo: It’s a delicate piece…Just like Life.)

Thank you for visiting My Gnome Little World.

——————————————–

Are you a Mid Century Lamp Lover?

How about those beloved fiberglass shades? To Die For.

But what about the broken damaged fit for the dump ones?

We must save them.

I’m not a professional lamp shade maker or refinisher or whatever you call people who fix lamp shades.

So those of you who are…move on.

This is Mid Century Fiberglass Lamp Shape Fixing 101.

Also there are different reasons to need to fix. The wire is broken, the strings are broken or the shade is broken. In all of these situations you need Step 1.

Step 1:

Get Gloves and Put Them On. Fiberglass is not a friend to your skin.

Step:

Take Shade Apart. Which is easy. This situation is a broken shade..mostly around string/wire/hole area so I just took shade apart. If not untie knots and unlace.

*Use gloves…seriously.

Step 3:

Broken Shade: I cut my shade at the top and bottom where it was damaged.

*If the the wire is broken fix with wire or soldering iron. If shade is completely broken use different material…mostly likely a light plastic for stiffness. If the string is damaged get new string. Mine was and decided to use what I had.

Step 4:

Punch Holes in Shade for Re-Lacing. Since this was a spur of the moment fix, again I went with what I had, a regular hole punch. I would go with a smaller hole option if i wasn’t impatient.

Step 5: Picking String.

I’m a string/twine addict so I had some to choose from. Twine was eliminated first. So I tried these two below. Again I went with what I had because of my excitement of fixing the shade! I probably would have went with a dark leather or synthetic leather if I wasn’t a “get it done now” freak. The dark string in back is the original.

* I like color of the waxed string but felt like it could cut the fiberglass too easy. So I went with the soft, so wrong color, cotton thicker string.

Step 6:

Lace back Up. Slow and steady to make sure “lace’ lays evenly.

*Since I cut my shade from top and bottom, the wire rings did not fit perfectly anymore, but I still pushed forward.

Finished the top and stopped to check my handiwork.

Not bad, eh?

Then I finished with the bottom.

Viola! Saved from the Fiberglass Lamp Shade Graveyard! Not perfect, but still looking pretty!

*If you noticed that my laces are going in two different ways…Damn you and your eye for detail!

No, I noticed I was doing that right away and checked my other lamps. The lacing goes in the same direction on them. But I decided to see what the opposite direction would look like.

**There you have it. In the photo my shade looks a bit crumpled. It is not.

I may go back with different string…but for now there she stays in my foyer.

*And yes, if looks uneven. It may be the way I cut it, or how it’s sitting on the lamp because we all know those shades never sit straight.

Thanks for visiting.

Feel free to ask questions!

Picking.    Picking as in finding things for a way low price.

20190127_130947

My super power is Second Hand Picking.

Got this on a cross country trip where everything I could fit in a good size box was $1.00. Not one dollar for each piece, but $1.00 for the entire box of stuff!

20190109_110807

My #1 Back Up Super Power is Making Things/Art/Decor out of old stuff.

Like my belt art above.

20190109_104112

My #2 Back up Super Power is the ability to fix things up.

I buy low, fix it up, and then eventually sell it for a handful more.

This the Vintage Homecrest set was all just my Super Picking Power. The price was so low, I got it even though at the time I did not have room for it.  I made room for it!

20190131_165812

Until I had to sell that too.

We move a lot. I use my Picking Powers to furnish yet another new place.  Shine it Up, Fix It, Use it and then Sell it.  I could make a living off of it, but we move too much.

20190112_130455

Ok, Some things I just pick because I think they are cool. I usually sell sooner or later before a move like at a yard sale, or the sometime Antique Fairs, or I have even been known to rent a booth in Antique Malls.

20190128_163936

We do have a home, so some stuff does get to live there, but this nice leather suitcase did not because we have enough vintage suitcases there.

20190205_124001

This would be one of my projects that I did not get to do.  I also do projects to sell.  Take a look see at a previous blog post about my Upcylced Bars:  https://ourownbigworld.com/2018/11/28/a-bit-bar-cart-crazy/

All this one needed was paint. I even already paid my nieces to sand them!

20181014_065704

This was part of my set up at an Antique Market.  I love stuff and glad I am not attached it all.  All above sold, even those funky Clown Shoes!

20190127_100517

These two I saved from selling and they now have a FURever home in our Gnomad Pad.

20190211_134312

In our last place, this was my work room, a game room and where most of the stuff for sale lived. It has all moved on now, living a 3rd, 4th or 5th life.

The only Picking I do now is from the beach.

20190301_191149Where we live, doesn’t have much for my Super 2nd Hand Picking Powers…so I am Relying on My Other Back Up Super Powers to Turn things like these into other stuff.

IMG_20190330_185848951

If I figure it out, I will share with you.

Until then, thanks for visiting.

And just so you know, I get to pick a lot back where my Gnomade Pad is when we visit.  So if you are looking for that something special, ask me and I will keep an eye out for it for you!

____________________________________________________________________________________________Gnome


Making nature into what it isn’t.

DSC_0713

A Starfish Sea Urchin.

DSC_0707

Dead Coral Growing.

DSC_0718

Shells in the Sky.

IMG_20190401_164410891_HDR

Sea Glass on Solid Ground.

DSC_0705

Sponge Flooring.

DSC_0704

Plated Turtle Food.

Nature doesn’t need me. I pluck it from its home and it bring it to mine.  I need nature. 

DSC_0709

As I am begging for inspiration, pleading for motivation, I cage nature.

IMG_20190330_144444920_HDR

There is sits.  Mocking me.

DSC_0706

My mind rolls around these visions in my head as the sea rolls around glass, making it solid so you can’t see through it, you just see it.

IMG_20190401_164633524_HDR

I stole from nature for my own pleasure.  To turn nature’s art into my own.

20170801_190206

Who was I fooling?

IMG_20190420_105523633

Nobody can do better than this?

578691524.jpg

But Yet I Try.

My Vintage Watercolor Pencil Version of the photo of nature above.

I won’t try to insult it by calling it anything other than “Sand Sea Sky”.

20190509_171812-ANIMATION

Why I love Photography, I pluck it from where it is supposed to be yet keep it there.

Thank you for allowing me this musings.  I hope you enjoy and will visit again.


Screenshot_20190512-145323


I’m a Hard Core Auntie because…

20161020_065648

I Encourage My Nieces and Nephews to Make!  Okay, sometimes I Make them Make!

IMG_1501190073994

But not with cooking or Drawing!

This is my Mirror Identical Twin Nieces Drawing a Picture, Together, at the Same Exact Time.

Isn’t that cool?  (PS…I did not teach them to cook or drawer, but I encourage it.)

I have taught them other Creative Things….

By way of Helping this Aunt Upcycle, Rehab and/or Fix!

2016-10-23 15.07.31

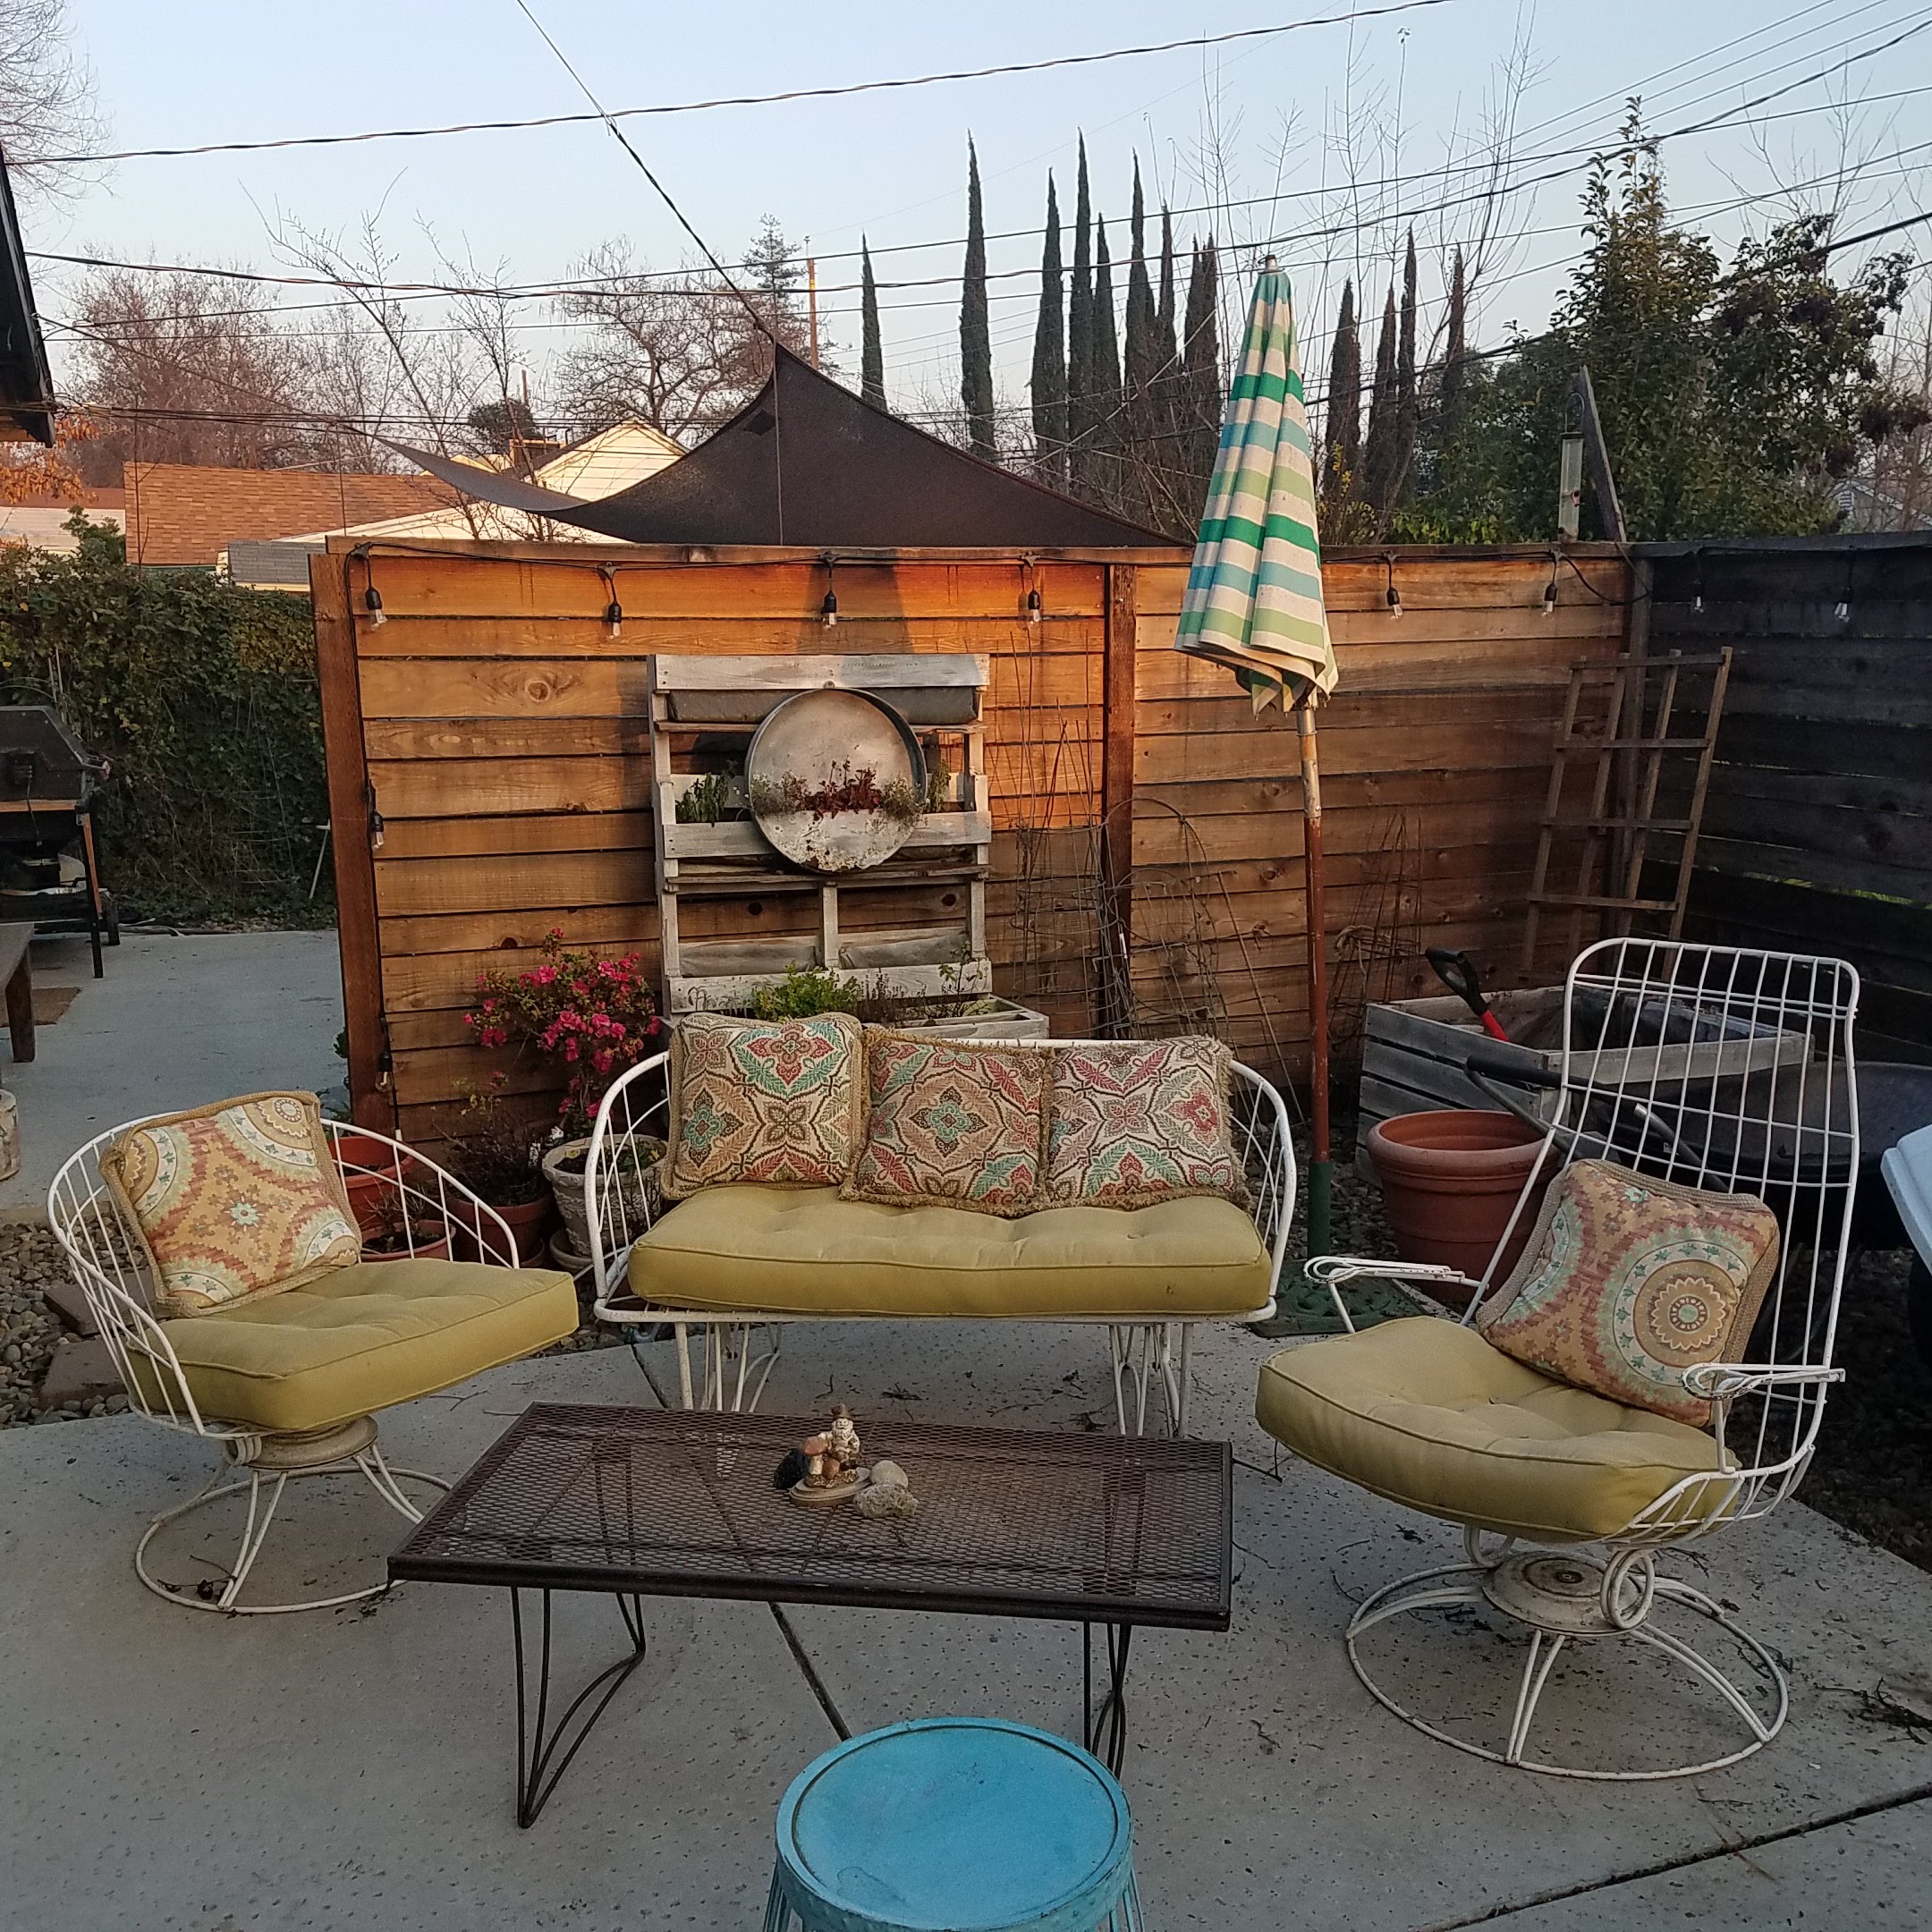
I got these old, Ratty, painted gold Chairs for Free. I thought this would make a Good Learning project for my Brother’s Kids!

20161019_162205

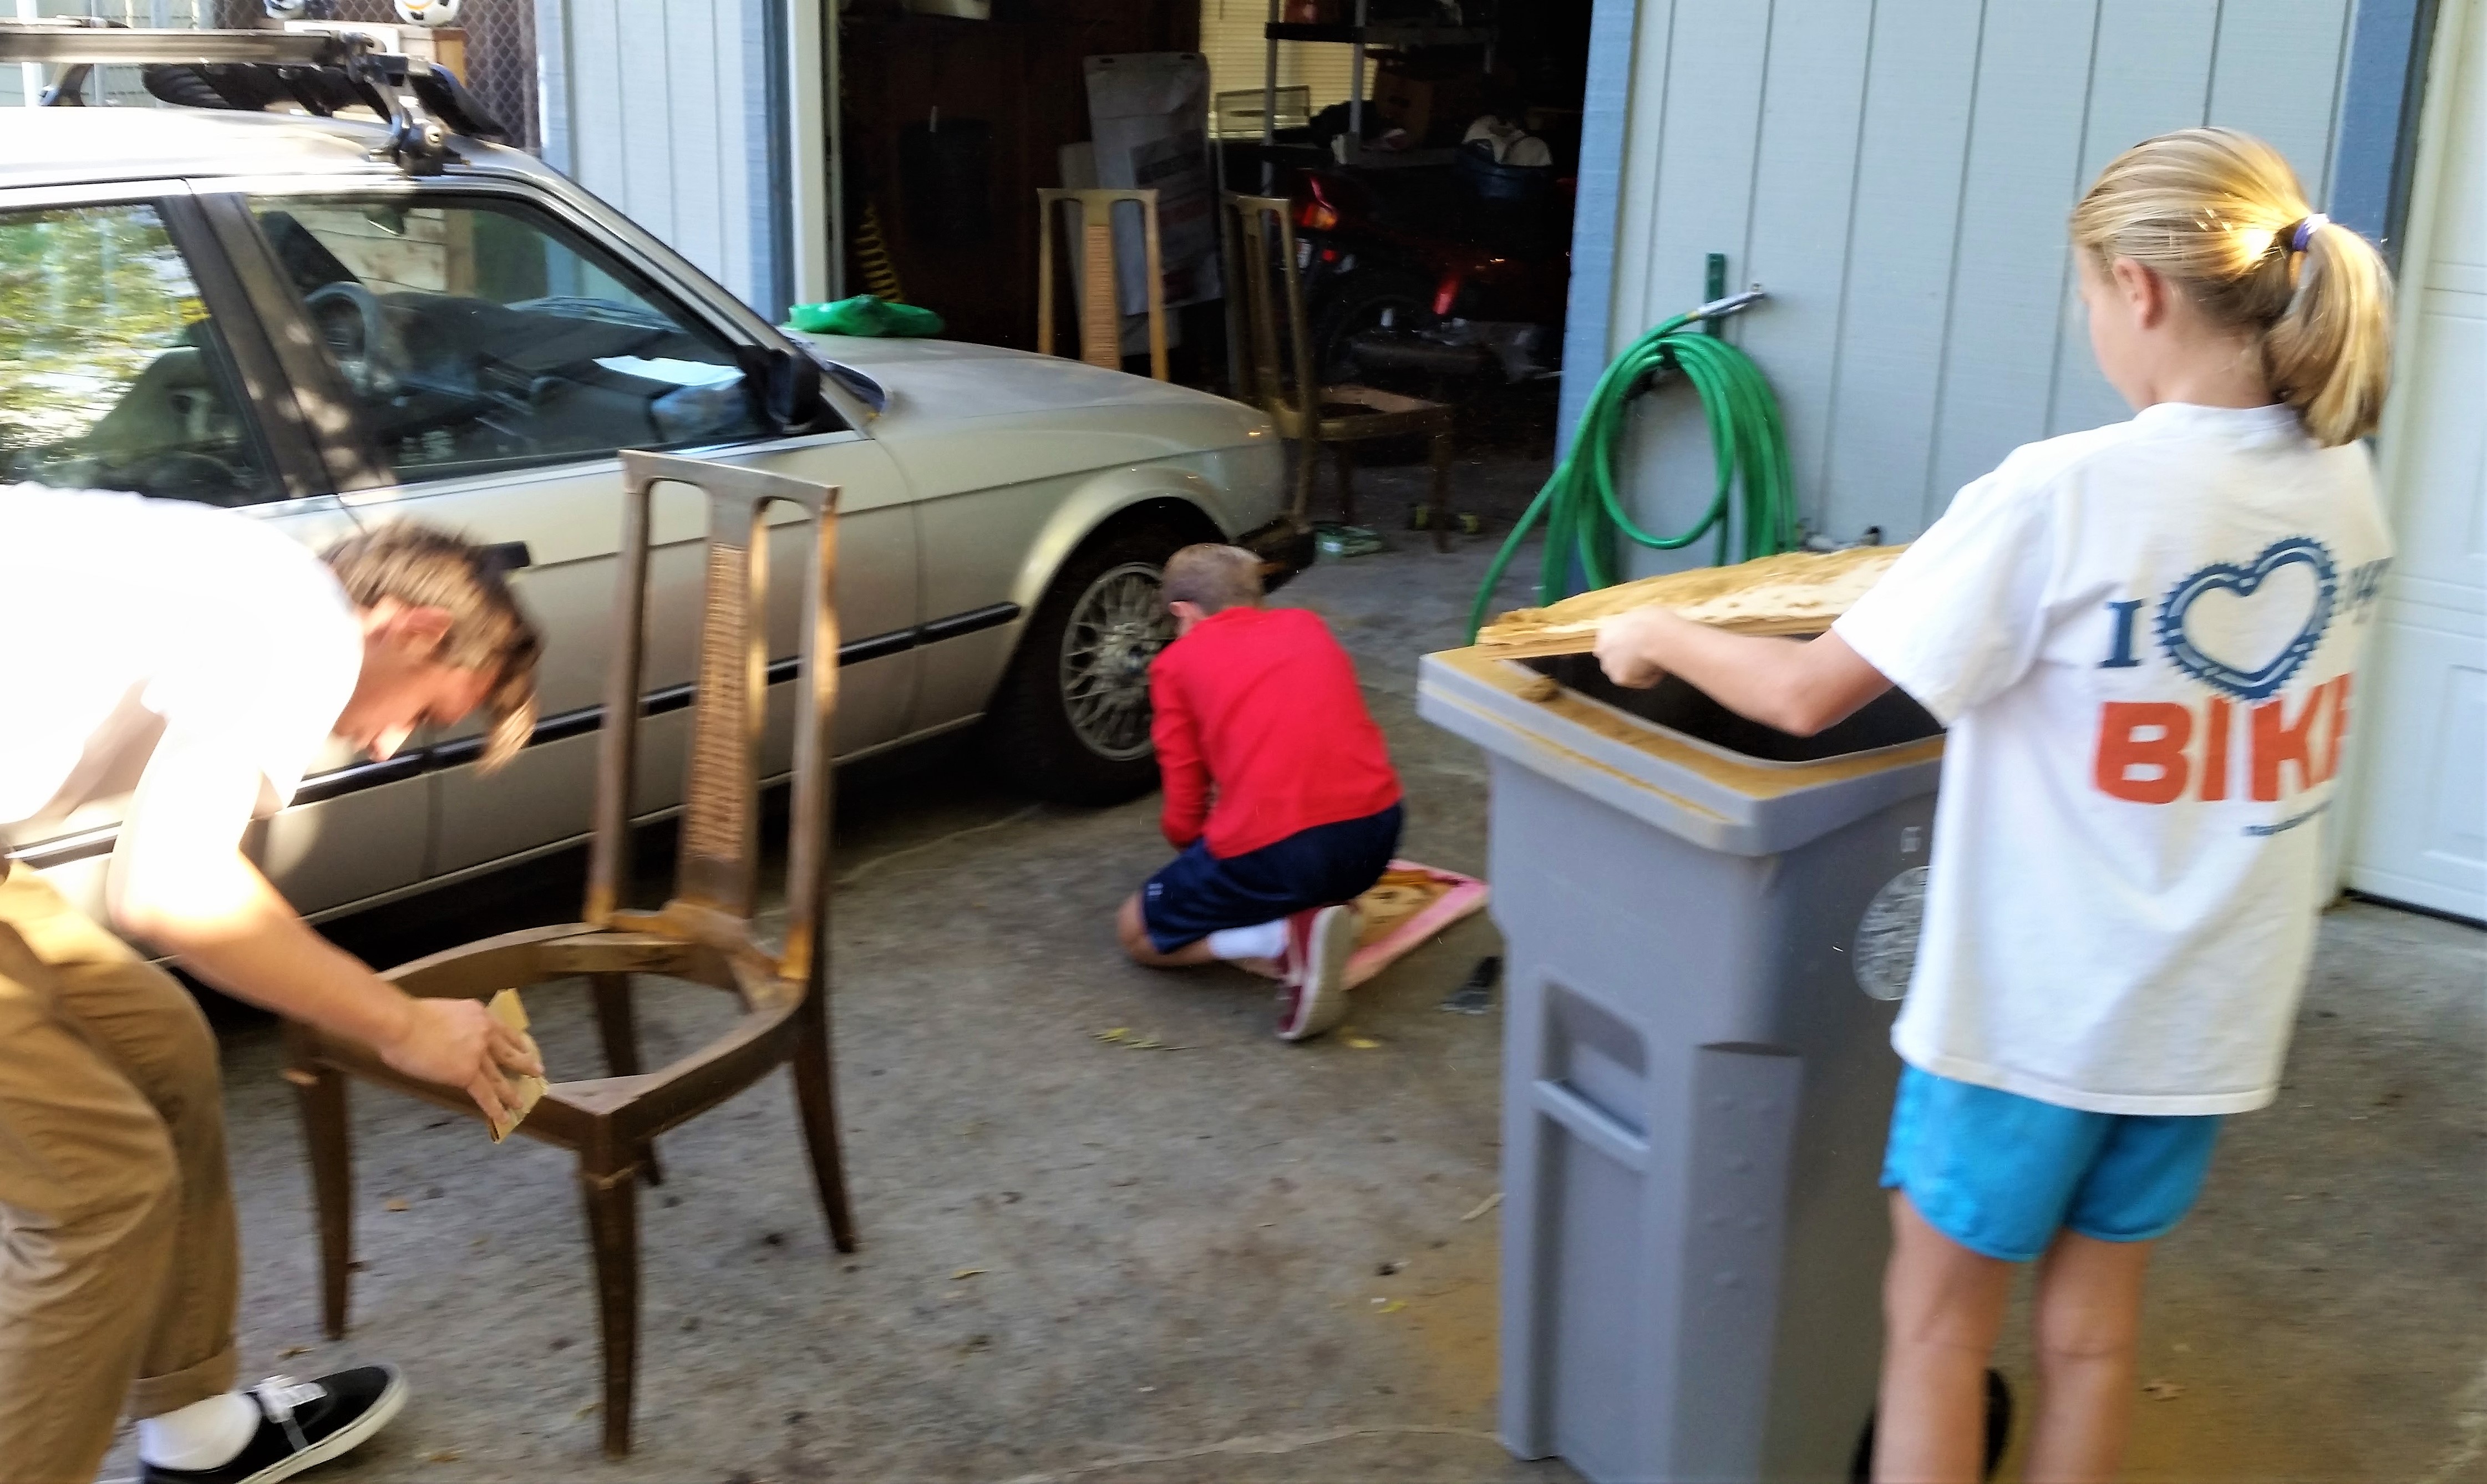
I was surprised, because ALL three, even the 15-year-old brother, got into it!

The took Apart the ratty seats with disintegrated Foam and weakened zig-zag Wire coils.

20161022_151420-1

And with the h=Help of Uncle, they Built the Seats back up Again!

20161023_105139-1

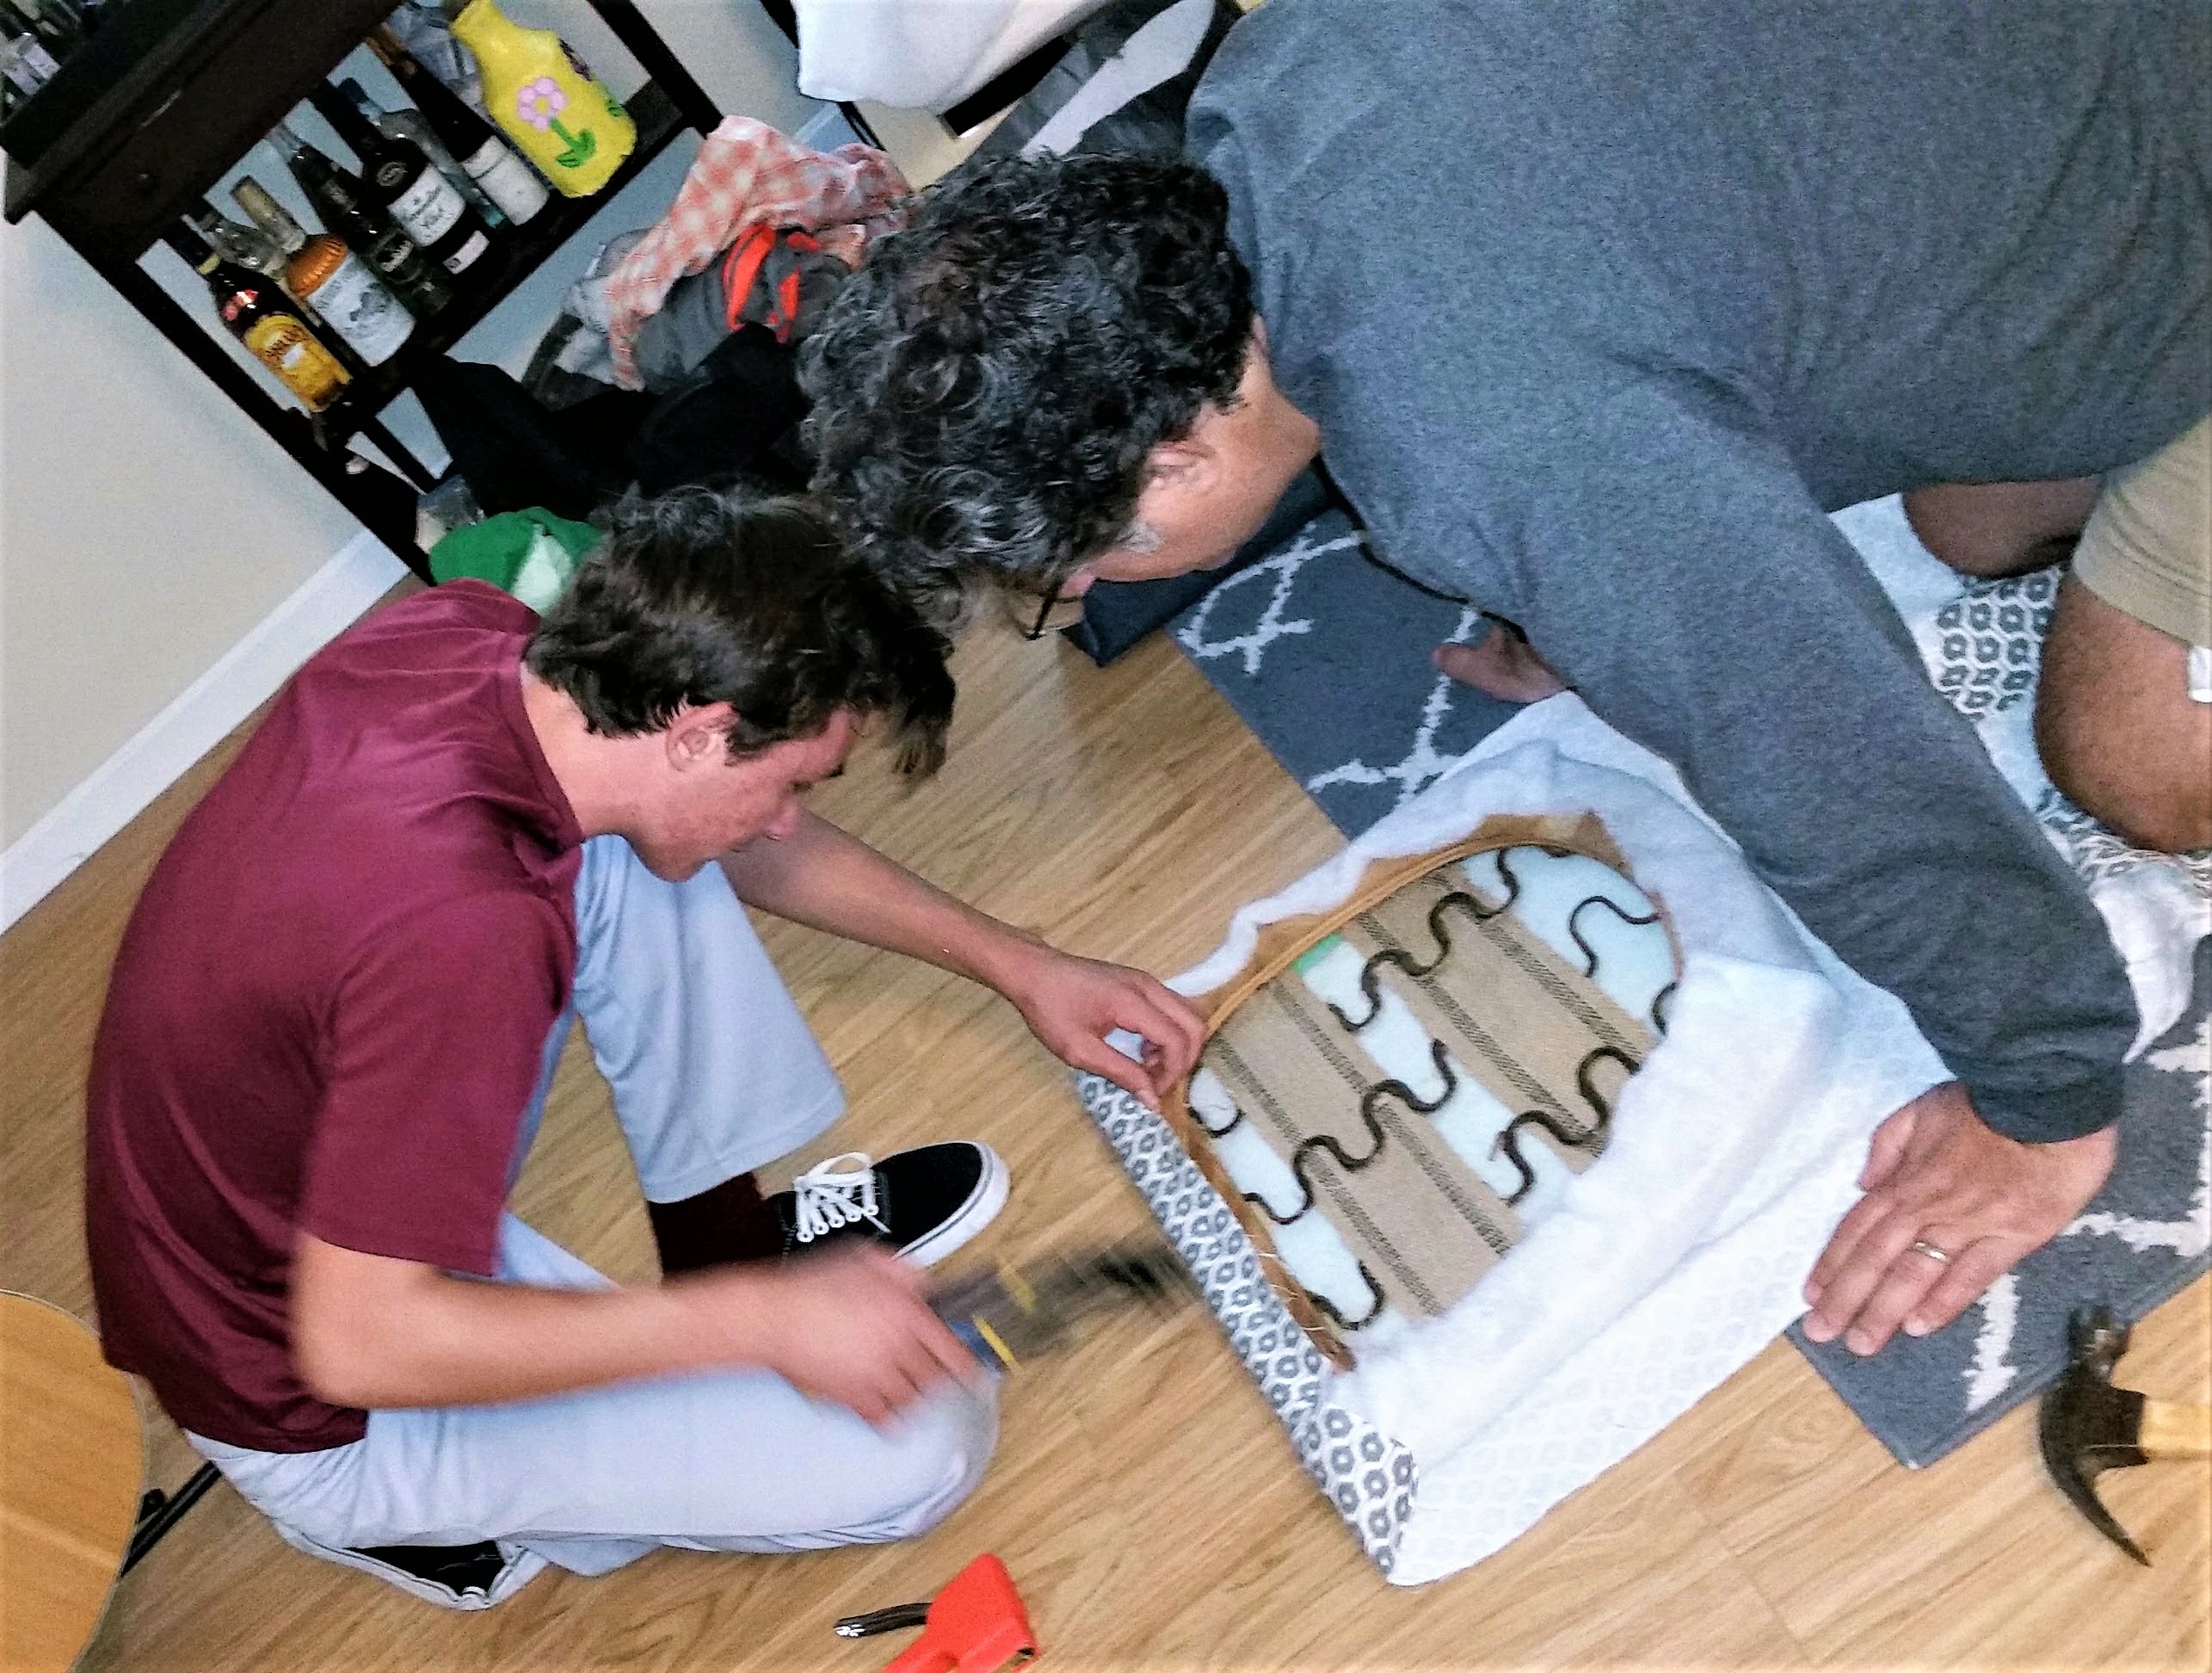
They Added Batting to the new foam, again, with the help of Uncle, and of course, Under my Direction.  I was solely Only the Project Manager on This Remake!

20161022_162911-1

Then the new Upholstery was added to the fixed seats!

But we Were Not Done Yet!

20161022_162920

After a Full, but light Sanding, they spray painted the Chairs!

20161023_141525-1

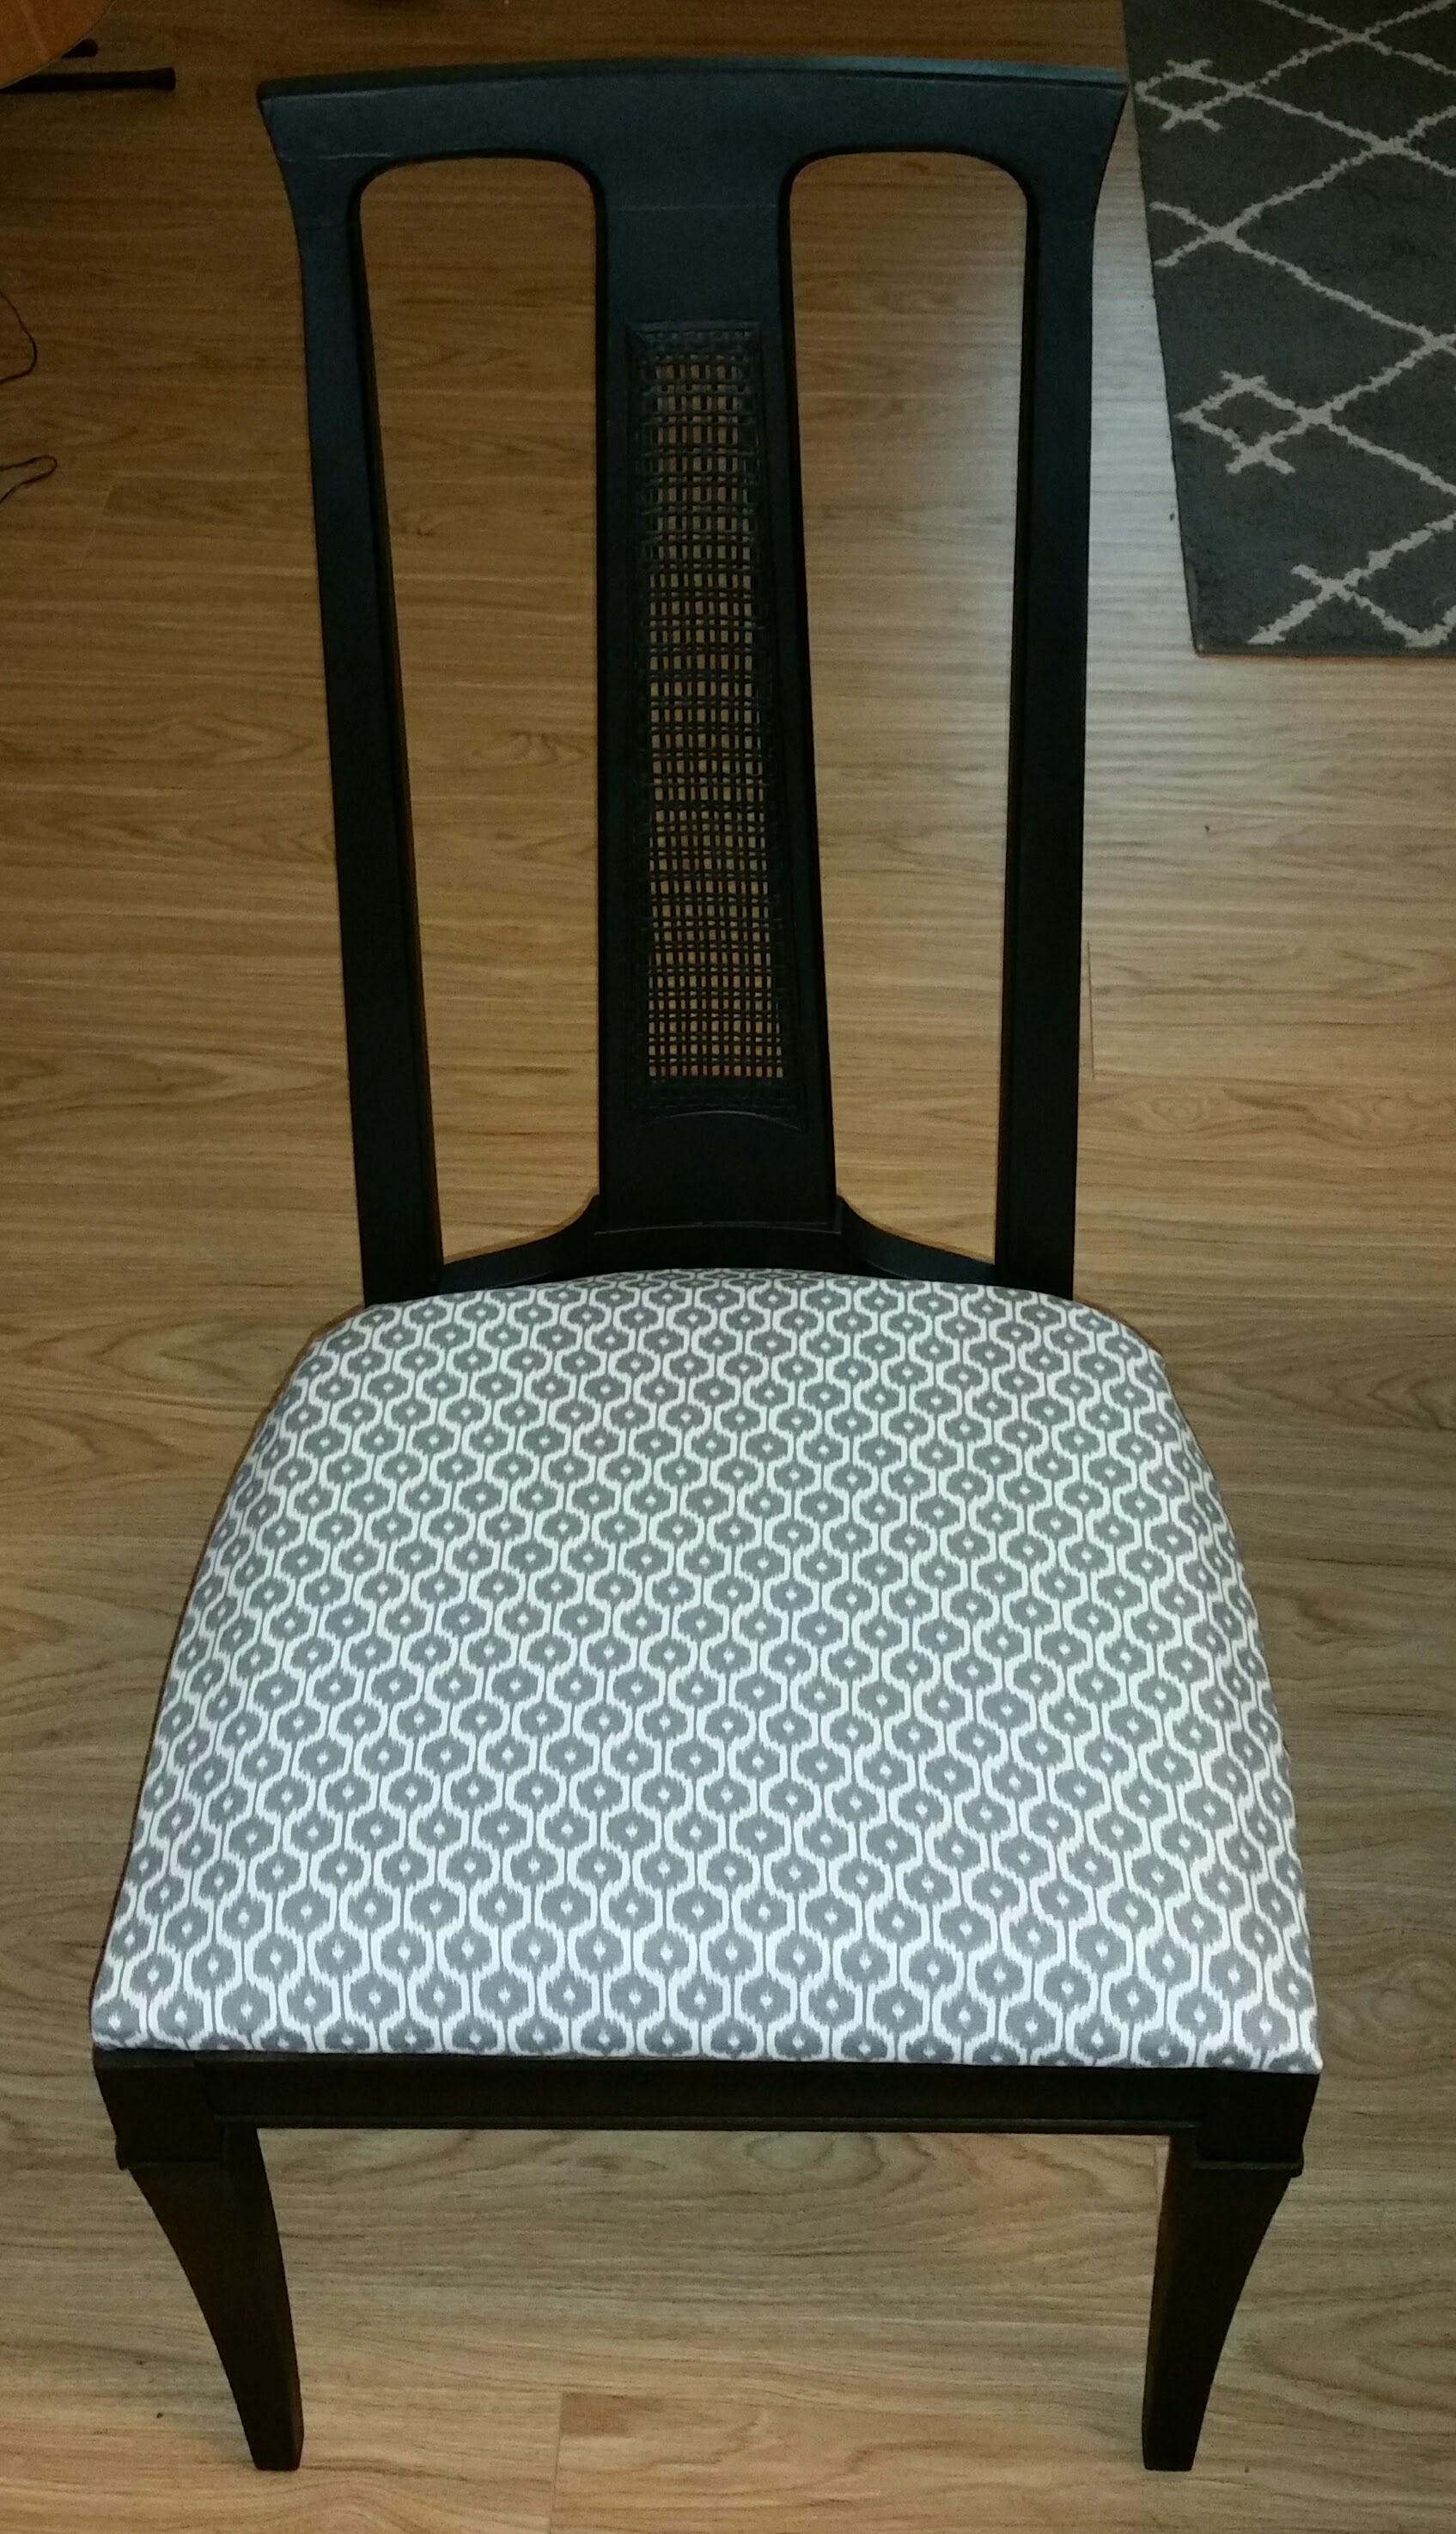
When Dried, they Put the chairs all back Together again.

They were so Proud of Their own work!!

20161023_141352.jpg

So Proud, I just Gave the Chairs to them to use at Home!

And their Creativity has not Stopped There!

My Brother was Gifted a box of old scratched up 45 Records.

20170604_145741

My 15-year-old Nephew was inspired by Them!

20170604_145812

He added Record Decor Along to his growing broken Skateboard Collection.

20170604_151822

He Came up with this on his Own and I am one Proud Aunt!

And his 12 years Sisters make this Upcycling Aunt Just as Proud!

20170706_095908 (2)

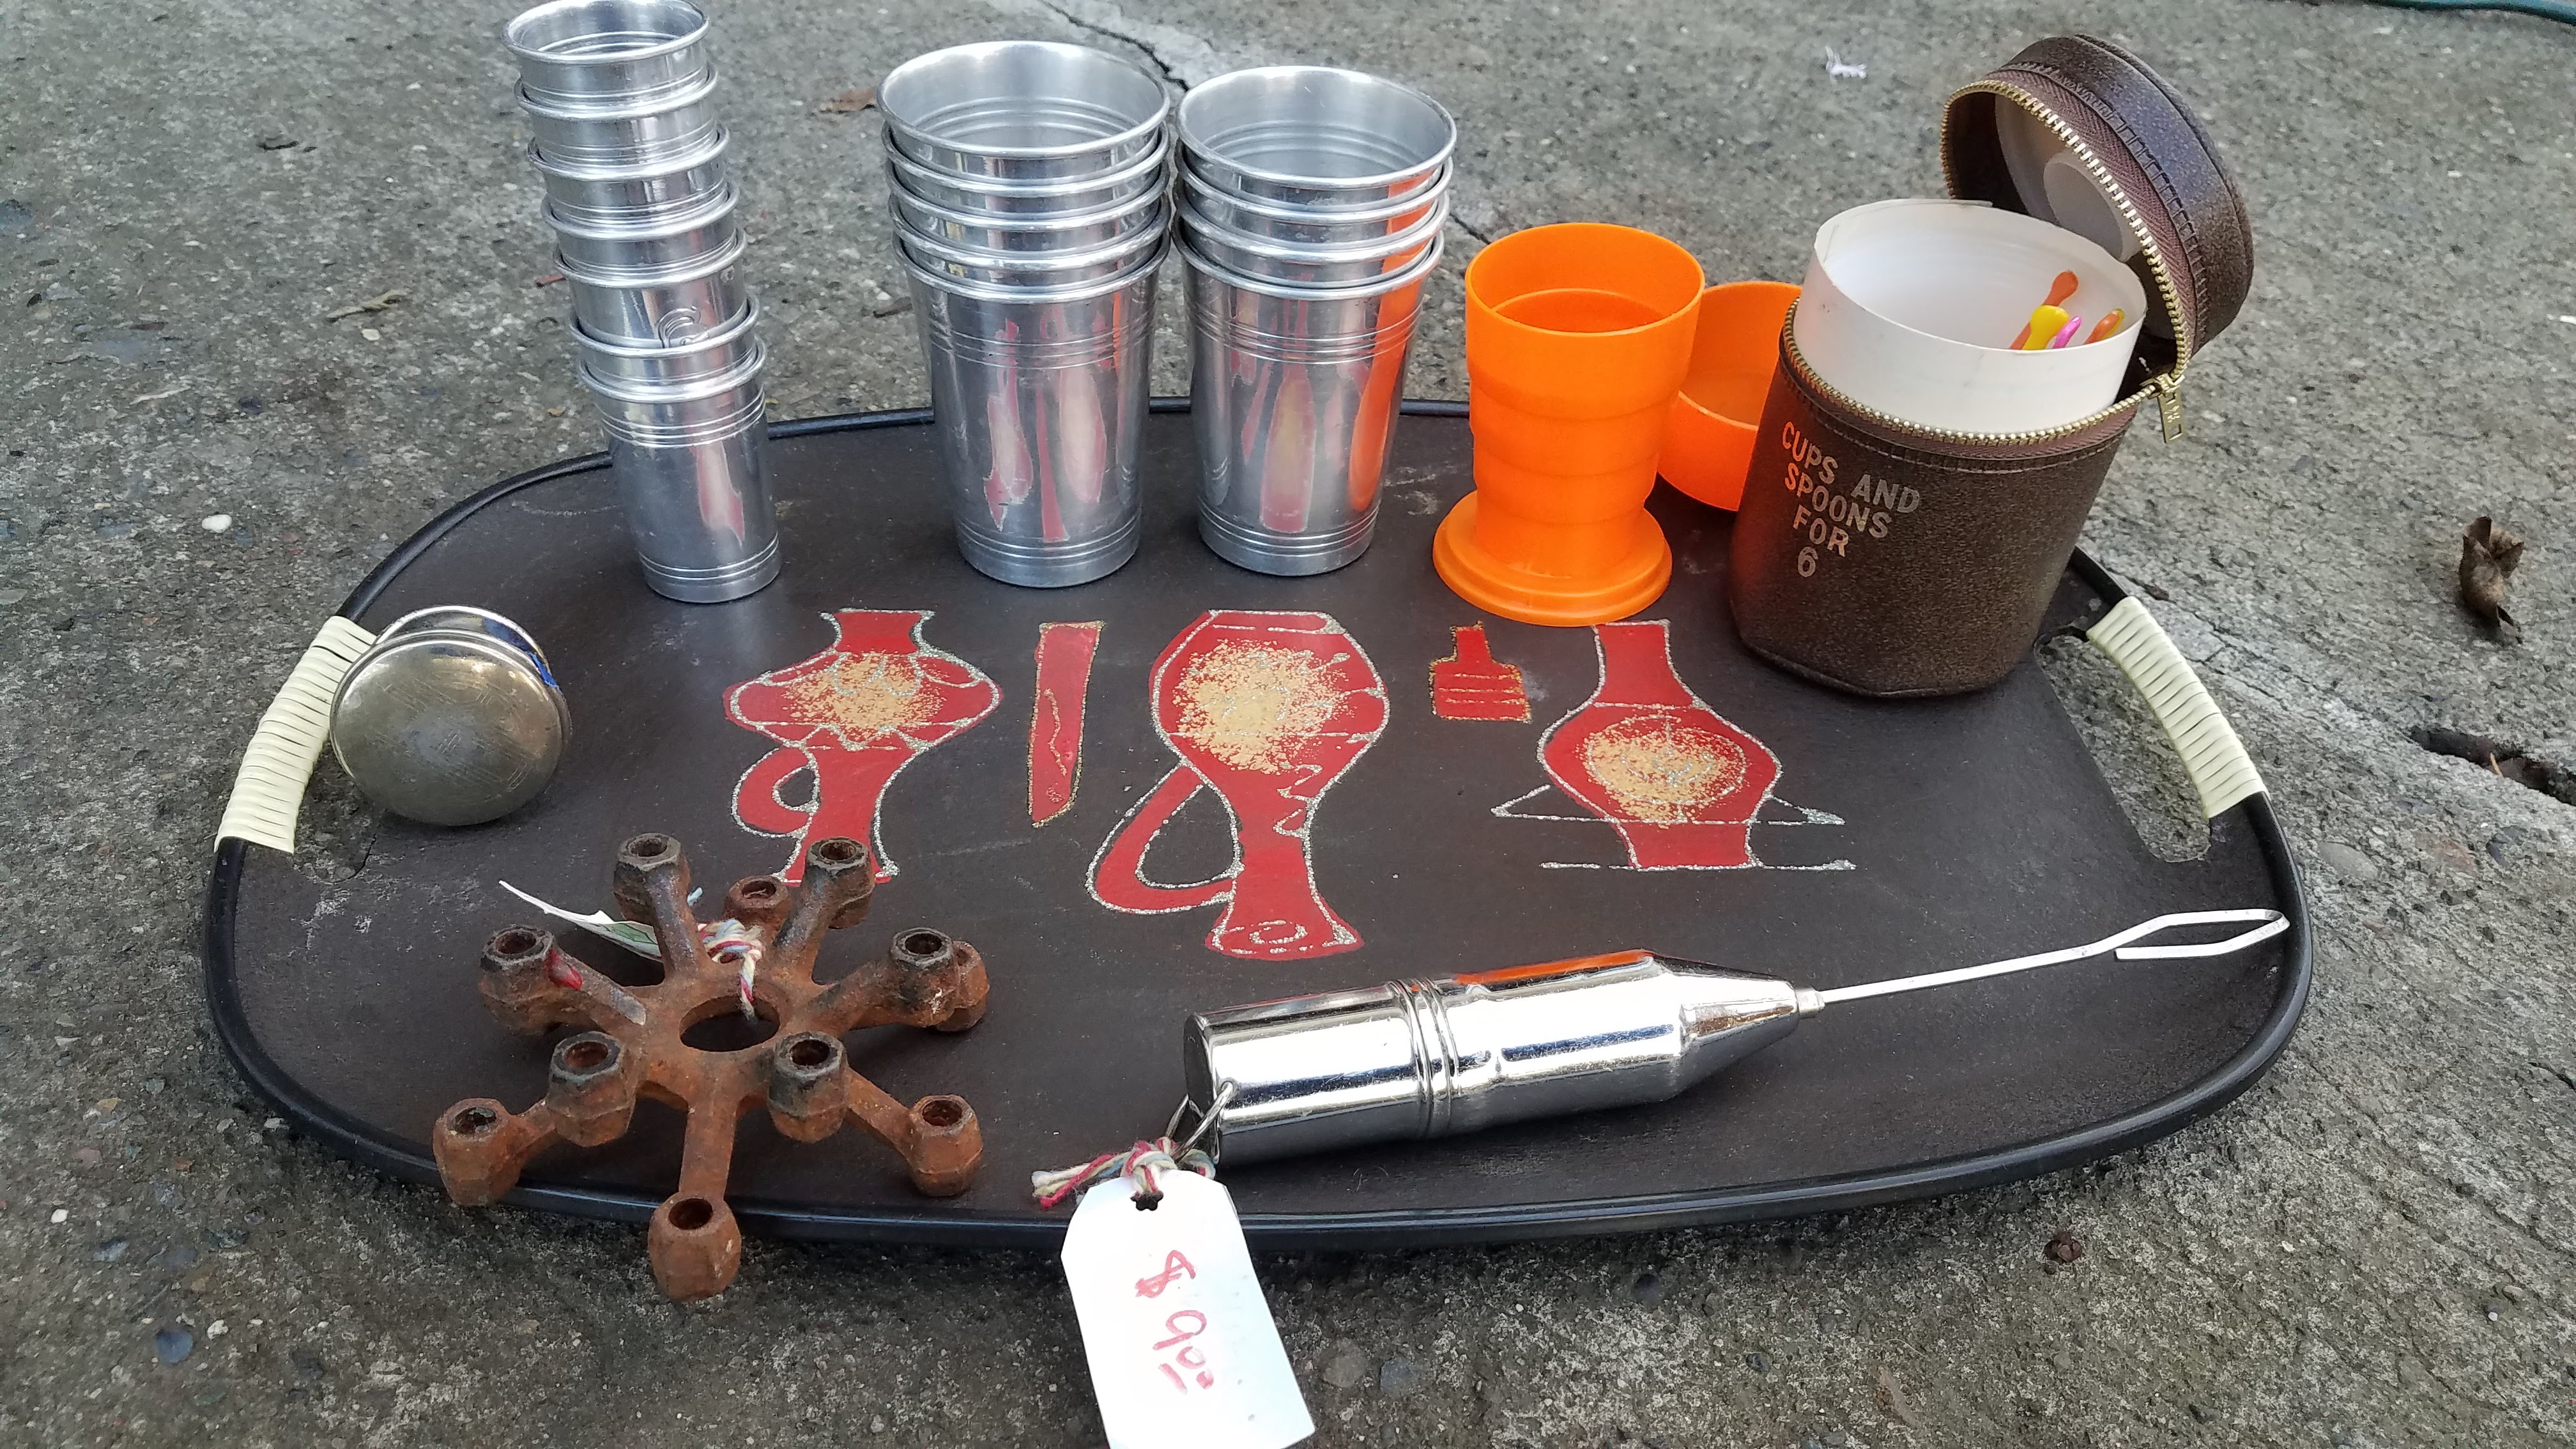
It started with a Curb Alert Free Stuff Pile where I got to Teach my Nieces Picking 101.  Stop the Car. Get Out of the Car. Take a Real Close Look.  My nieces Loved a couple of Wood Boxes in the Pile.  And Of course I eyed a Mid Century-ish Metal Stand or Table Base.

20170706_095908

They put the wire table together with one of the wood boxes and made a table.

20170706_110312

Then they added a Lower Shelf!  Now they have a Bedroom Side Table that Holds their Pet Rat’s, Ink Spot and Einstein, Cage.

And Speaking of Ink Spot and Einstein…

20170730_101112

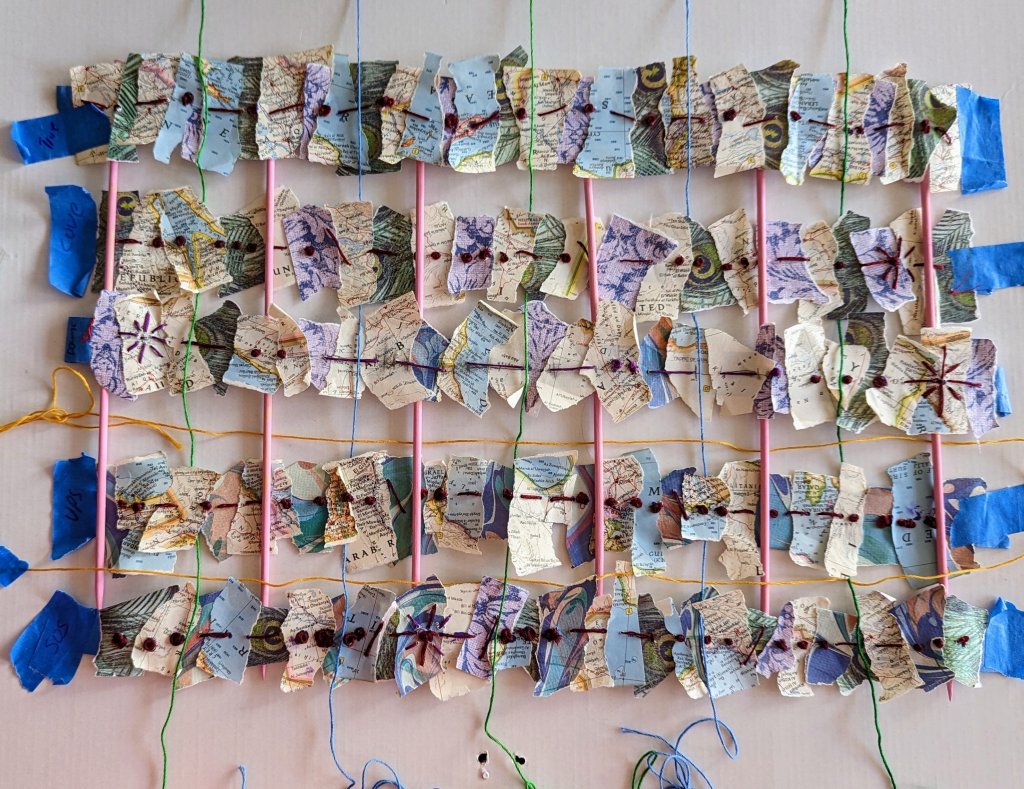
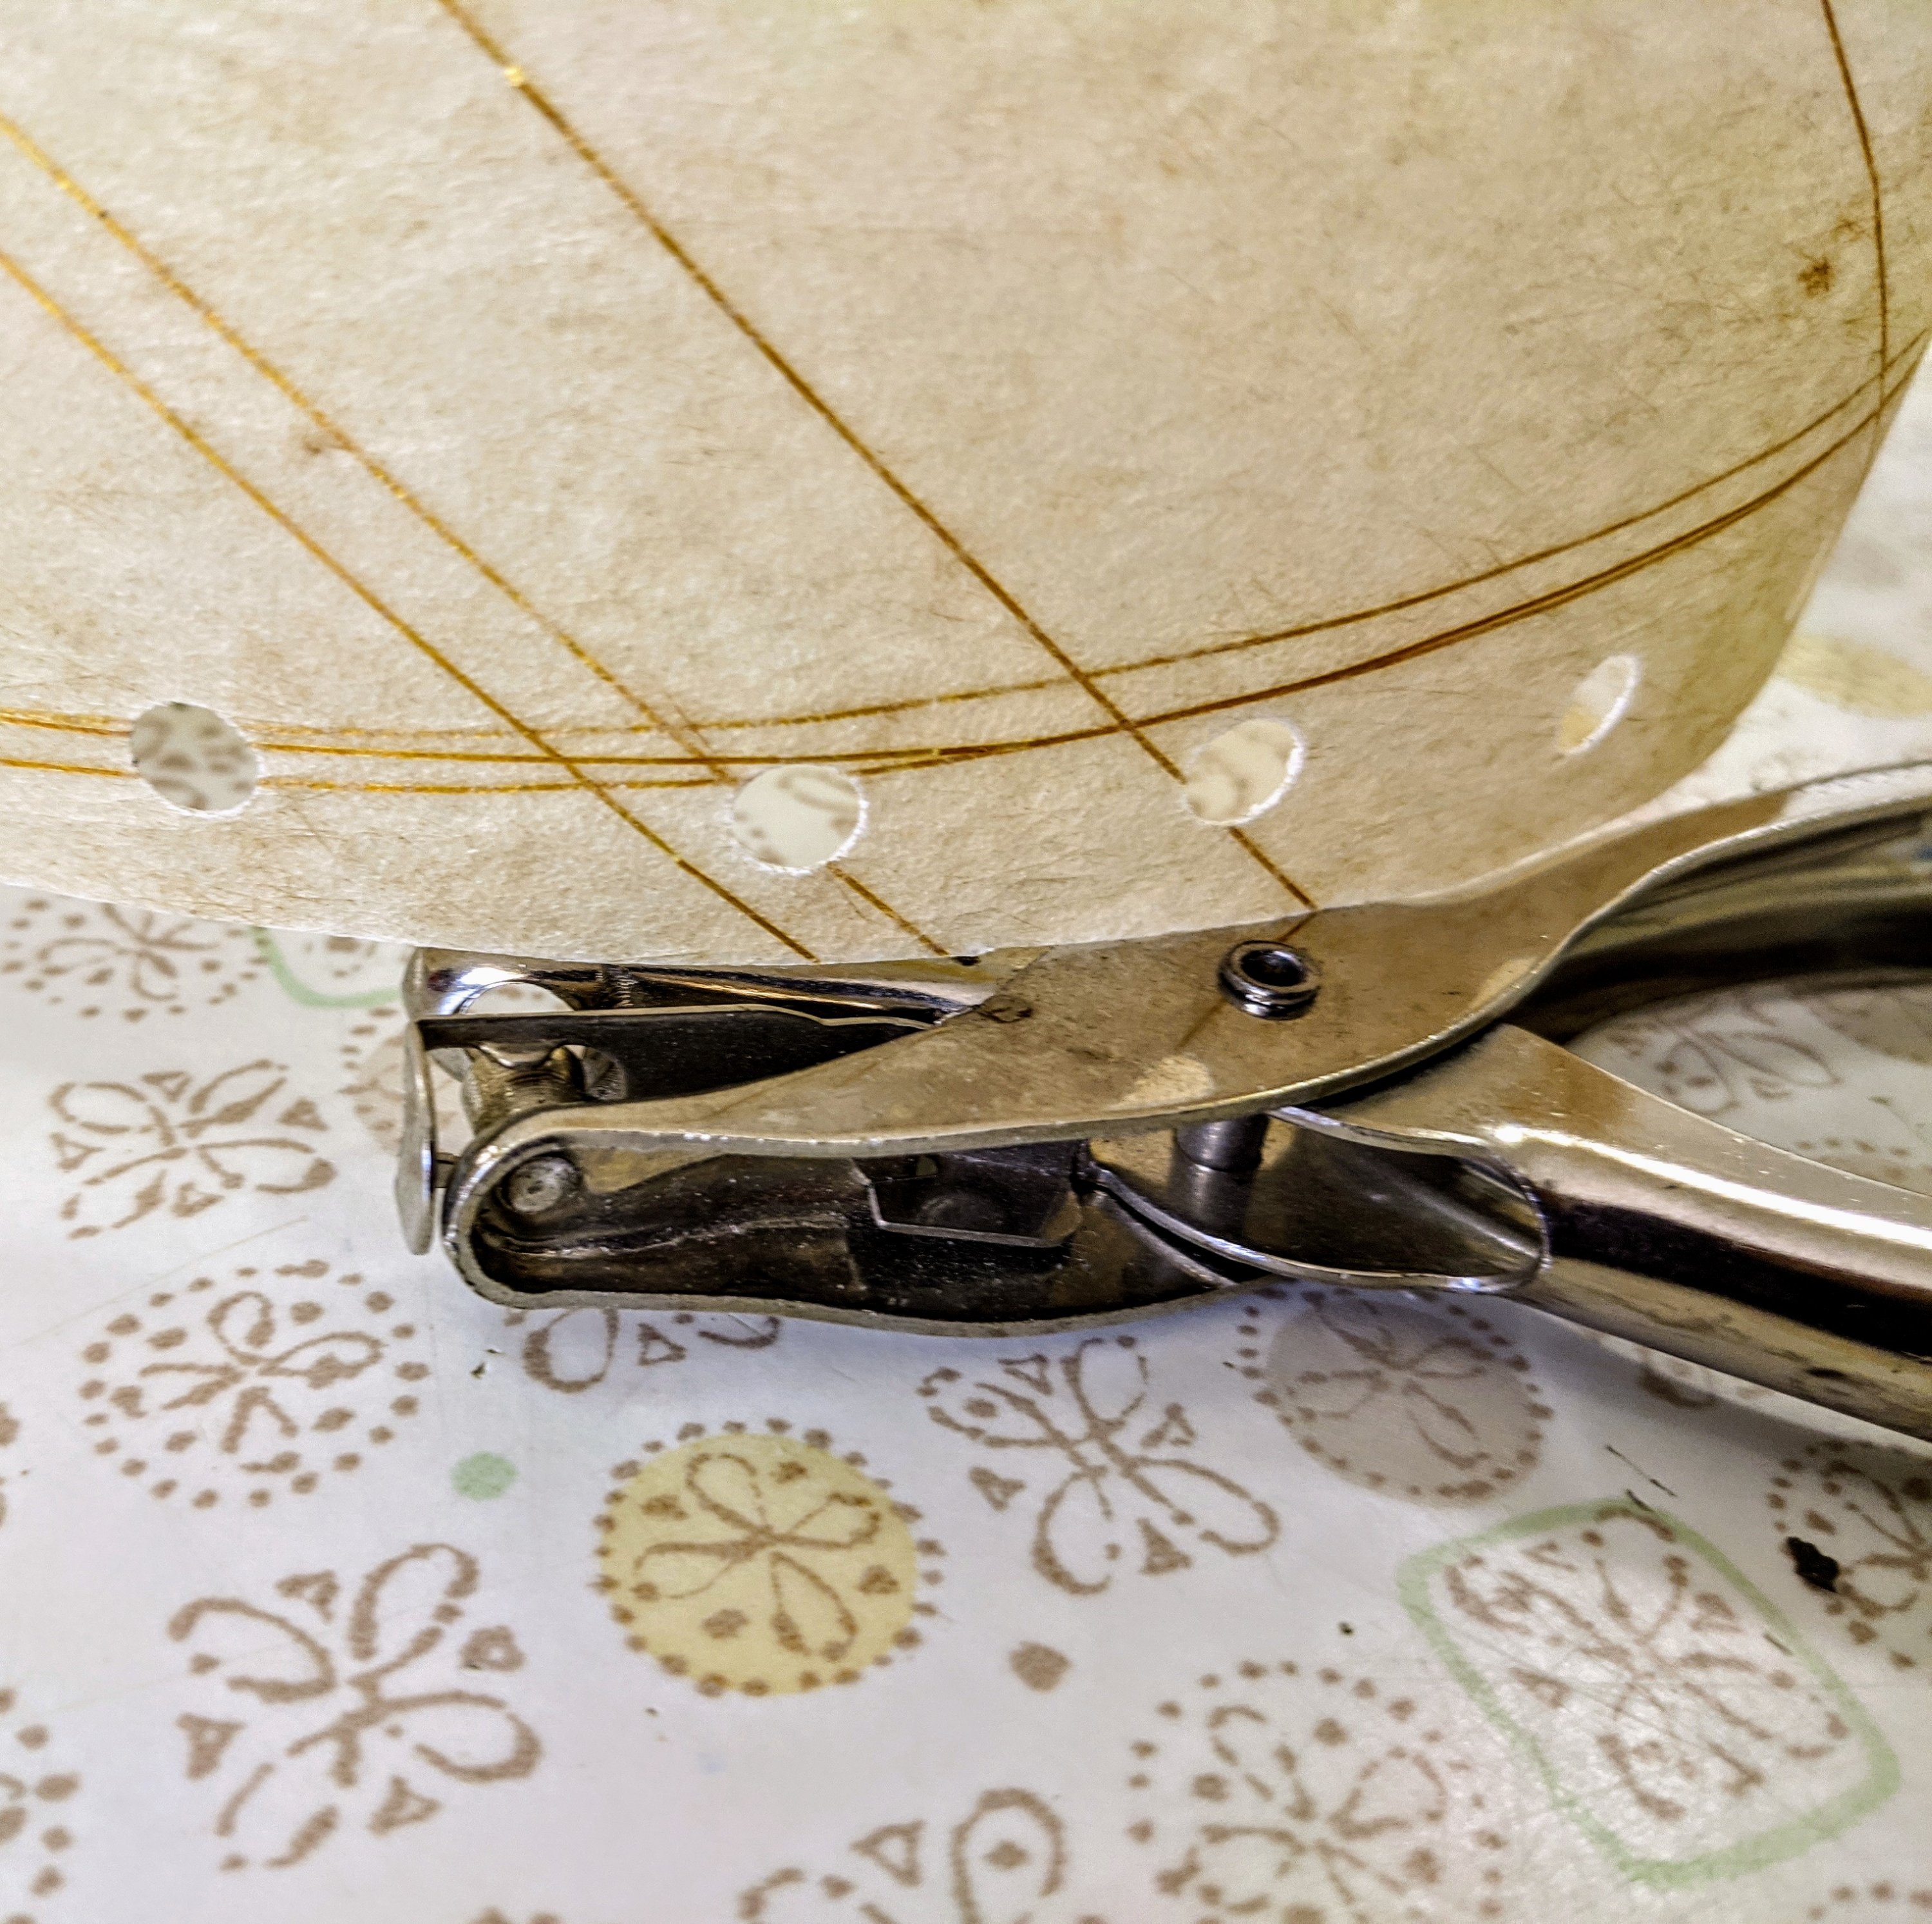
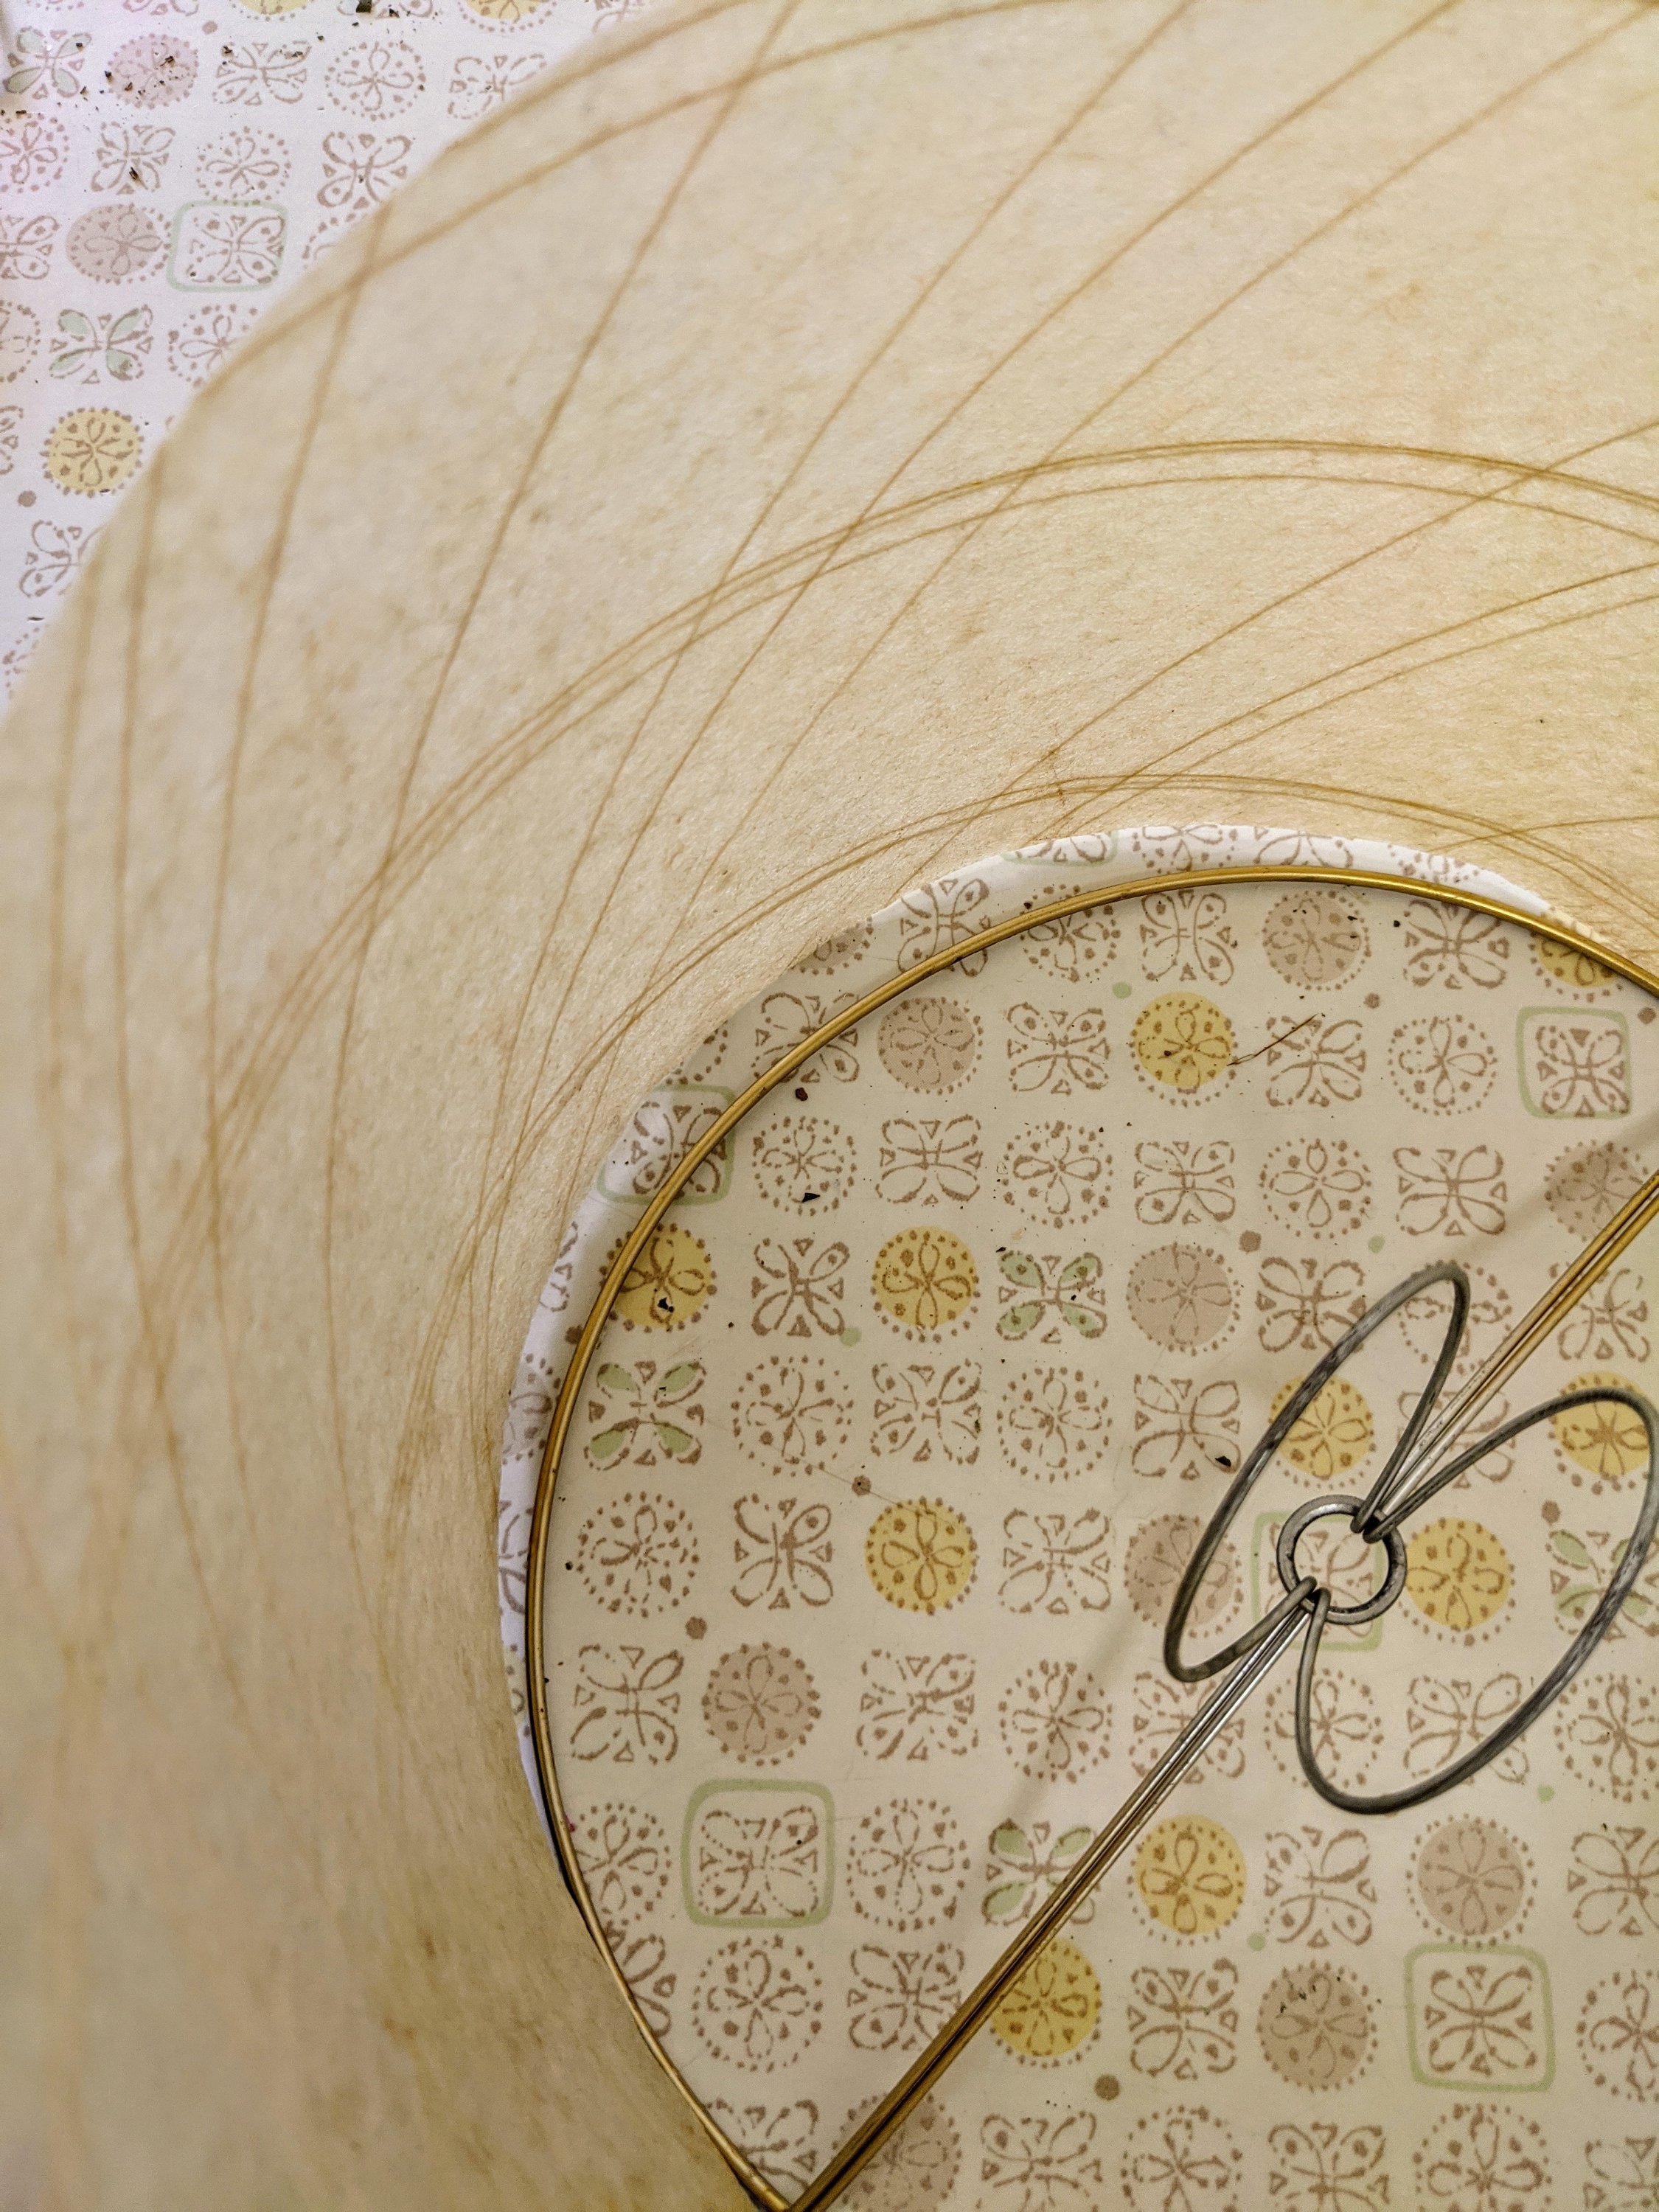
The Twins looked up Online How to Make a Rat Cage Hammock and They Made one All on Their Own.

Look Close at the Stitching…Isn’t that so Cute.

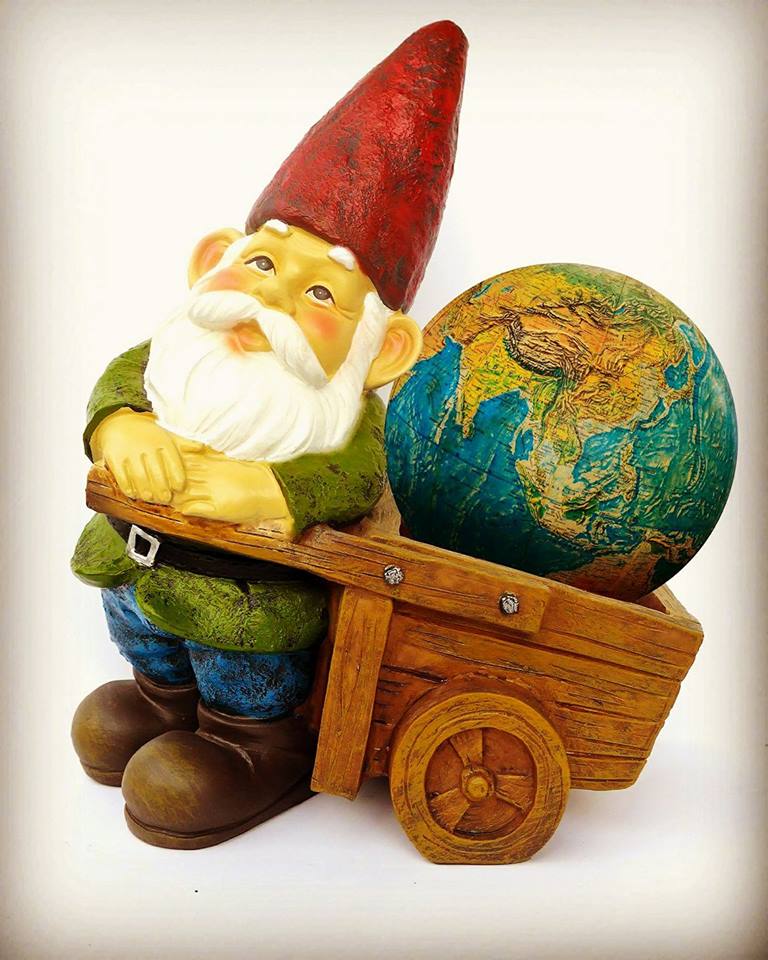
Then there was this…

DSC_0446

We Took her Camping and she Whittled a little Man and then added the Moss Hair.

Her Idea and Her Work.

I Love seeing the Creativity Grow in Young People and am Fortunate to be Able to see it First Hand in Some of my Nieces and Nephews.  I can’t wait until my next project with them!

Also, I Feel my Very Own Creating Mode Coming Up.                                                                So, Stay Tuned for my Next Creative Blog!

Thanks for Visiting and Do Please Come Again!
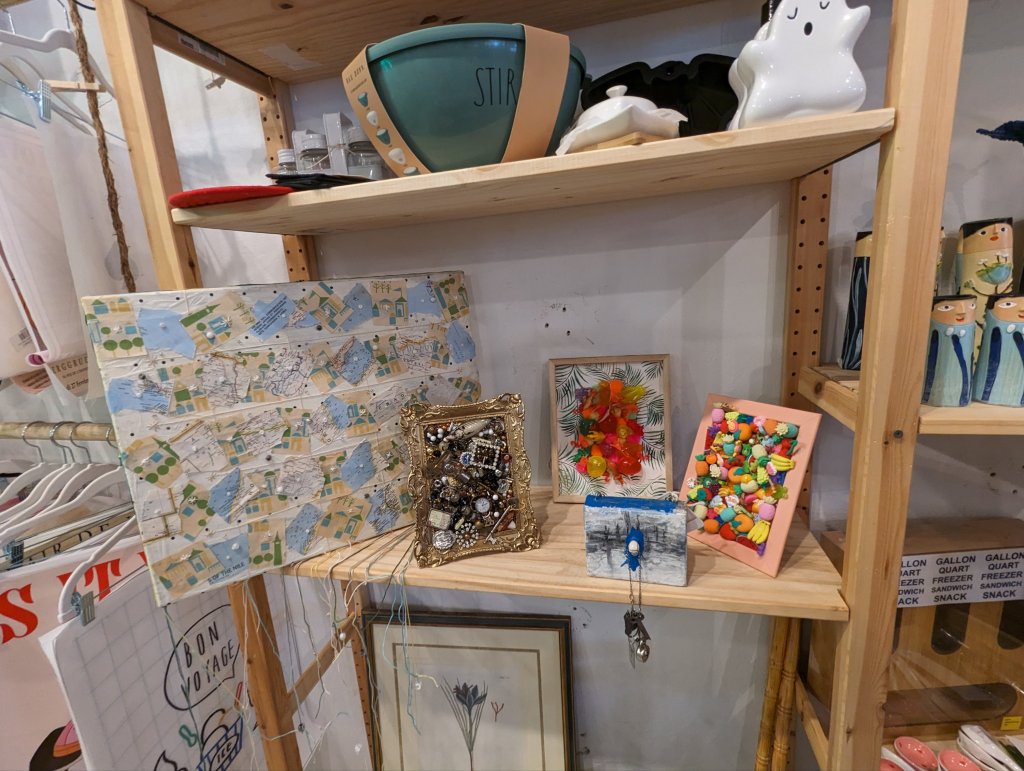
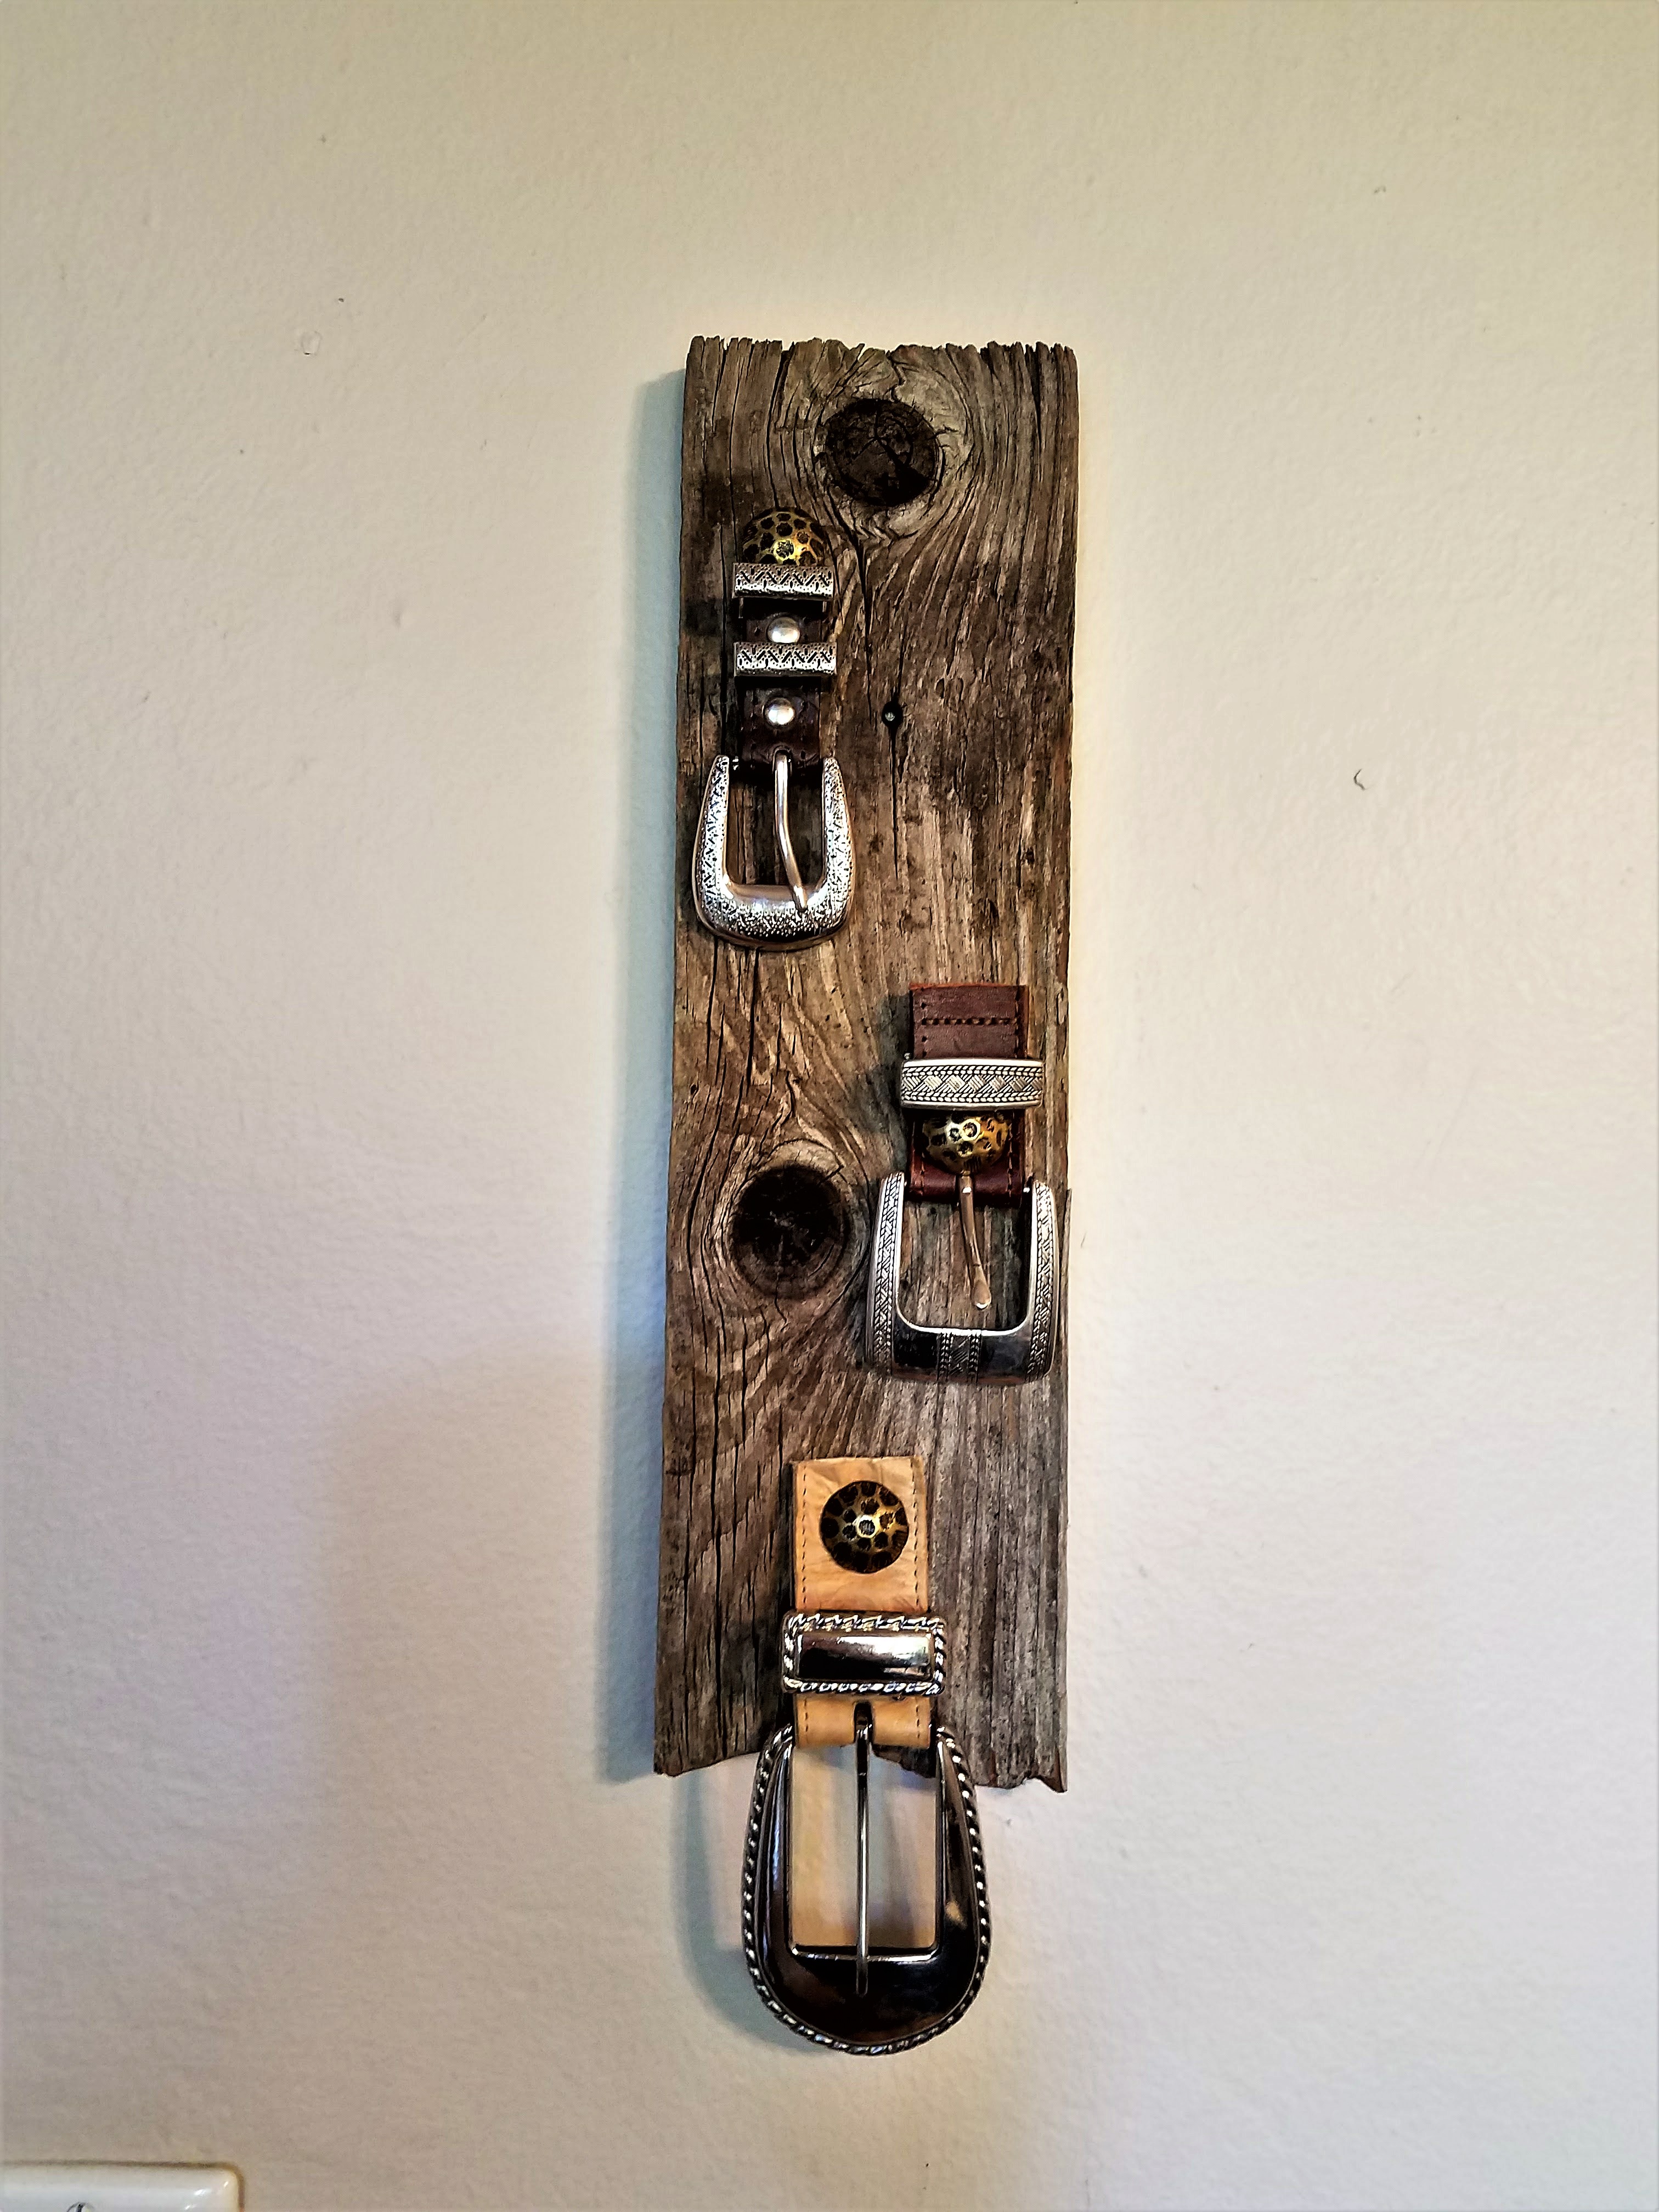
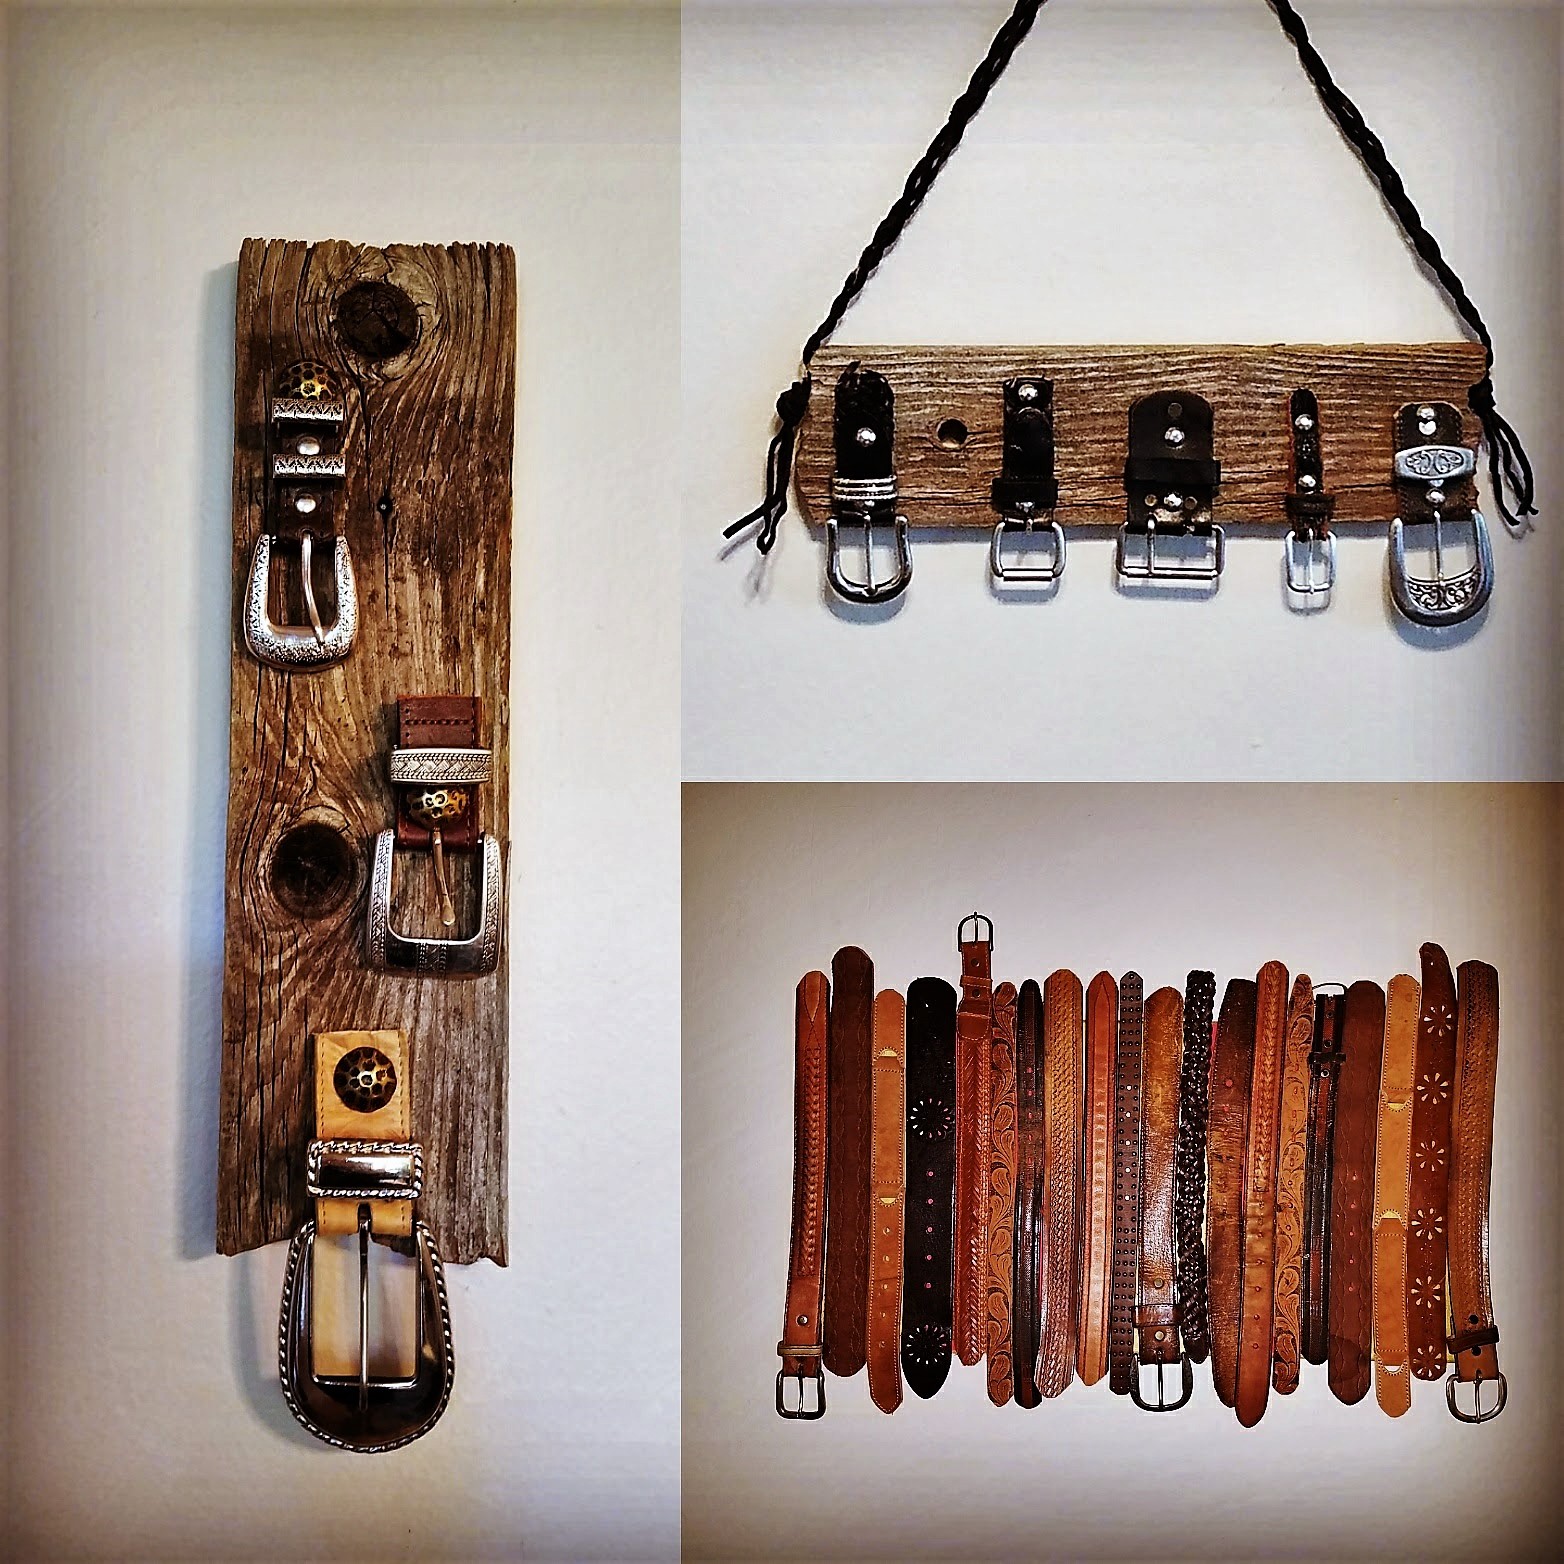
Gnome


We moved closer to the In-laws and I developed a hang up for a pile of old fence boards that have sat on their side yard for ever.

I finally got brave and asked if I could have some and then My Big Hang Up Started.

Okay it started with this…

Rack6 (2)

I picked up this cool piece of wood and then made this necklace holder from it over a year ago

I make art from old leather belts, so I have a lot of belt buckles hanging around.

And then I made this out of the other half of the wood.  Rack4 (2).jpg

I realized I like making hanging racks out of interesting and unusual bits and pieces.  Although hard to tell between my cool old kitchen gadgets, the rack is made from old metal water facet knobs and big butterfly screws.

So once I had the fence boards…The Hand Ups Began!  I started to dig around in my widgets, gadgets, screws, hooks and thingies.

Racks8

I went first to my mass amount of belt buckles and made a couple of my mini necklace holders.

Rack7

I have been noticing mermaids a lot lately because my older sister who was diagnosed with Stage IV cancer last year loves them.   So, I have mermaids around and made this beachy themed key and coat rack.

Racks9.jpg

I dug deep and found these huge screw things with a nuclear-ish symbol on the ends.  I loved them and finally found a project for them!  They would make great “hooks” for a coat/jewelry rack!

Rack3

I had more wood but was running out of ideas, so one day I really dug through my stuff and I did not even know I had these little red hooks.  I love the bright color against the awesome worn wood grain.

20170809_170216 (2)

This one makes a Great Industrial Chic Necklace holder!

I ventured out from just making racks, I made some signs too.

Rack2

Vintage and Ready for Sale.  Original Handmade Art Things made from Vintage Stuff!

Easy to Make your Own and Easier to Buy from Me!

My Favorite sign is the one I made for my brother for sales we do together.

Rack1

I Introduced my brother to the old fence board and now he has his own line of cool things.  Come to one of our sales!

Rack5

I hope to open up an online store again soon too.  So you can shop directly from the comfort of you home!

Thanks for visiting and Come Again!

Gnome


Mix an Outdoor Shower and a Visiting Sister…

20160822_175434-1 (1)

And you get Motivated to Build an Outdoor Shower Enclosure!

20161215_120759


Our Home, The Gnomad Pad, is in Florida where Outdoor Showering is Quite Nice. This Shower is in a Corner were the Air Con Unit and Near Where We Put Our Garbage Pails so we decided to Hide it all, not only Naked Bodies.

Well, after many discussions between the Hub and I, it was decided that the Fencing Needed to be somewhat Mid Century-ish and there will be an Arbor.  Lots of sketches were made and Pinterest posts were looked at…and finally we agreed upon a Design.

20161215_165328

The Shower area is coming together.

20170303_124635

Fencing is done…but not the Arbor.

IMG_20170307_132154_631

Using the Shower Before it was Done…but the Arbor is Up!

20170310_091703

The Staining Process. I stained the Whole Fence and The Hub did the Arbor.

Okay, He Built 96% of the Entire Thing On His Own!

20170310_115423

It’s Done!!!!  Even with Bougainvillea planted to Climb up the Arbor!

You may notice the far right gate door is darker.  Well, when one goes crazy staining all day without mixing the gallon of stain, the bottom of the can is darker.  What is done is done, but there you go…Do Not Do That.

20170310_115438

The Shower Outside…

20170310_115040

And Inside…Even with a Dedication Sign to My Sister!

IMG_20170309_083359_776

I Did The Shower Floor…And I am Digging it.  Simple Blue Spray Paint, then a Wash of Light Blue Paint Brushed over it.  Rocks, Shells and there You Have it.

Had the Board Laying Around and Just Handed Painted it.   My Sister Loves Mermaids and she is Fighting Cancer, So I Made the Mermaid Bald.  She also has a tattoo of a Starfish because if they Lose Arm, they just Grow One Back which is a Testament of How She has Lived her Life.

Cancer will Not Beat This One.

20170308_111327

One side of the shower is open to this large bush.

20170310_120235

The Very Cleaver Hub Came Up with a Non Rusting Door Latch.  And he Made it with Love.  The Wood Had a Heart on it and he Just had to use that Piece to Go There.

20170310_120143

That Little Blue Dot is how you Unlatch the Door.  So Cute and Cleaver.

And if You Want to Shower After Dark….

20170310_131156

We made a Light out of  a natural Cup Sponge found on the Beaches in the Keys of Southern Florida!

Can’t Wait to See it Being Used for a Mini Family Reunion This Summer!

Homes…

One Step at a Time!  Next is the Back Patio!

20170308_093023

We did Plant these Palms Hopefully to Grow and Block Out the Neighbors Ugly Side Yard and to Block the Neighbor Out too.  All our Neighbors are Great Except this One Person, who Killed Our Orange Tree. See an Earlier Post to Find Out How I Made Lemon-aide out of that Dead Orange Tree at  https://ourownbigworld.com/2014/10/08/passive-aggressive-diy/


20170308_092917

Now We need No Rusting Matching Patio Furniture.  I am Making Sheer Flowy Curtains, but there Needs so Much More Work to Be Done!

Stay Tuned!


RoamingGnomadGraphic