I have to admit, I AM a Serial Creator.
In my past, I have killed off many mediums, and then moved on to the next!
Sometimes bringing back old haunts because…you know…they always return to the scene of the crime!
Here is The Life Cycle of This Serial Creator.
Pre-High School: Anything the Art Teacher Would Make Me Do!
 |
| From My History of Creating |
6th Grade: Block Print (Did the carving, water colors and printing!)
High School: Writing Poetry & Photography
 |
| From My History of Creating |
10th Grade: For Photography Class!
 |
| From My History of Creating |
12th Grade: My Nationwide Winning Photo for the “Year of the Disabled” Photo Contest.
I worked with this girl at McDonald’s…she was a friend that was born with just part her arm. I still admire her!
College: Photography & Writing “Witty” Letters to the Editor of the School Paper.
 |
| From My History of Creating |
A couple of my letters to the Radford University Newspaper’s Editor. I was so sassy!
I wish I could still write that neat!
20’s: Making Greeting Cards (When the Name “My Own Little World” was created), & Rock Jewelry.
 |
| From My History of Creating |
One of a series of the “Hill” themed birthday cards. The only sample of them that I have left…because I actually gave them to people after making them! I have a person in mind for this particular “Vintage” card of mine.
 |
| From Safety Pins & Pendants |
My Rock Jewelry. I actually still wear these! Timeless Beauty!
30’s: Writing Children’s Stories, Making Greeting cards, & Creating Small Odd Gifties.
 |
| From My History of Creating |
Bookmarks that I thought were awesome…not so much now.
You should have seen the ugly Christmas Ornaments I made in the same design!
Ack!
Sorry friends and family for that “creative” period of mine!
But I still love the below creative flow!
 |
| From My History of Creating |
A variety of my Christmas Cards!
There is The “Gangsta’ Santa” one , The “Safe Sex Christmas Tree” one (It says “Keep Your Christmas Bright…Wrap It Tight”), The “Reindeer Got Ran Over by a Grandma” One, and of course, The “Dancing On Top Of Santa” one! Good times!
Now, my one and only published piece! And mind you, I got paid for it too!
Okay, I wrote on the internet too, but in the writing world, it is just not the same!
Click and Read, My Friends, Click and Read:
Volunteer, Learn a Language Combine Language Study and Volunteer Work in Guatemala
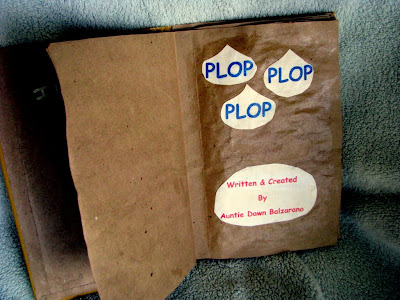
Early 40’s: Writing.
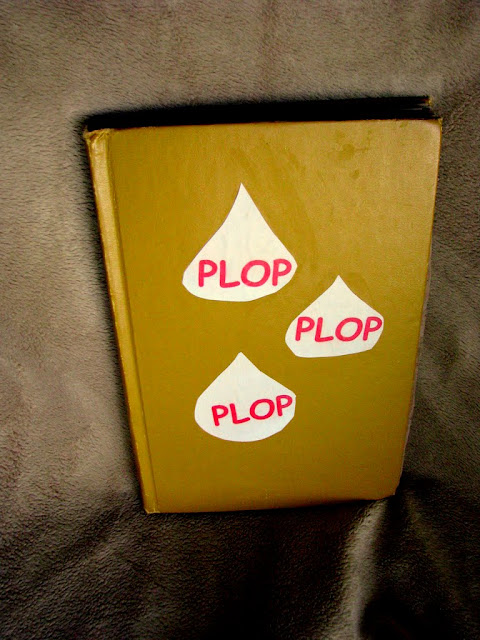
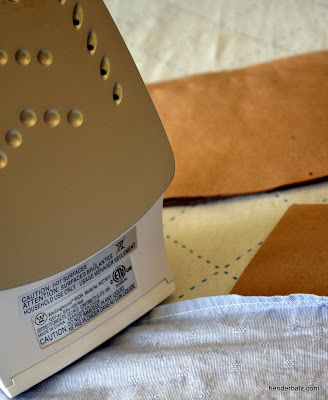
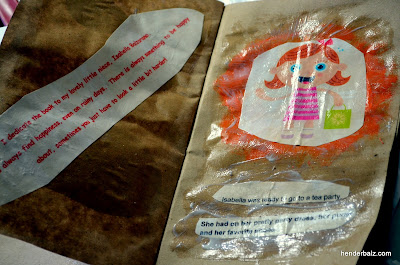
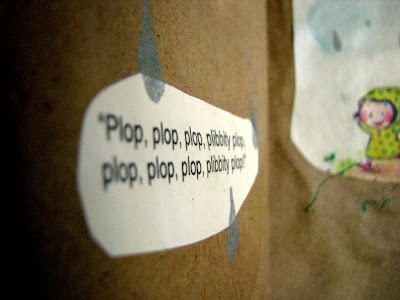
 |
| From The Books I Made |
 |
| From The Books I Made |
Although, I just made these actual books, I wrote the stories in my early 40’s for a Children’s Clothing Line…that never went into the book business. But they said they liked them, they really did! Now, they are just for my 7-year-old twin nieces!
Mid 40’s: Blog Writing, Photography & Videography.
Examples of this are all wrapped up neatly in “Vintage” HenderBalz Blog Posts!
Click and Browse, my friends, Click and Browse:
HenderBalz Blog: El Salvador Story Time
Later Mid 40’s (ahem…NOW): Making of Things, Photography, Writing, & Videography.
Again, the HenderBalz Blog, says it best!
Check it out, My Friends, Check it out:
I attack with gusto, even to the point of trying to sell my work, and then I give up…whether I have done well or not.
MAY I NEVER GIVE UP AGAIN…MY OWN LITTLE WORLD SHALL GROW!
———————————————————————————————————————————————————————-