Posts Tagged ‘ARTS AND CRAFTS’

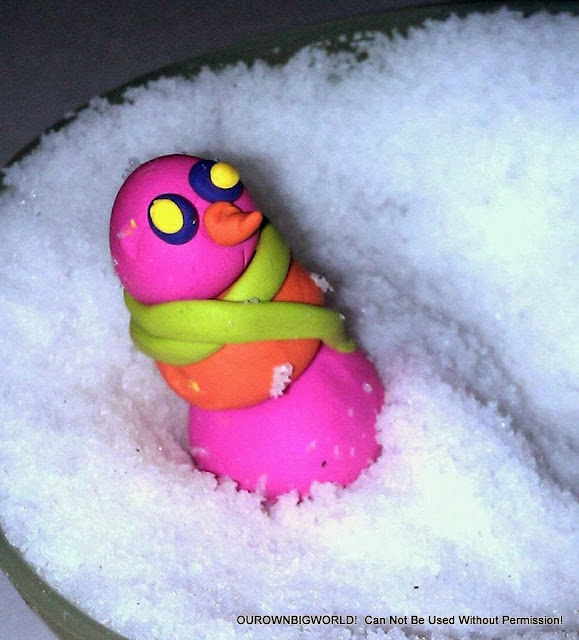
Dabbling, not to be confused with Dabbing, the popular dance move.

You know that phrase, “Jack of all Trades”? Well, to me one must “Dabble” first before becoming a “Jack”. Dabbling to me, is when I start doing something new to me creatively.

I checked Wikipedia for the origins of “Jack of all trades” (because I am that person). Although now-a-days, I feel the phrase is a positive description, it started out as a dig to Shakespeare by the writer Robert Green in his 1952 booklet “Greene’s Groats-Worth of Wit”.
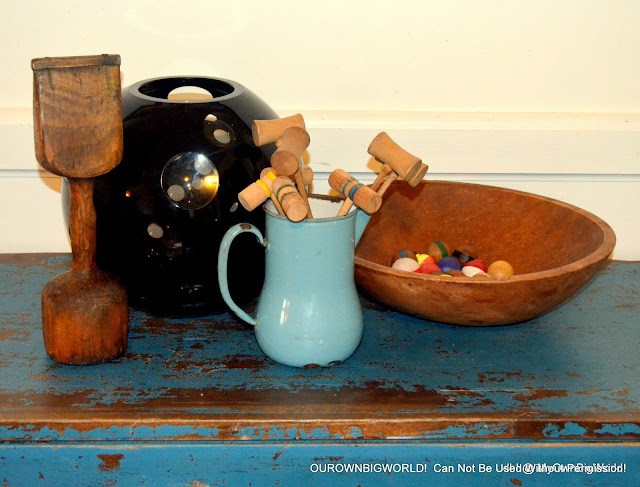
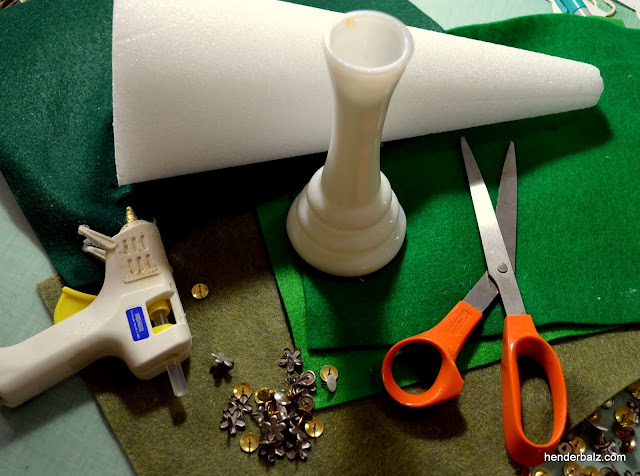
It wasn’t until 1962 when a version of it appeared in the book “Essays and Characters of a Prison” by English writer Geffray Mynshul. He most likely wrote it when he was imprisoned for debt. I assume he was not a “Master” financier.

Which leads me to the added phrase, “A master of none”. This part of the phrase was added later and it was meant as a dig in jest. I also found that there was also another phrase added on to that as well, which I like, “Jack of all trades, master of none, but still better than a master of one”.

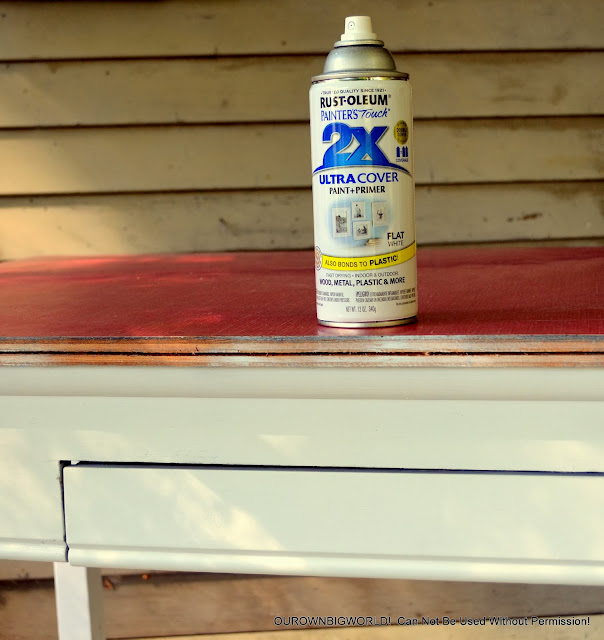
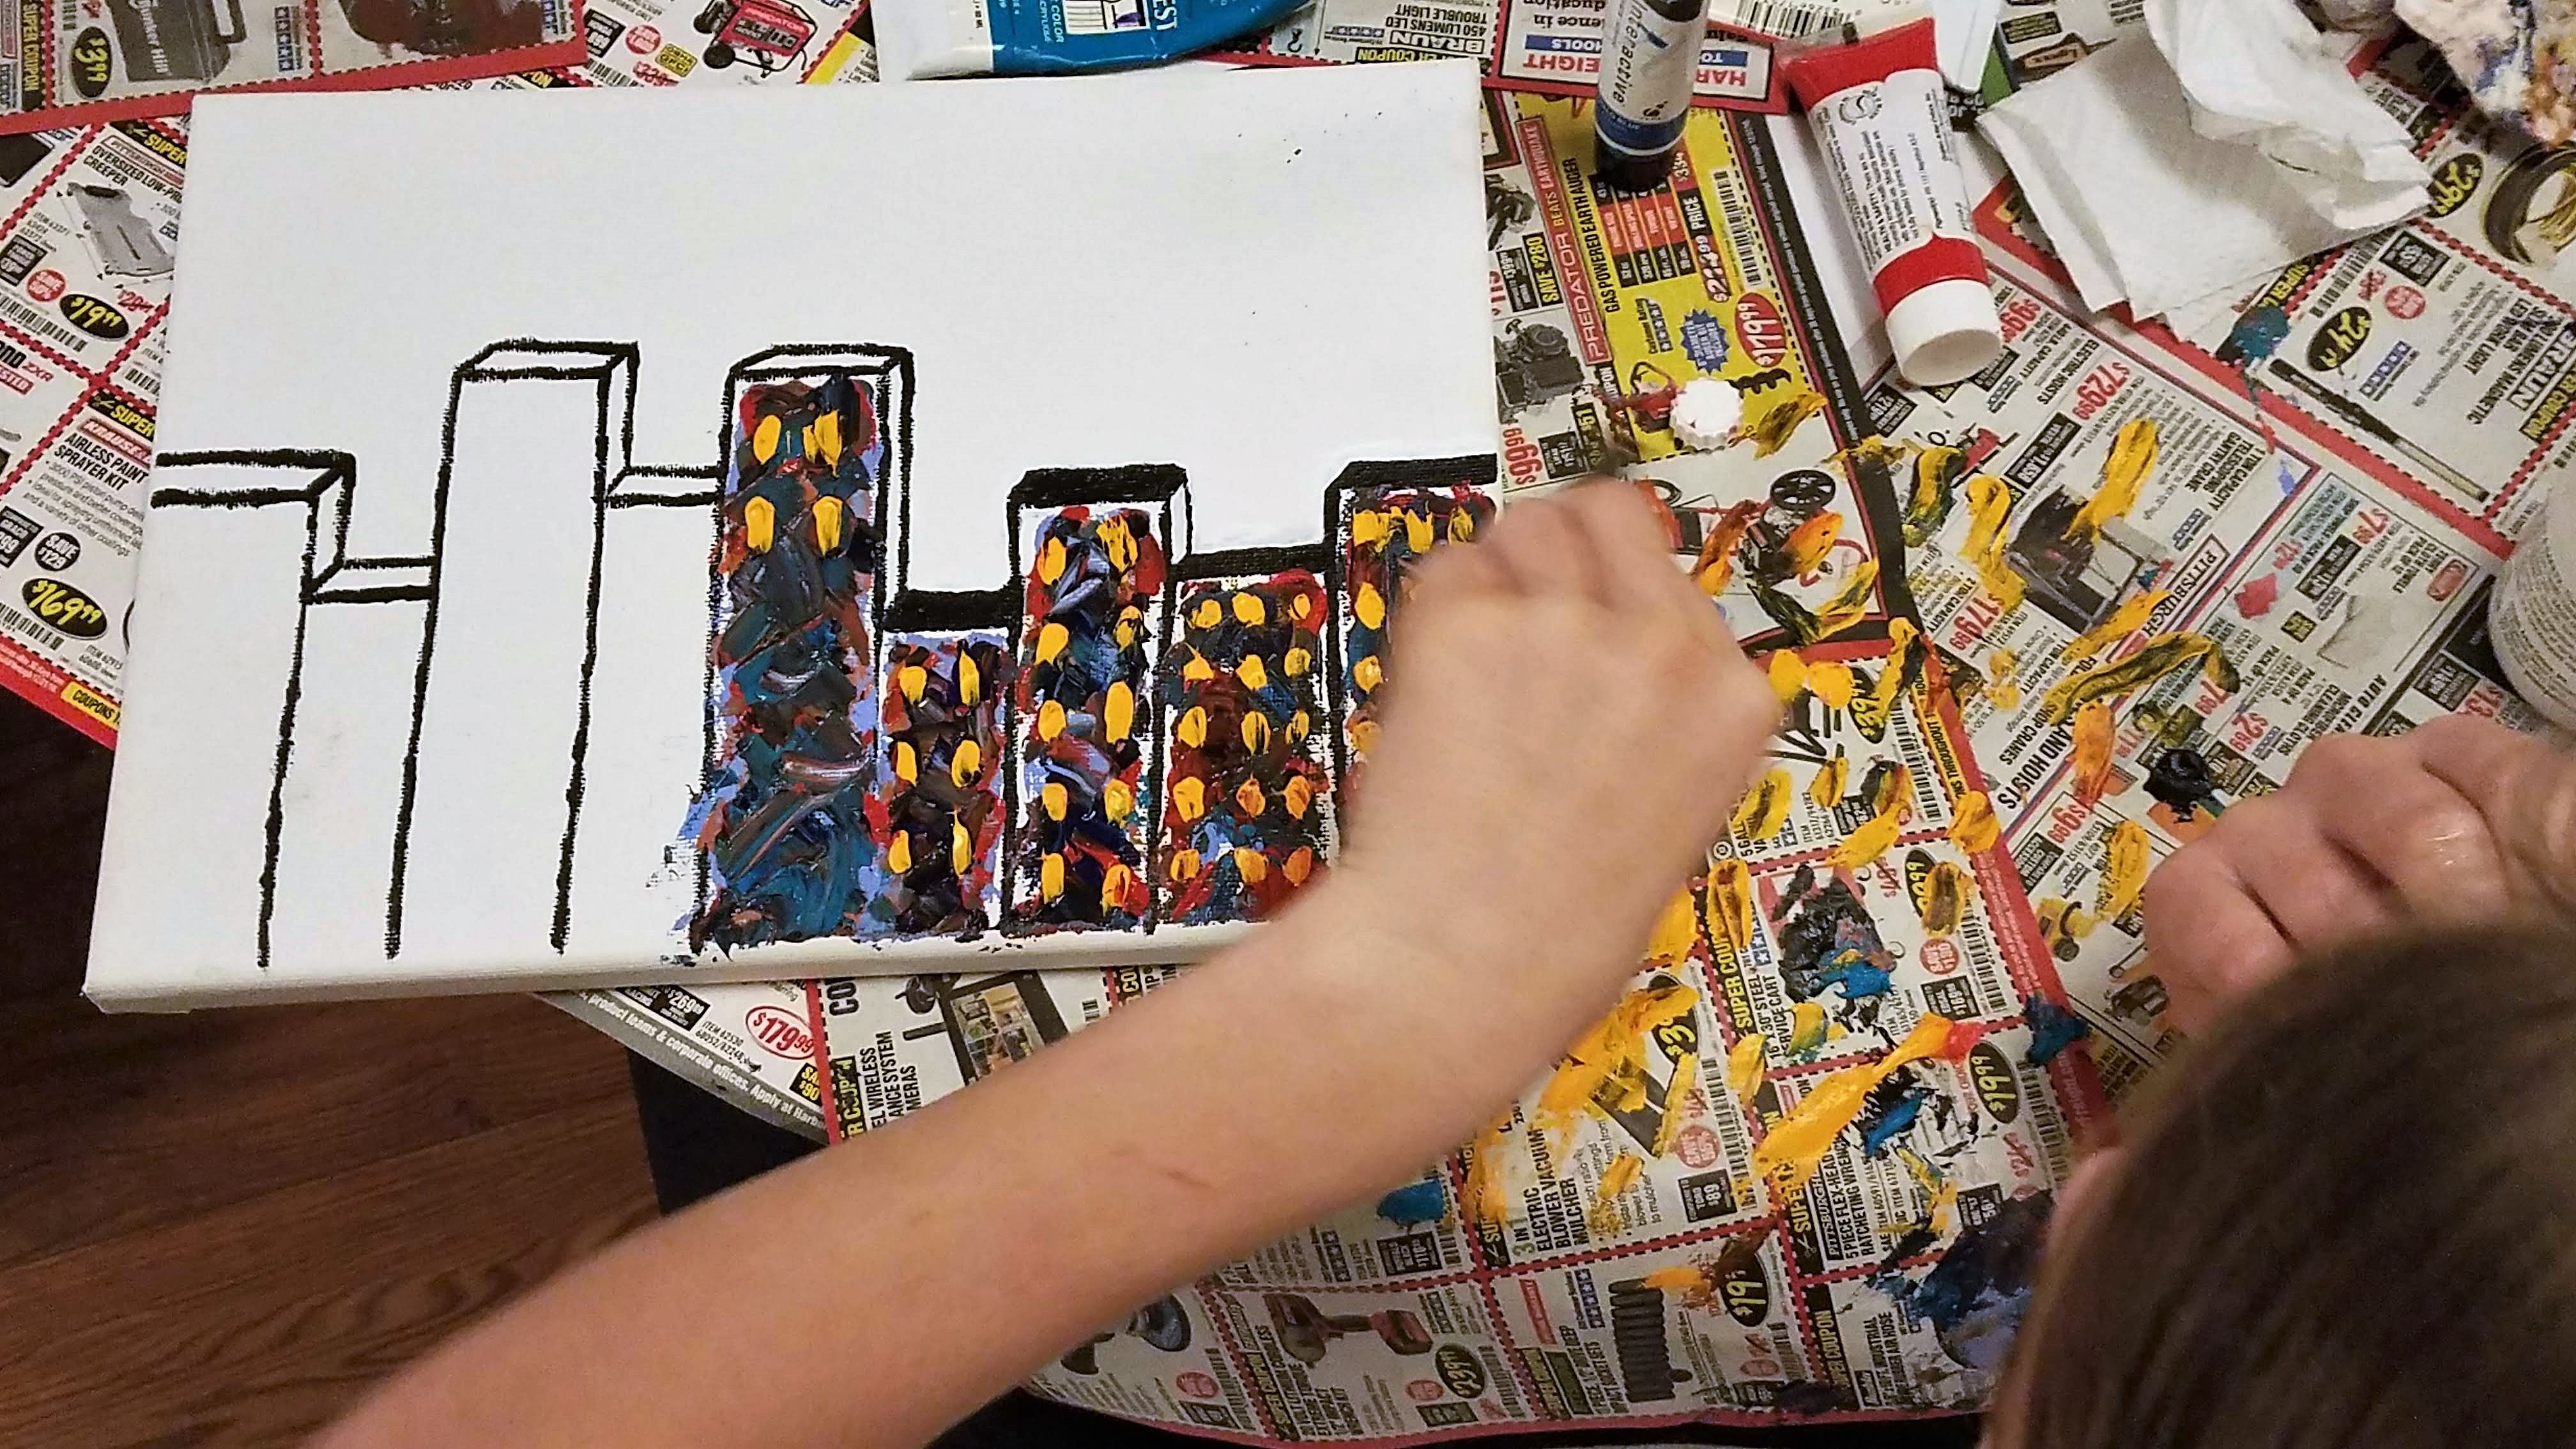
I digress, let us get back to my dabbling. In between my musings above I gave you examples of my newest dabble. I am using paints now. I have always used paints but mostly spray paint and paint pens. I did even a brush now and then for furnishings and other upcycled projects. Now I have moved on to actually using brushes and sometimes, awesome vintage water color pencils, for art.

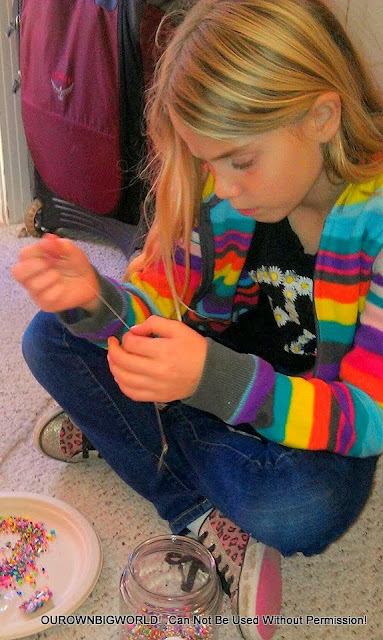
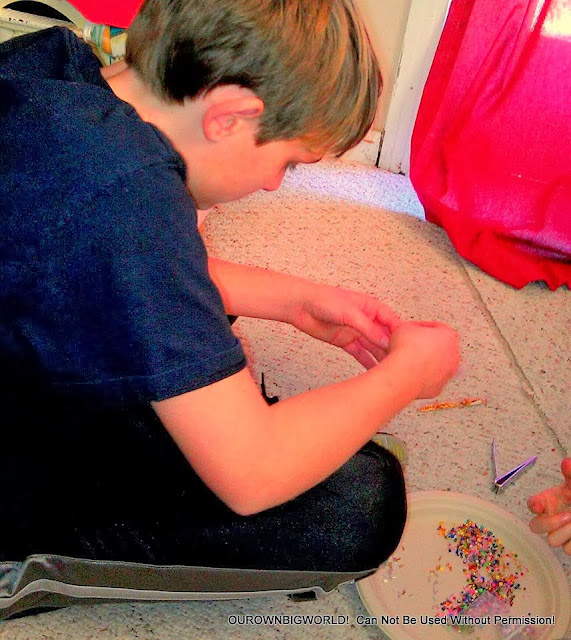
It all started when a dear friend, gifted a TON of art supplies to my 13 year old artist twin nieces. There was so much product, I kept some extra bits and parts for myself.

My talented nieces lived next door at the time. They came over with their now “tool” box filled of art supplies and we sat down to paint. Here are their paintings.

Olivia’s
Isabella’s

That’s a tough act to follow, so I thought about paintings I had seen in art galleries that I liked. I though Maybe I could do something like this Cézanne.

Or Maybe this Rothko…

Or Maybe not, but I tried.

And so, this is my first Acrylic painting!


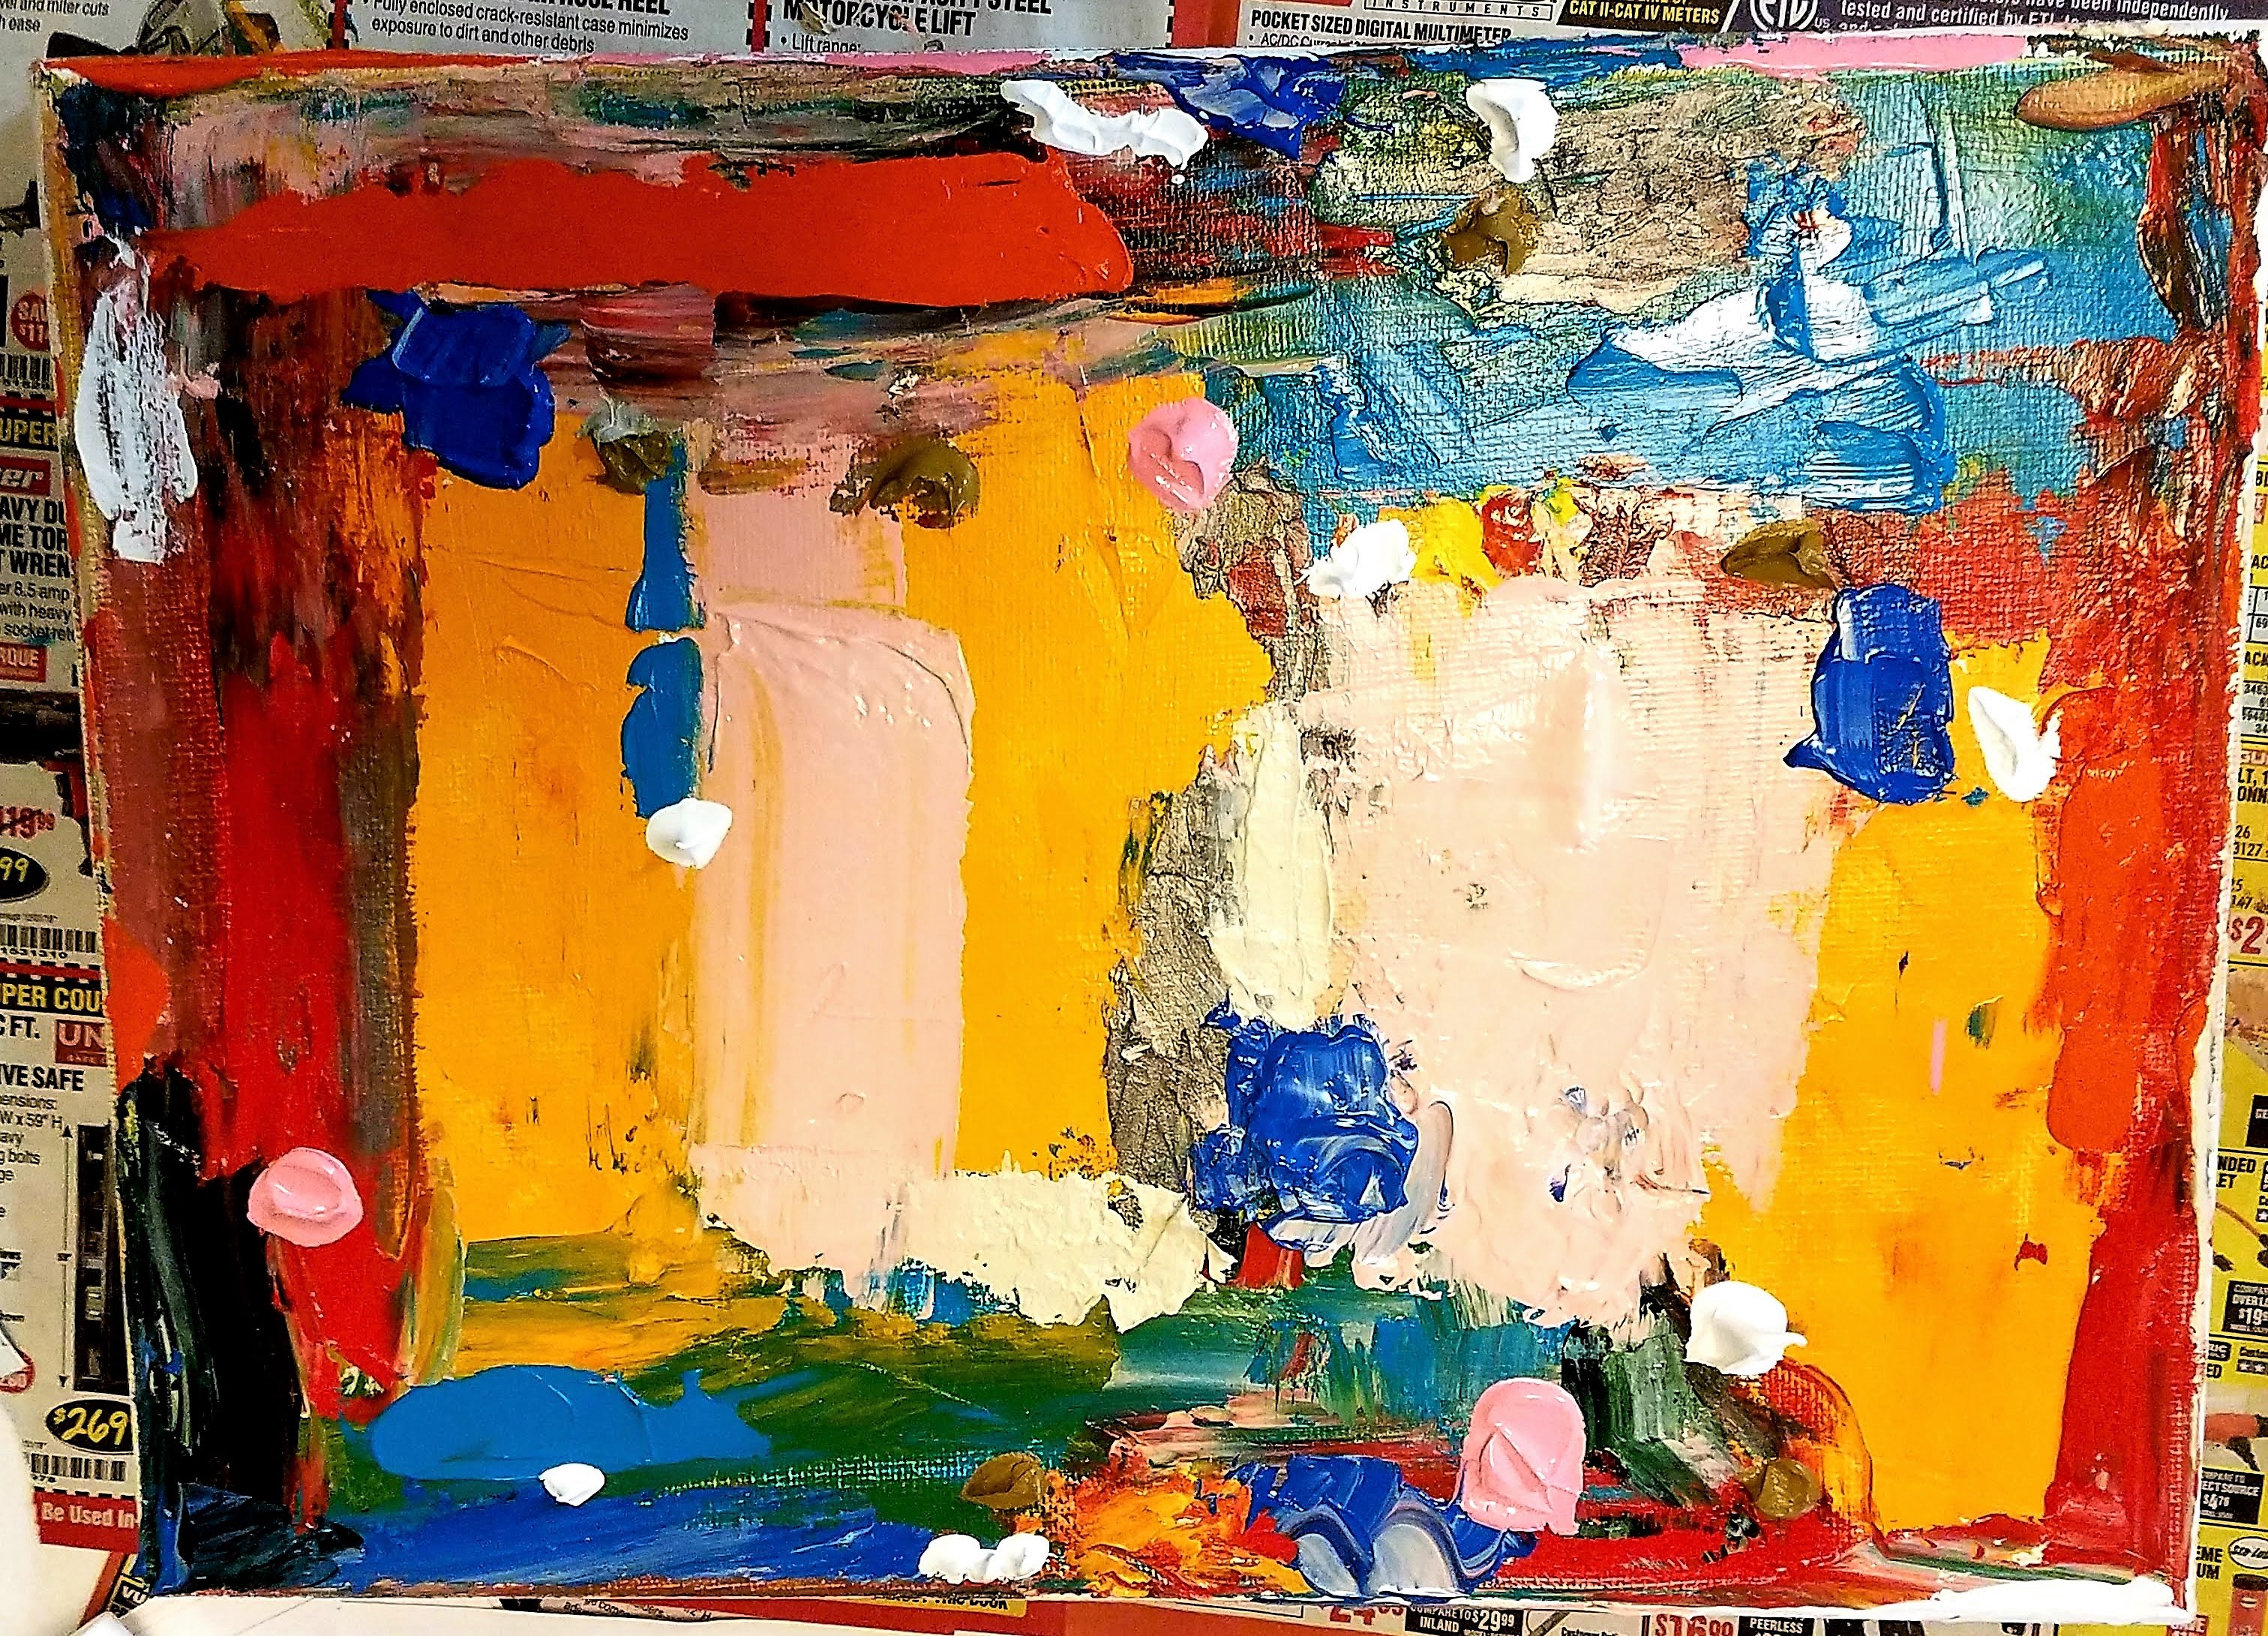
I’m not sure it is up there with the greats, but I do so like it. I love the texture in it, that you can’t see here, but I laid it on thick. I love color and I am happy with this piece.

I enjoyed painting so much, I dabbled more. Here is my second acrylic piece. It’s called “Sand, Sea, Sky”, a subject that I have been obsessed with since we move near the beach on a Caribbean island.

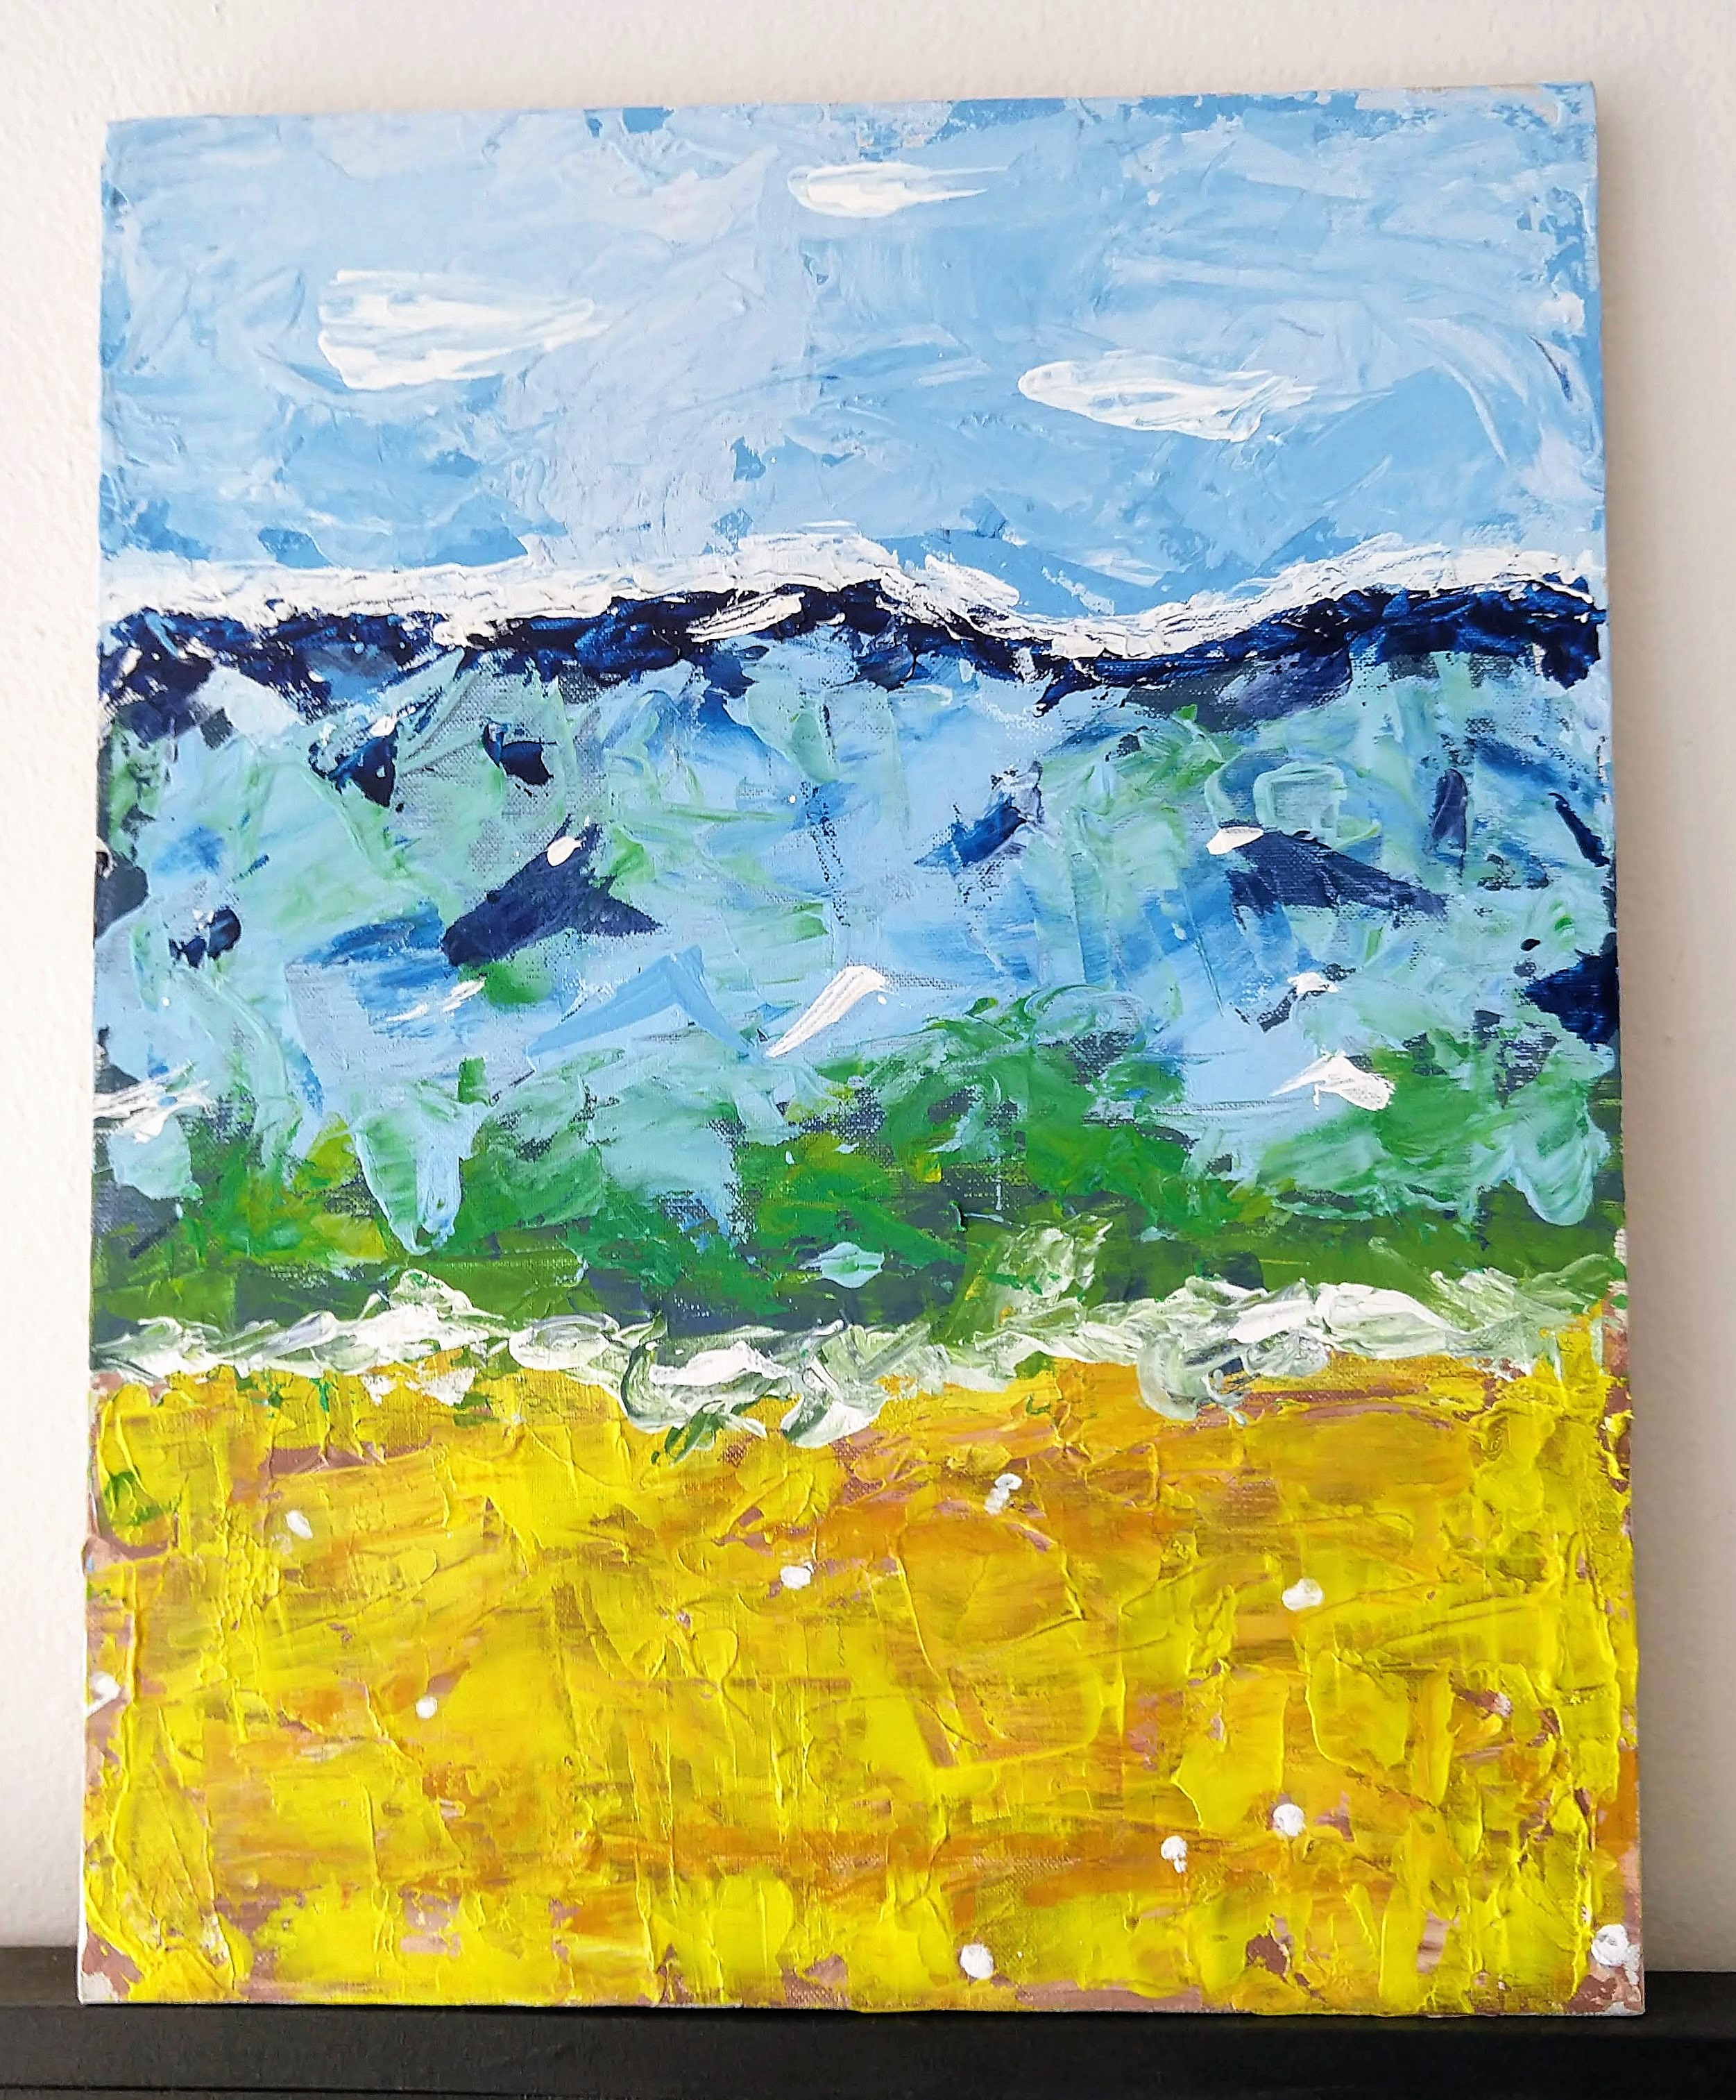
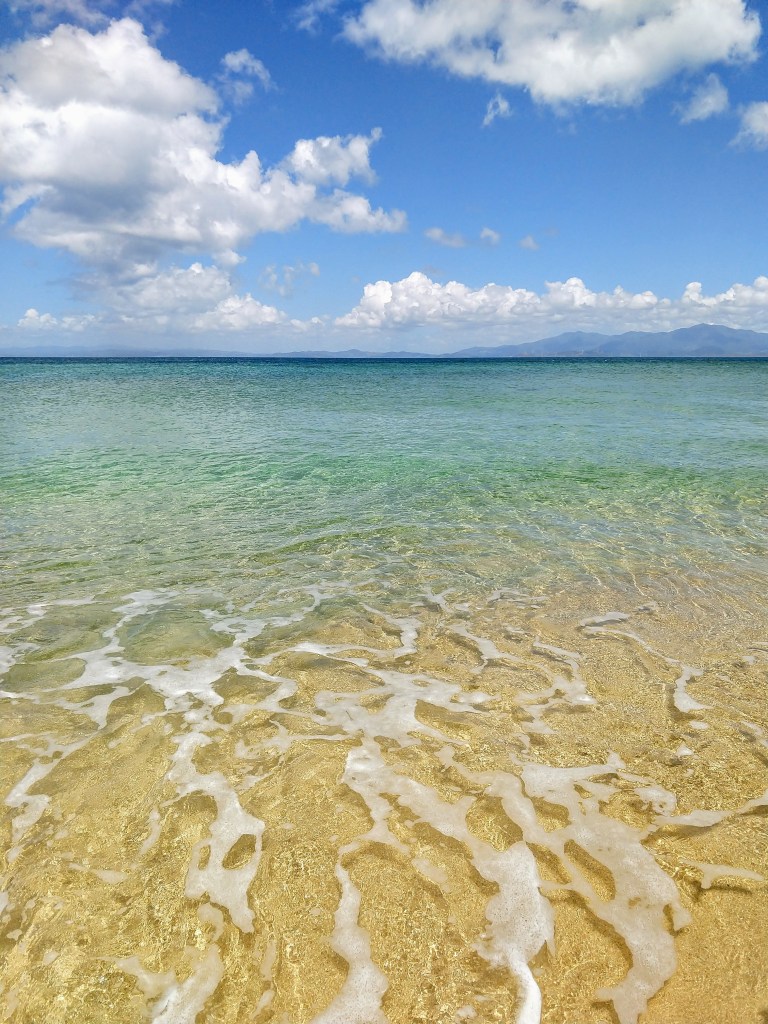
It was based on a photo I took on an island off of Puerto Rico, called Vieques. It is a photo of what I love to call “island water”. It is that clear water with sea foam green slowly turning into hints of turquoise.

I played with those cool vintage water color pencils, that you can see in a photo up above, and created the piece below. I really like this one, almost love because art is so not perfect. I love how in some way the colors blend bleeding into each other, but then I also love how the green left stark lines above the yellow. I guess in a way I was trying to overlap the water over the sand like in the photo. The piece gives you an idea of the photo, but in it’s own way, separately, a piece of beauty.

A birthday card for my friend.

I already have another canvas set out for me to dabble more.

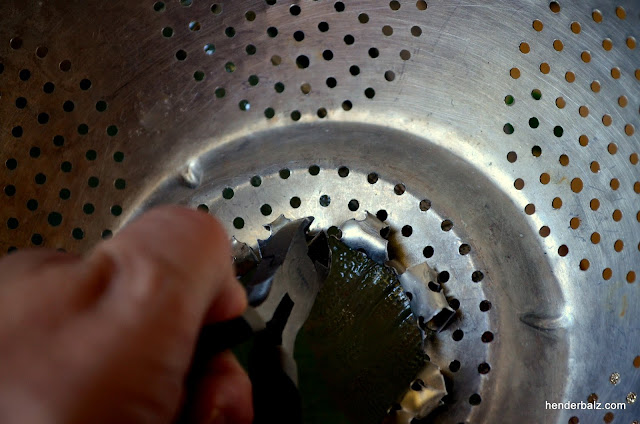
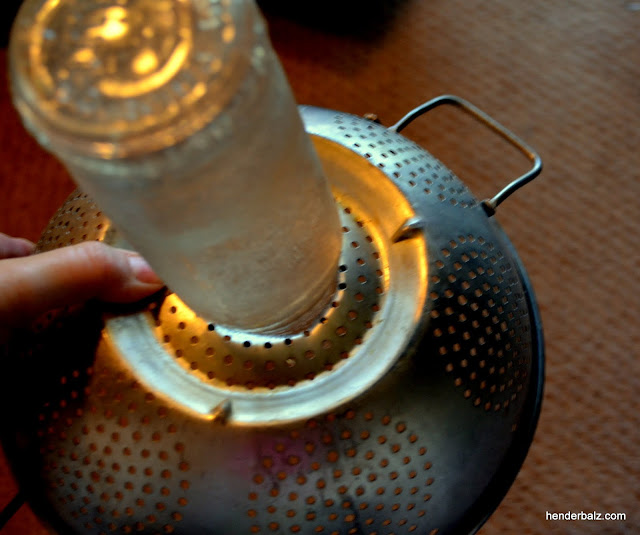
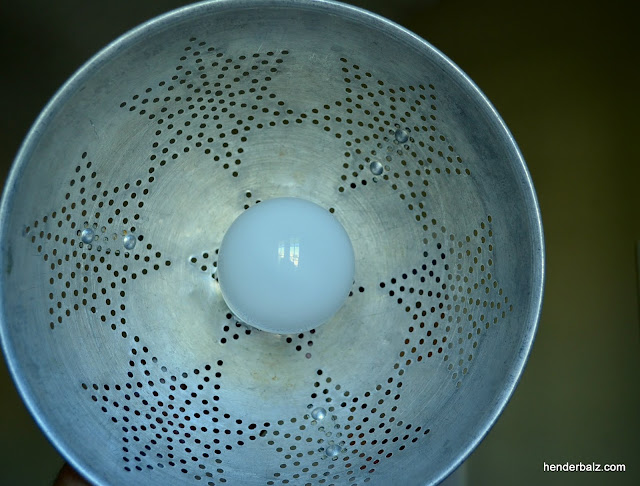
Who Knows…I may not even use paint. My other newest dabble, Sea Glass! I love hunting for it here where it is plentiful! I wonder often what to do with all the lovely of glass that has been softened into wonderful bits of art.

I am off to play with my photography now. I do dabble a lot.

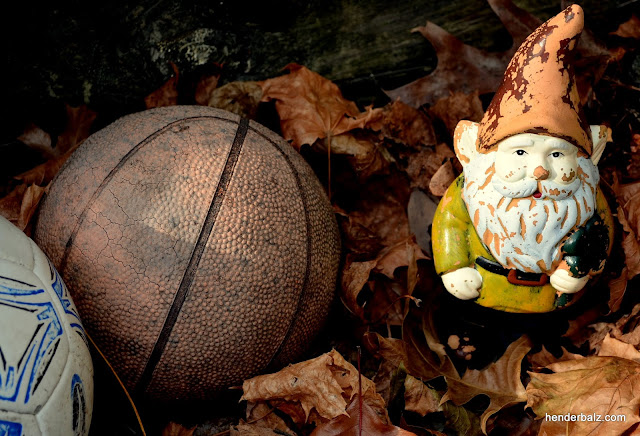
Thanks for visiting My Gnome Little World. I never know will be happening up in here. Please come back!

We moved closer to the In-laws and I developed a hang up for a pile of old fence boards that have sat on their side yard for ever.

I finally got brave and asked if I could have some and then My Big Hang Up Started.

Okay it started with this…

Rack6 (2)

I picked up this cool piece of wood and then made this necklace holder from it over a year ago

I make art from old leather belts, so I have a lot of belt buckles hanging around.

And then I made this out of the other half of the wood.  Rack4 (2).jpg

I realized I like making hanging racks out of interesting and unusual bits and pieces.  Although hard to tell between my cool old kitchen gadgets, the rack is made from old metal water facet knobs and big butterfly screws.

So once I had the fence boards…The Hand Ups Began!  I started to dig around in my widgets, gadgets, screws, hooks and thingies.

Racks8

I went first to my mass amount of belt buckles and made a couple of my mini necklace holders.

Rack7

I have been noticing mermaids a lot lately because my older sister who was diagnosed with Stage IV cancer last year loves them.   So, I have mermaids around and made this beachy themed key and coat rack.

Racks9.jpg

I dug deep and found these huge screw things with a nuclear-ish symbol on the ends.  I loved them and finally found a project for them!  They would make great “hooks” for a coat/jewelry rack!

Rack3

I had more wood but was running out of ideas, so one day I really dug through my stuff and I did not even know I had these little red hooks.  I love the bright color against the awesome worn wood grain.

20170809_170216 (2)

This one makes a Great Industrial Chic Necklace holder!

I ventured out from just making racks, I made some signs too.

Rack2

Vintage and Ready for Sale.  Original Handmade Art Things made from Vintage Stuff!

Easy to Make your Own and Easier to Buy from Me!

My Favorite sign is the one I made for my brother for sales we do together.

Rack1

I Introduced my brother to the old fence board and now he has his own line of cool things.  Come to one of our sales!

Rack5

I hope to open up an online store again soon too.  So you can shop directly from the comfort of you home!

Thanks for visiting and Come Again!

Gnome


From TubesLove

It all Started with the above tins that my Friend sent me.

You see, many years ago I turned tiny tins into nicely decorated pills boxes for all my girlfriends. I used to make small Christmas gifts for most of my friends every year. I guess she thought I could do something with her collection.

I had recently moved right into the inner city of Chicago. Along with the Skyscrapers, great views, museums and awesome restaurants there are also people down on their luck. I had not been in a living situation in a long time were I saw people who were homeless, out of work and/or sick asking for money in my neighborhood, every day, every where I walk. My heart was breaking for them.

I came up with the idea to use the tins to decorate and insert some  money and small things for these people, my TINS of LOVE! Then I realized they were way too small for what I wanted to do.

From TubesLove

I was saving Toilet Paper Rolls for Art projects. When I realized the tins were too small, I looked at a roll one day and thought this size would be better, my TUBES of LOVE!

From TubesLove

The plan was to start handing them out right before Christmas and throughout the winter for as long as I had supplies.

I had already been collecting 1 dollar bills and quarters to put in my TUBES of LOVE. I told a few friends and family about my plan. My Mother Inlaw, who collects a lot of stuff, sent me a box of stuff to stuff in my TUBES of LOVE! I also bought big multi-packs of gum.

From TubesLove

After Halloween, I collected leftover single wrapped candy from my neighbors and bought bags on sale for the TUBES of LOVE, for a bit of fun.

From TubesLove

I made a list of all Shelters, Food Pantries, Soup Kitchens and Warming Centers in Chicago for each one of my TUBES of LOVE.

From TubesLove

On the Sheet of Paper, I wrote a Note.

From TubesLove

I thought of items besides the money and candy, and thought soap and aspirin could be helpful. I had some hotel soaps and shampoos. The little bars of soap were too big, so I started to cut them down to a size that would fit, wrapped them in clear cellophane and labeled them.

From TubesLove

I also divided a large bottle of acetaminophen into packs of 6-8 pills each too.

From TubesLove

I had to cut the sheets of info down to fit better inside the tubes.

From TubesLove

The plan was to roll it all up and then stuff it in the TP Roll/Tube!  Yes, All of the below would fit into One TUBE!

From TubesLove

I started with rolling the items up in a dollar bill.

From TubesLove

Then I would roll that up with candy on each end in the folded in inforamtion Sheet.

From TubesLove

Easy Peasy!

From TubesLove

It all Fit Perfectly!

From TubesLove

But just so stuff would not fall out when it was opened, I put a small piece of tape at both ends.

From TubesLove

After I stuffed around 30 Tubes, I then decorated each TUBE of LOVE.

From TubesLove

Just Basic Decorating, as I was going to Wrap them as well.

From TubesLove

First Round of TUBES of LOVE Ready to be Wrapped!

From TubesLove

Fun and Light-Hearted. Literally, there are little hearts on them!

From TubesLove

Stuffed with Love!

From TubesLove

Part of the Idea for TUBES of LOVE is Recycle / Upcycle. So along with all the other items I saved, I also saved paper bags. I cut the bags up to lay out flat.  I painted it all

From TubesLove

I had 2 sessions of fun using paint and markers.

From TubesLove

I wrapped them “candy” style using string at each end. The First Batch was Done!

From TubesLove

They were all handed out before we left town to have Christmas with out family. During the time away I got my nephew and nieces involved with making more TUBES of LOVE! We also handed some out in Sacramento, CA, where they live. The rest I brought back to Chicago with me. Below is two of the TUBES of LOVE my twin nieces Stuffed, Wrapped and Decorated.

From TubesLove


an

From TubesLove

I received 3 boxes of supplies from friends and family!  I was overwhelmed and very happy.  After exploration of these boxes, I realized many of the items were over-sized for the TUBES of LOVE.

From TubesLove

So I went bigger, Bigger TINS, that is! It all started with tiny tins and now I was back to tins, but bigger and better! I went to the Salvation Army Outlet Store here in Chicago. I bought Tins, and Socks as I learned they were highly needed. The women checking me out, actually gave me a better deal on the items after she heard about my TINS of LOVE project.

From TubesLove

So Much More Love Stuffing! The tins I used would vary in size, but I do not want to go too big as I need carry them as I give them out.

From TubesLove

I still decorated the TINS of LOVE like I did for the TUBES of LOVE, but since many of the TINS were already nicely decorated, I now do less decorating and more stuffing!

From TubesLove

At Top of the Above Photo, on the right and left, you will see TUBS of LOVE. Yes, I have expanded to using Plastic Tubs/Containers/Jars as well. Happy to recycle/upcycle as much as I can!

The TINS of LOVE above are my current batch.  I am down to just a few more as I handed some out the other day.

I have supplies to make more, but I need more containers!  I will do another batch of TUBES of LOVE before I get more TINS/TUBS. I am going to Cleveland soon and will see if I can give away some of the TUBES of LOVE there.

From TubesLove

I will hand them out for the rest of Winter or until my supplies run out.

If you have any questions on how you can do this as well, please comment below and I will get back to you as soon as possible.  Or if you want to donate any stuffing items to my TUBES/TINS/TUBS of LOVE Project, please comment as well and leave your email address for private communications.

By Education, I am a Recreational Therapist. I have worked with Youth a lot in this position and my favorite activities were art related, if I could include a lesson that made the project even better.  I would love to do this project with more Children. I can volunteer with programs within Chicago if you would like me to lead this project at your program!

Thank you and I hope you Enjoyed this project of mine!

————————————————————————————

RSVP-Stamp-6

We went to Northern California for the holidays!

From CA Crafts & Activities

And Saw Tons of family and friends!

From CA Christmas 2013

And this is what we did with them!

From CA Crafts & Activities

WE MADE SNOW!

And Tiny Little Polymer Clay Colorful Snowmen!

From CA Crafts & Activities

Including the above one holding his own head!

From CA Crafts & Activities

And We Beaded!

From CA Crafts & Activities

And Beaded More!

Taking a Break from Crafts…

From CA Crafts & Activities

We Went to the Playground!

From CA Crafts & Activities

Where There Was This Cool Play-Ride-Thing!

From CA Crafts & Activities

I Had to Join in On the Fun!

From CA Crafts & Activities

And it was Uncontrollable Laughter Fun!

Yes, I am the Big Kid Auntie!

Back to Crafting…

Kind of…

From CA Crafts & Activities

Thrift Store Photo Shoot!

From CA Crafts & Activities

For Something WE ALL Made Together!

From CA Crafts & Activities

A VIDEO!

Introducing…

Thrift-mas Shopping!

Starring Mis Sobrinos!

WHAT A FUN DAY WE ALL HAD…

And although the kids seem kind-of tired…
They were not!
Just shy about singing in public places!

The oldest came up with the lyrics on his own too!

And Now Some Winter Activity Fun!

From CA Crafts & Activities

Ice Skating!

(Not sure how I made it snow in the photo…but I like it)

From CA Christmas 2013

On Your Mark, Get Set Go!

From CA Christmas 2013

No Falls For Me…
But My Hips Were Hurting!

From CA Christmas 2013

So My Big Sister Took Over Auntie Ice Skating Responsibilities!

On to More Activities…

From CA Crafts & Activities

Bird Feeding with the In-Laws and Friends!

From CA Crafts & Activities

Little Friends!

One of My Favorite Things…

From CA Crafts & Activities

Organizing this Hot Mess China Cabinet (I Love Mom In-Law)…

From CA Crafts & Activities

Into this Nice Display Piece!

While at the In-Law’s I also Decorated the Christmas Tree!

From CA Crafts & Activities

And Found these Awesome Vintage Pieces!

And the Hub…

From Craftmas Activities!

Made Kelicha Cookies with his Mom!

From Craftmas Activities!

Yum Yum!

We Also…

From CA Christmas 2013

Entertained…

From CA Christmas 2013

Held…

From CA Christmas 2013

And Fed Babies!

From Craftmas Activities!

We also Danced!

From Craftmas Activities!

Boy, Did We Dance!

From Craftmas Activities!

So Did the Giant Bear!

Never a Dull Moment in Northern California!

Although I did make any items to sell in this blog post…

Feel Free to Visit OUR OWN BIG WORLD! to see things I have made and other items for sale!

—————————————————————————————————————————————————————————————————

RSVP-Stamp-6

What Do you Do When you Have to Move…

and Need to Downsize Tons?

From RedTable

And No One Wants to Buy your Hoopty 50’s Style Hill Billy Front Porch Picnic Table?

From RedTable

You Fix it Up and Five it to a Young Adult for her First Apartment!

But First, I Had to Access the Situation…

From RedTable

The Top Was Good!

Schwew!

From RedTable

The Trim was Not!

From RedTable

Nor Were a Couple of the Legs!

So I Started with…

From RedTable

Removing All the Trim.

And Then I had to Figure out What to Put There?

From RedTable

But Before that… I Painted all the Wood White.

From RedTable

Looking Good!

Oh Boy, I got Creative with the Trim!

From RedTable

Oh, Yes I Did!

From RedTable

After I Sampled it!

From RedTable

And Decided it Would Work Perfectly!

From RedTable

And It Did!

From RedTable

Around the Corners…

From RedTable

And Close Up!

From RedTable

The Drawer Even Got Purdied-Up!

From RedTable

Tea Time!

From RedTable

It is So Cute, it is Making the Hill Billy Front Porch Look even More Hoopty!

From RedTable

It Looks So Good Now…

You Forgot about the Legs!

From RedTable

Although I just painted them, you could use a wood putty to re-shape them.

Next Time…

When I Have More Time and Less to Do.

Like Pack. Sigh.

To See More Purdy Things, Please Go to:  OUR OWN BIG WORLD!

—————————————————————————————————————————————————————————————————————————————————-

RSVP-Stamp-6

Life is Too Short to Just Put Paintings on Our Walls…

From MyHomeDecor

Or Books on Our Shelves.

(You Can find this wall art at Vintage Gas Stove Grates)

From Unusual Decor

(You can find this Cooper’s Hoop Driver Folk Art at Folk Art Tools)

How About Books On the Walls…

From Craft Ideas From PR!

This Book Cover Art Works for Me!

(Found in a cafe in San Juan, Puerto Rico!)

And this So Very Beautiful Thing…

From Unusual Decor

Would Match This Cool Industrial Wheel Folk Art Rather Well!

(The Above Piece Could be Found at Honey Blossom Studio)

From Unusual Decor

How cool is that?

(Found at a MA Auction)

And how about Blossoms that Bloom all year-long?

From BrassFlowers

Rusted Railroad Screw Spikes and Up-cycled Vintage Brass Curtain Tie-backs make an Awesome Bouquet!

And for more color…

From Unusual Decor

How about this Bundle of Fun up-cycled colored metal!

(This piece can be found at Industrial Bloom )

And speaking of color…

From Unusual Decor

How about a mini croquet set to snazz things up a bit?

(This piece can be found at MINI CROQUET)

Vintage Sporting Goods and Color?  The options are limitless!

From Unusual Decor

Fun old pool balls in a cool old box!

(This piece can be found at Fish Legs )

And for less color…

From Unusual Decor

Love the feel and look of an old baseball, and a basket of them is even better!

(The piece can be found at Chaps and Rascals )

Staying with the old in mind, but moving away from sporting goods…

From Craigslist Ads

And going Industrial!

Like an old tool box, or even better, a vintage Votive Candle Mold Folk Wall Art!

(The candle mold can be found at Rusted Metal )

Metal of another kind!

From Craigslist Ads

Pots, Pans, Strainers…are all cool wall art!

(These items can be found at Enamel Ware )

Let’s saunter away from metal.

(Because metal is just too cool to walk away from…sauntering seems right and make sure look over your shoulder at it before it goes away.)

Take a deep breath…

More fun to come!

Let’s linger around another cool idea!  

The re-use of a useful item of days gone by for decor!

From Craigslist Ads

A 1800’s Dough Bin to hold throw blankets, pillow, magazines, games…

Whatever you need to store…

It will look Oh-So-Loverly in an Old Box of any kind!

(You can find this particular one at OLD WOOD )

 To finish up, let’s go circular!
From Craigslist Ads

Vintage Chenille in Vintage Metal Needlepoint Hoops!

OLD MY!

(The can be found at ARTS, CRAFTS & THINGS )

And for a Modern Turn…

From Unusual Decor

So Cute!

(These can be found at JoeMomma )

And if you want curtains that are NOT curtains….

From Craigslist Ads

Then these are for you!

(They can be found at ARTS, CRAFTS & THINGS )

NOW GO PUT A STICK ON YOUR WALL…

AN OLD METAL PIPE ON YOUR SHELF…

OR A PIECE OF HISTORY ABOVE YOUR MANTEL!

Thanks for visiting!

To see more of our UNUSUAL DECOR SUSPECTS go to OUR OWN BIG WORLD!

——————————————————————————————————————————————————————————————————————————————

RSVP-Stamp-6

Vermont is freakin’ beautiful…

Even when it is dead.

——

MY PHOTO and WRITTEN WORD SERIES.

—–

Ugly Beautiful Brattleboro

The beauty of death

From Ugly Beautiful Brattleboro

The deadly spine flitters and floats.

From Ugly Beautiful Brattleboro

“We are not in vain!” says the beautiful flower that dies.

From Ugly Beautiful Brattleboro

Whoville died in Vermont.

From Ugly Beautiful Brattleboro

But it is where butterflies go to hibernate!

From Ugly Beautiful Brattleboro

The veiny fingers of death reach for the sky.

From Ugly Beautiful Brattleboro

What death makes you…

From Ugly Beautiful Brattleboro

Oh Puffy Stuff?

From Ugly Beautiful Brattleboro

Even in death, I will stand tall!

From Ugly Beautiful Brattleboro

“Blue skies you do not deceive me!” says the naked tree.

From Ugly Beautiful Brattleboro

“I still like the sunlight.” she said with her last flower breath.

From Ugly Beautiful Brattleboro

Eyelashes of death try to block the view.

From Ugly Beautiful Brattleboro

And its veins try to suffocate.

From Ugly Beautiful Brattleboro

Color laughs at the grey of death.

From Ugly Beautiful Brattleboro

“We are not of this deadly world,” says the lively fluff ‘n’ stuff.

From Ugly Beautiful Brattleboro

Pods of death ready to blast off into winter.

From Ugly Beautiful Brattleboro

We will not die, we will not curl up and die!

From Ugly Beautiful Brattleboro

Star bursts of death spring upward.

From Ugly Beautiful Brattleboro

While death breathes, roses sleep.

From Ugly Beautiful Brattleboro

Death loves me, Death loves me not.

From Ugly Beautiful Brattleboro

Death’s fairy wings on a stick.

From Ugly Beautiful Brattleboro

I flutter, I flitter, I flurry and soon I will die.

From Ugly Beautiful Brattleboro

Winter is upon as
Balls lay unused among dead leaves
Guarded by the Gnomesman
Who has stood the strength of winter
And shall prevail once again!

From Ugly Beautiful Brattleboro

And then it snowed!

From Ugly Beautiful Brattleboro

Adding a bit of clarity to death around.

From Ugly Beautiful Brattleboro

Sprinkling death with sugar.

From Ugly Beautiful Brattleboro

Tiny fingers cupping clouds of sugar.

From Ugly Beautiful Brattleboro

Clouding death.

From Ugly Beautiful Brattleboro

And still purple strives.

From Ugly Beautiful Brattleboro

As does the Gnomesman of Winter.

———————————————————————————————————————————————————————-

RSVP-Stamp-6

UPCYCLE LIGHT!

From Vintage Strainer Lamps!

EASY PEASY!

From Vintage Strainer Lamps!

To start the hole, I used pliers and a hammered it just a bit in the centered dot in the centered star of the bottom of the strainer.

You can see the finished hole in the photo.

Oh, and yes, those pliers have a pink rhinestone on them!

From Vintage Strainer Lamps!

To help enlarge the hole, I snipped from the inside with wire cutters.

From Vintage Strainer Lamps!

Then I would push this vintage soda bottle into the hole to make it more round!

From Vintage Strainer Lamps!

Picked these up at IKEA for $5.00 each the other day!

From Vintage Strainer Lamps!

Put lighting through hole, put in lightbulb…

From Vintage Strainer Lamps!

And there you have it…and cool hanging lamp that casts spotted star shapes!

From Vintage Strainer Lamps!

That was fun!

But I was not done creating!

Back to Gnome Christmas Trees!

From Vintage Strainer Lamps!

I so need a gnome for under that tree!

From Vintage Strainer Lamps!

Now, let’s see if these things sell!

———————————————————————————————————————-

Yes, Gnomes celebrate Holidays too.

And they, just like us, need Christmas Trees.

I have made it my goal to supply them some this holiday season.

From Felt Tree

Let me talk first about the tall one in the back.

Or better yet, let me show you how I made it!

From Felt Tree

Supplies: Cone, felt, glue gun, scissors and maybe some tidbits for decorations (I used some brads and tacks).

From Felt Tree

Cut, cut, cut out your tree leaf thingies.

From Felt Tree

Glue them, one at a time to the cone, all of them!

From Felt Tree

Start adding your decorations as you go.

From Felt Tree

Figure out your topper and decorate.

I decided on decorating a small Styrofoam ball with the brads and tack.

From Felt Tree

There you have it, the first of many…

From Felt Tree

A Gnome Christmas Tree!

For those Gnomes who like simple lines…

From Felt Tree

The Bobble String Christmas Tree!

Yes, it bobbles a bit from the way it is attached to its stand.

And now for those Beachy Gnomes…

From Felt Tree

The Pearly Shell Gnome Christmas Tree!

I made both the string and shell trees awhile ago…lots of string, shells, glue and patience, and you too can make them.

As you can see from the first photo, there are many other trees.

Some are vintage and some are just darned cute.

From Felt Tree

I had to have a variety, so many Gnomes so many different trees needed!

And these two are my favorite!

From Felt Tree

They so remind me of my Italian Grandparent’s Christmas decorations. Under their Aluminum Christmas Tree (Yes, I said Aluminum) they had this tiny outdoor winter skating Scene (a mirror was used to make the frozen pond) with these tiny trees all around it!   Ha, but they have sold already…should have put a higher price on them! 

I have two more in the making, but not sure they will get finished in time.

Gnomes…I got you covered!

Elves get all the attention during the holidays, give some love to any Gnomes you may know!

EARLY HOLIDAY BONUS CRAFT FOR YOU:

From Felt Tree

I made the wreath awhile ago, Click here to see how I did it: The Garbage Wreath

But then I put it in an old frame and threw some red felt on the back for that something special and different Christmas decoration!

HAPPY HOLIDAY CRAFTING TO YOU!

———————————————————————————————————————————————————————-

I have a thing for circles, balls, orbs, globes, pizzas…anything round!

So I buy needlepoint hoops, lots and lots of needlepoint hoops.

Mind you, I do not do needlepoint!

But I do love cool retro looking material.

So, I put the two together and this is what I got!

From Button Up

This little cutie consists of three different size hoops, 3 different sample pieces from JoAnne’s and some twine.

I did glue them together, so it is a just hang one thing wall decoration!

Note to self, iron material next time!

For those that can not commit to 3…I give you this:

From Button Up

Not attached for cases where just one or two will do!

PS…the lint and stuff on the floor do not come with hoops!

I have saved the largest hoops (one really big…others quite large) for the wall on our new dining room.

Now on to something different.

I like frames, and I could not pass up this little metal one with tiny crosses!

From Button Up

I found a map, which I also love..and this little fleur de lis was calling my name.

From Button Up

All together, and they make an interesting conversation piece!

Circles, Frames and Maps…I wish I only like those 3 things!

Whatever it is for you…find new uses for your favorites!

———————————————————————————————————————————————————————-