I recently move to South East Georgia…
–
 |
| From Old GA Buildings |
–
And have already fallen in love with the old abandoned buildings, homes, barns, stores, etc.
–
 |
| From Old GA Buildings |
–
So I Stalked Them!
–
 |
| From Old GA Buildings |
–
In My Subaru On the Open Road With a Camera by My Side…
–
 |
| From Old GA Buildings |
–
I Explored and Hunted.
–
 |
| From Old GA Buildings |
–
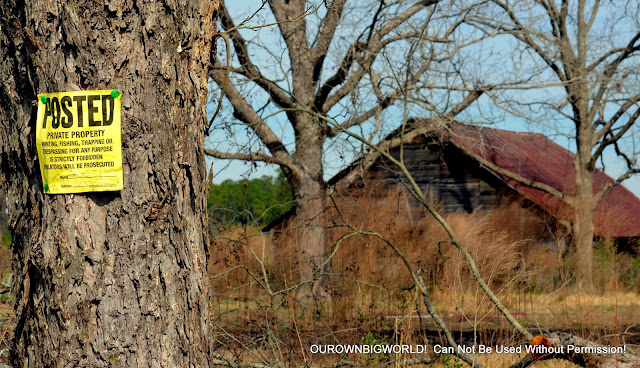
Sometimes Breaking the Law…
–
 |
| From Old GA Buildings |
–
Sometimes Meeting Nice People.
–
 |
| From Old GA Buildings |
–
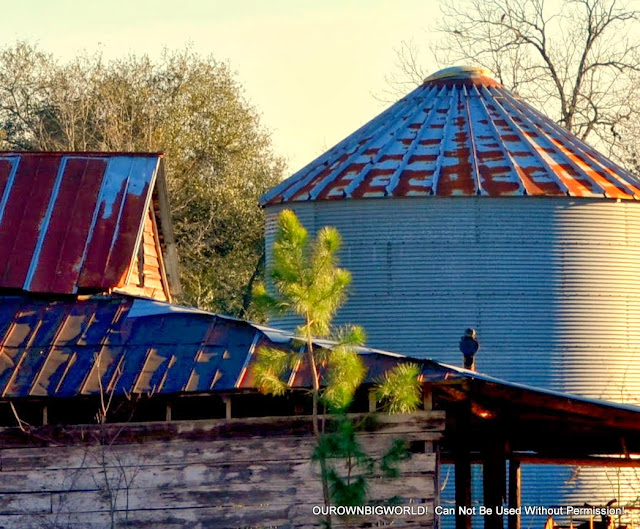
Like Grandpa David who owns the above barn and silo. There is a dilapidated over 100 year old house that his grand father lived in nearby that I would love to explore. He welcomed me back and I think I will take him up on that.
Lovely man. The photo below is also from his property.
–
 |
| From Old GA Buildings |
–
I want those things.
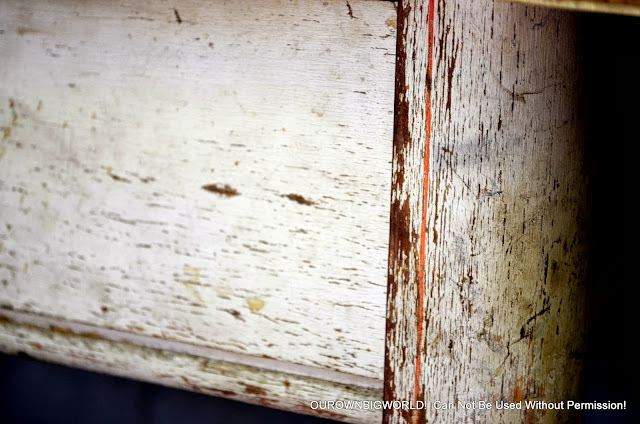
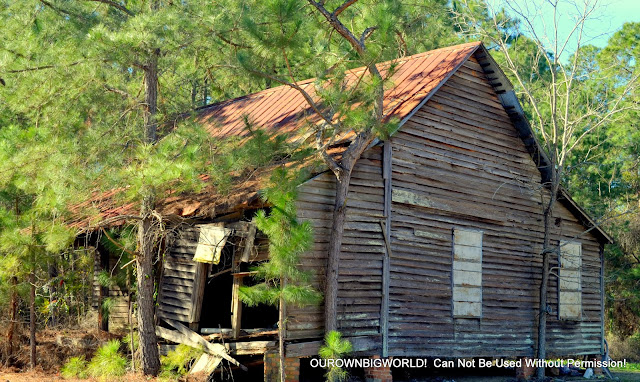
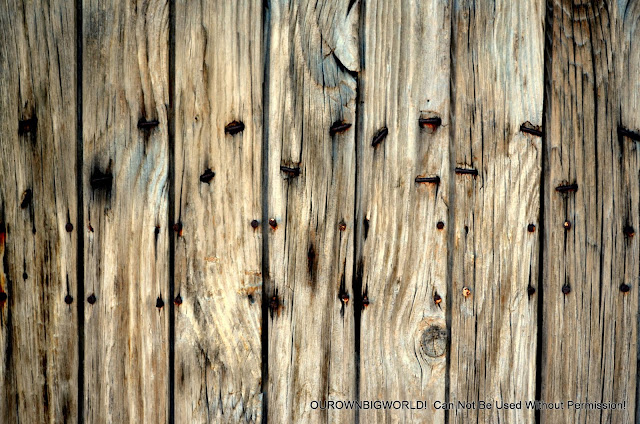
Love the curling wood chippy paint of the one below!
–
 |
| From Old GA Buildings |
–
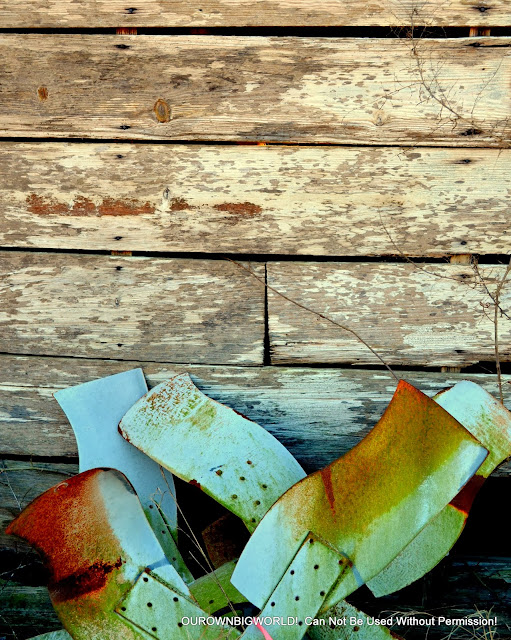
I love wood, but it is not a secret that I am in love with rust…
And love this rust to death!
–
 |
| From Old GA Buildings |
–
Oh, the Rust, Green and Blue of it all!
Old Brick and Old Wood…
–
 |
| From Old GA Buildings |
–
Nothing Better…unless you added Rust to it!
Welcome, Come Right In!
–
 |
| From Old GA Buildings |
–
Lovely Doorways, sigh.
Old Rust and Old Wood…
If You Threw Old Bricks in There I Would be Besides Myself with Giddiness!
–
 |
| From Old GA Buildings |
–
There is a Story Behind Each One of These Buildings…
And I Would Love to Hear Each One!
–
 |
| From Old GA Buildings |
–
Until Then, I Will Use My Imagination!
–
 |
| From Old GA Buildings |
–
Are there Lingering Ghosts Here?
Maybe.
–
 |
| From Old GA Buildings |
–
The door shut on its own as soon as I walked up to it.
No wind. I kid you not!
–
 |
| From Old GA Buildings |
The Door was Wide Open and it Slowly Closed as I Walked Towards it.
As I Stopped to take Photos, the Door Stopped Closing.
Oh, Yes…That Happened!
Any way, Back to the Bright and Cheery.
 |
| From Old GA Buildings |
–
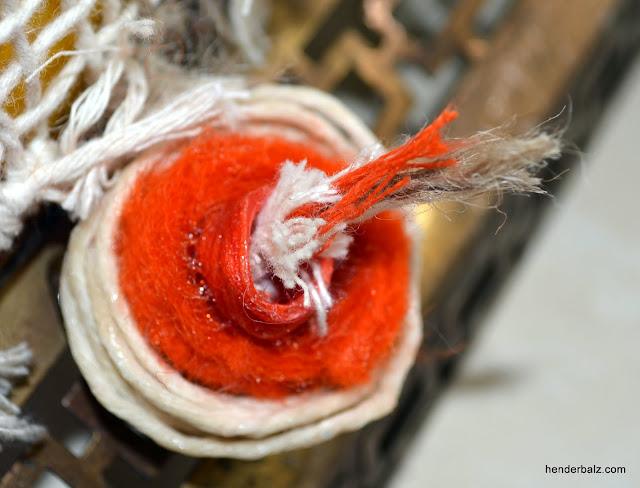
Love the Contrast of Color & Texture!
–
 |
| From Old GA Buildings |
The Things I Could Remake with this Loverly Old Wood!
 |
| From Old GA Buildings
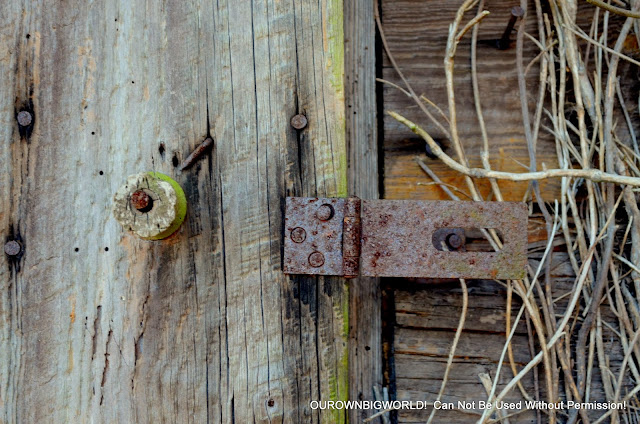
– AND THESE RUSTY BITS OF LOVE! – |
 |
| From Old GA Buildings
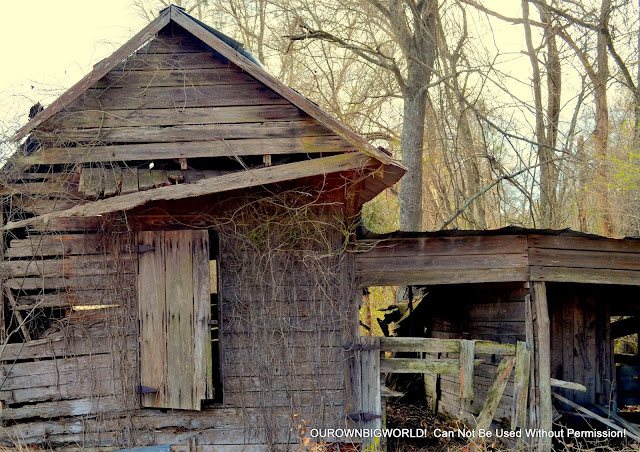
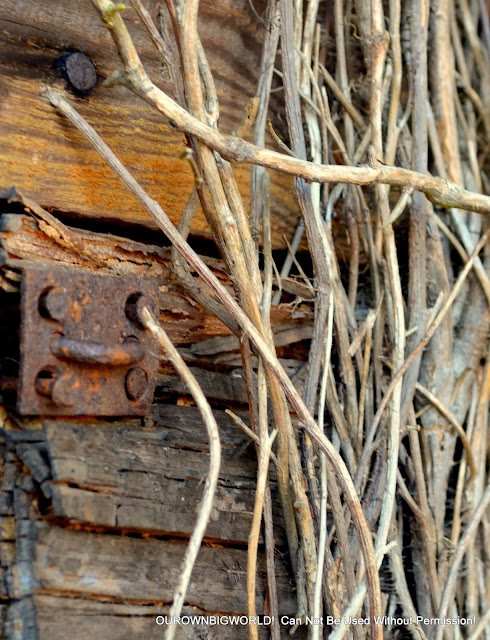
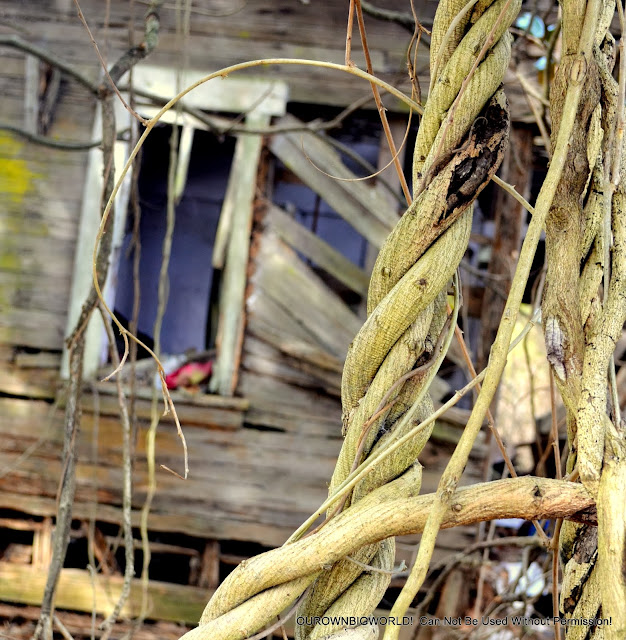
– GLAD I SHOT THIS IN THE WINTER AS THE LEAFLESS VINES ADDS A BIT OF LONELINESS TO THIS OLD LOVE SHACK.
|
 |
| From Old GA Buildings
– WHAT WAS ONCE LOCKED INSIDE THIS OLD GAL? – |
 |
| From Old GA Buildings
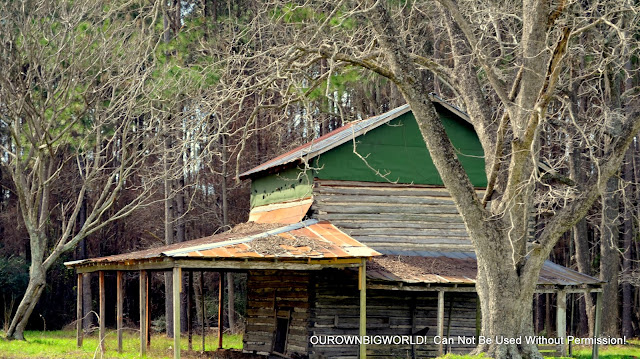
– ONE OF MY FAVORITE SHOTS… A TREE TOOK OVER THIS OLD PLACE. – |
 |
| From Old GA Buildings
– LEFT WITHOUT THE BLUE CURTAINS. – |
 |
| From Old GA Buildings
– AND THIS CHAIR. – |
 |
| From Old GA Buildings
– THE TV WANTED ME TO TAKE IT HOME. – |
 |
| From 20140124_0207
– AND I WANTED TO TAKE HOME THIS CHRISTMAS CANDLE AND BED FRAME! BACK TO THE OUTSIDES! – |
 |
| From Old GA Buildings
– THIS OLDIE WAS NOT LONELY. – |
 |
| From 20140123_0206
– BECAUSE IT WAS RIGHT NEXT TO BUNCHES OF HONEY BEE HIVES! – |
 |
| From 20140123_0206
– I LIKE THE BEE… AND THE BEE LIKES ME AND MUD! –
|
 |
| From Old GA Buildings
– LOVE ALL OF THIS. – |
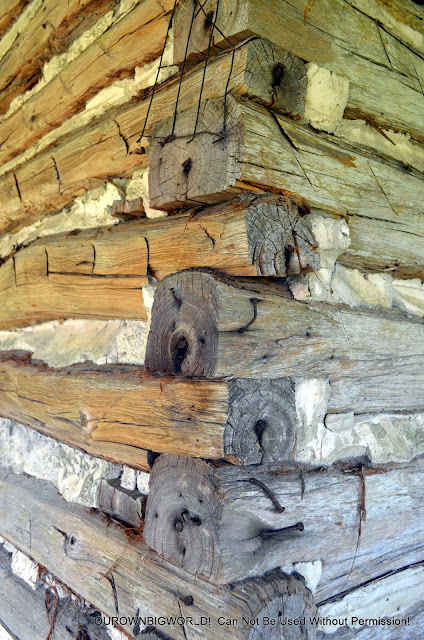 |
| From Old GA Buildings
– LOOK A THOSE INTERLOCKING LOGS! – |
 |
| From Old GA Buildings
– YUMMY WOOD. – |
 |
| From Old GA Buildings
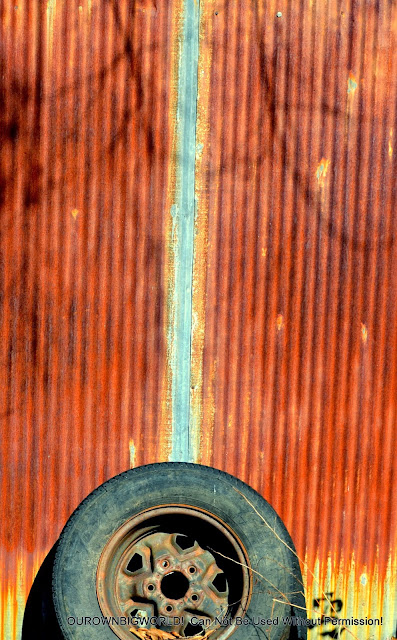
– TIN ROOF… RUSTED! – |
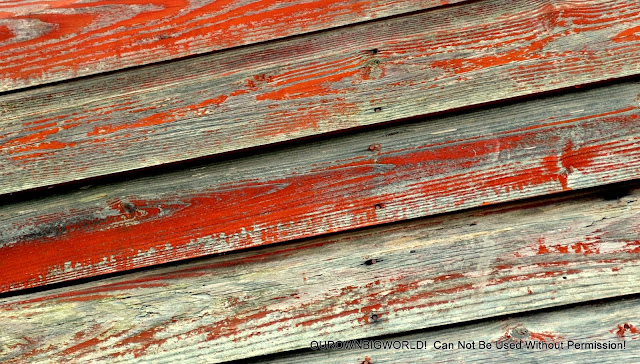 |
| From Old GA Buildings
– PAINTED SO LONG AGO… MAKES FOR NICE PATINA NOW. – |
 |
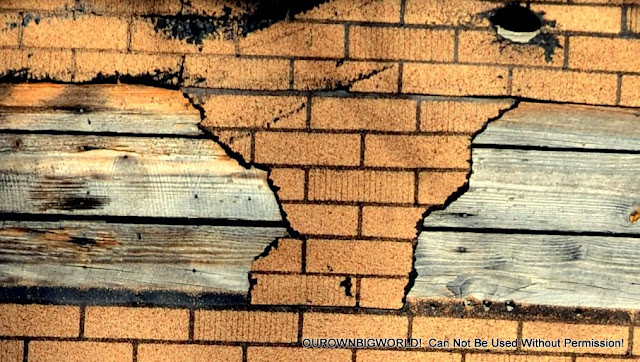
| From Old GA Buildings
– ON THESE OLD BUILDINGS, EVEN FAKE BRICK LOOKS GOOD! – |
 |
| From Old GA Buildings
– DO NOT ENTER! – |
 |
| From Old GA Buildings
– ENTER AT YOUR OWN RISK! – |
 |
| From Old GA Buildings |
I HOPE YOU ENJOYED MY PHOTOS…
AS MUCH AS I ENJOYED TAKING THEM!
Any of these photos are for sale…
Just let me know!
And for other photos and items for sale, please visit OUR OWN BIG WORLD!
—————————————————————————————————————————————————————————————————