Archive for the ‘Upcycle’ Category

UPDATE!  July 19, 2013:  I just found out this, my fav, is closing!  Sad Day for Me!

I giggle just thinking about it!

Introducing….

RENEW SALVAGE !!!

Click and enjoy!

Okay, Okay, you really have to BE THERE to really appreciate it!

So here is a quick tour of the last time I was there!

But first, one of the best things about this place is that it is not only a salvage place, it is an organization to help people to gain needed employable skills.  Love it!

Sorry hub, my new love…

RENEW SALVAGE!

From My New Favorite Place!

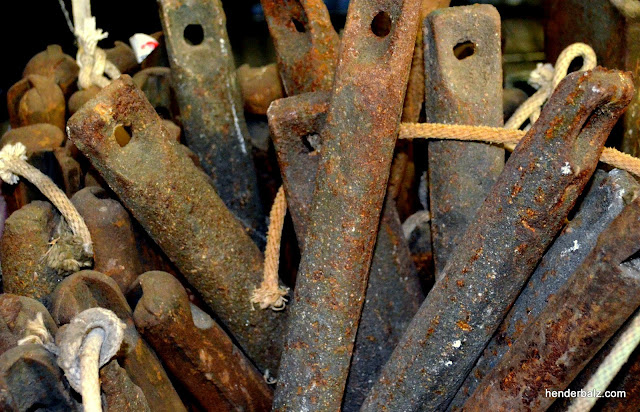
Bunches of wonderfully rusty old window weights!  

Weeee!

From My New Favorite Place!

I can see these sassy sharp blades painted vibrant colors adorning walls around the nation!

From My New Favorite Place!

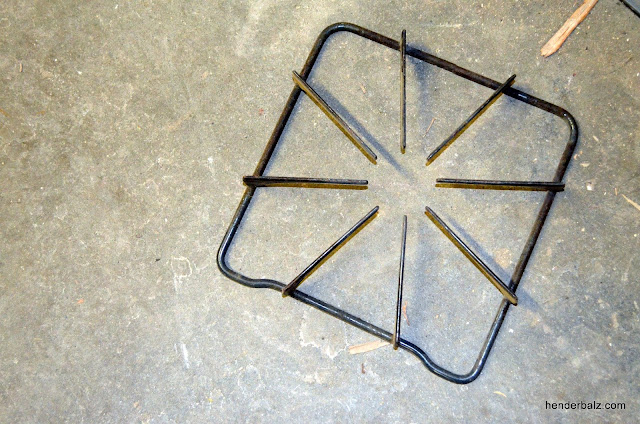
Can you come up with something to do with the these BBQ blasts from the past?

From My New Favorite Place!

I have a neato idea for this one, but I will not tell you about it as it will most likely be an upcoming blog post!

From My New Favorite Place!

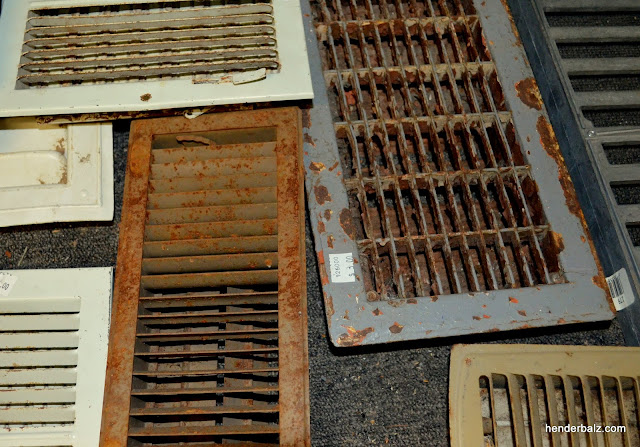
I really like these…one day soon a “GRATE” idea will come to mind!

From My New Favorite Place!

Love the coloring of the rust on these shovels who are now waiting for a new life!

From My New Favorite Place!

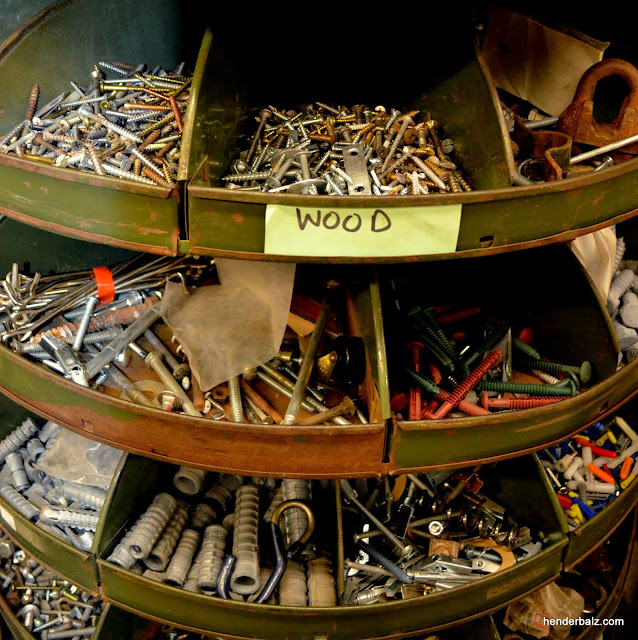
Thingies, widgets, pieces and bits are useful…for something!

From My New Favorite Place!

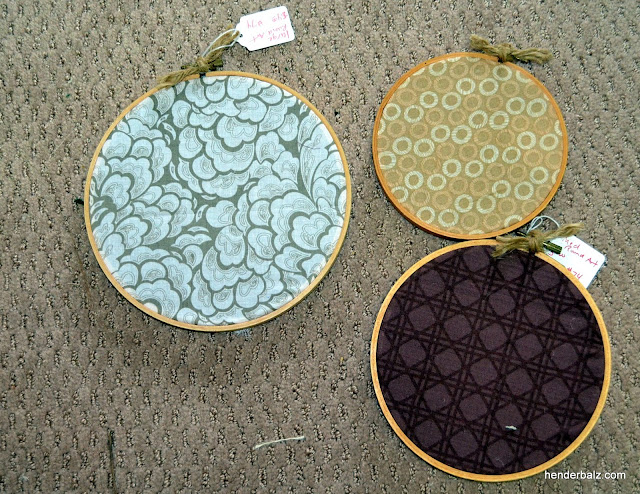
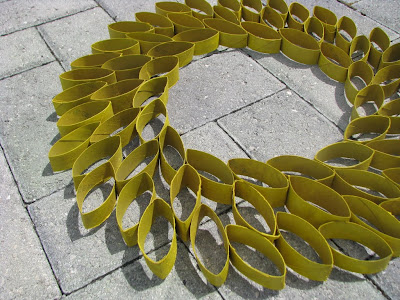
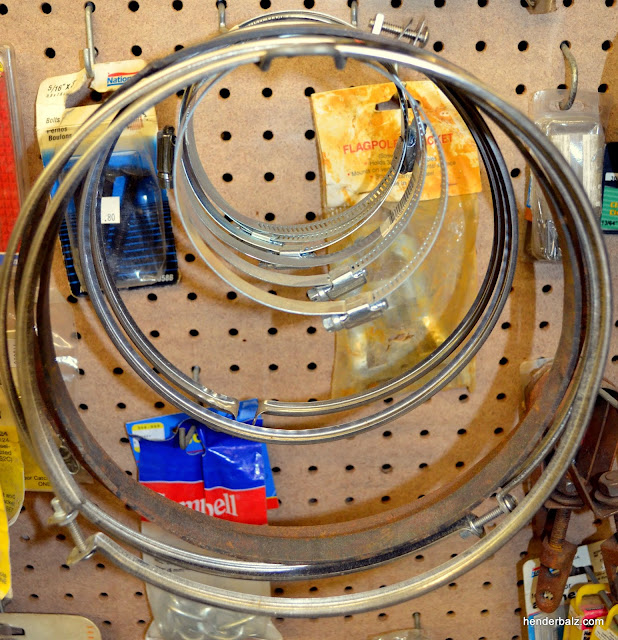
I love the needlepoint hoop.  I just may have to switch to these circular sassy’s…for future pieces!

From My New Favorite Place!

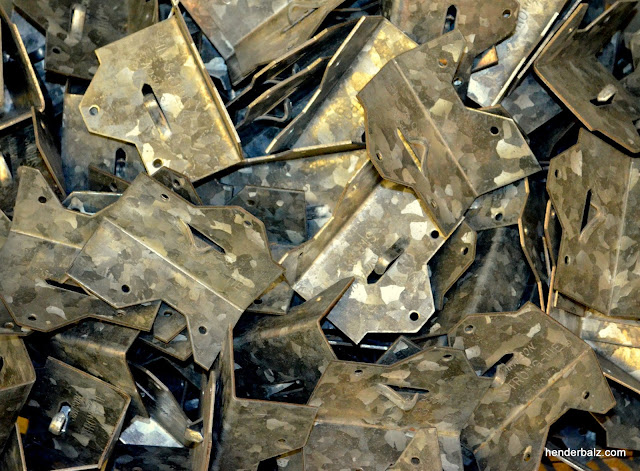
I will just say, “Galvanized Metal!”

From My New Favorite Place!

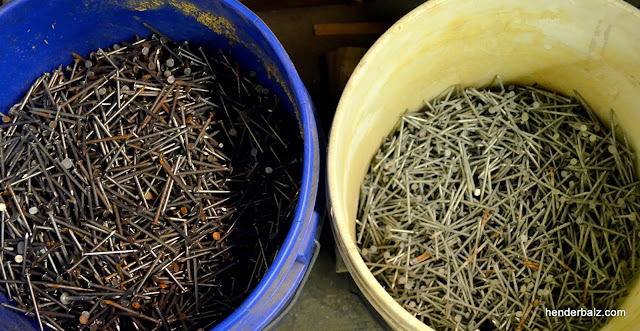
Does anyone love nails…. Like I do?

From My New Favorite Place!

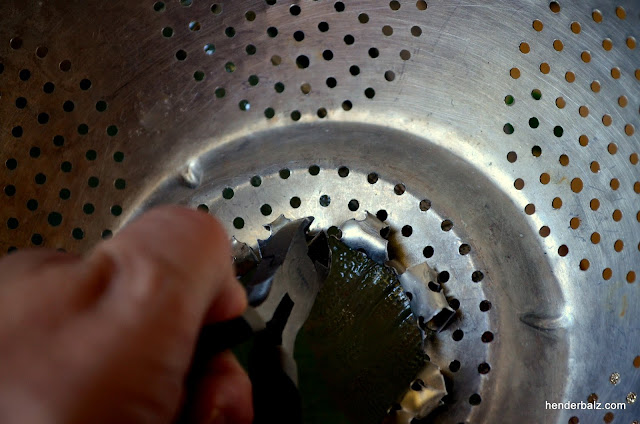
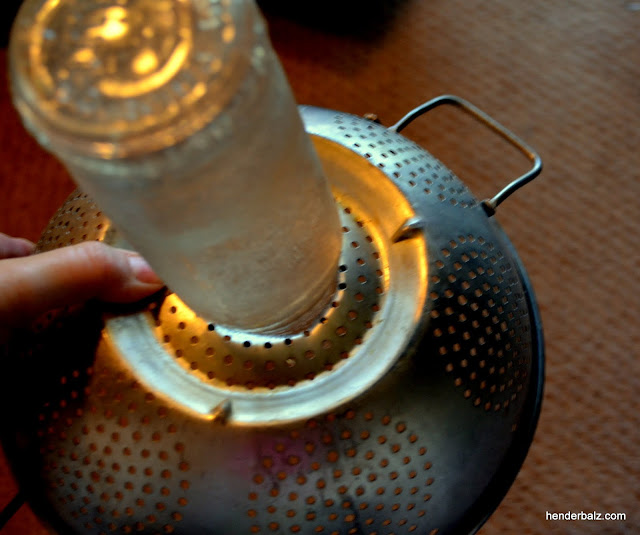
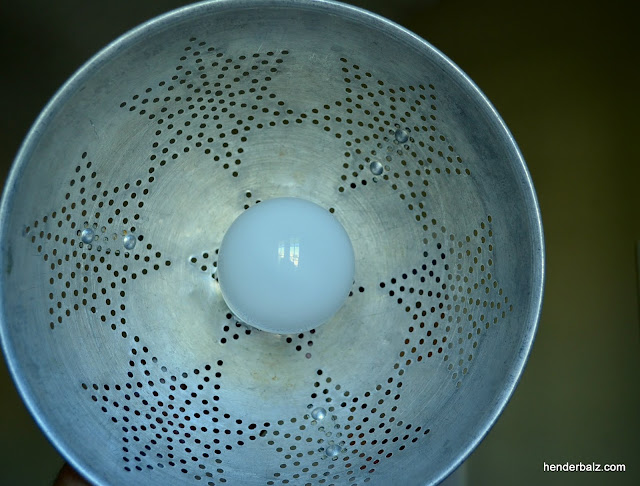
Could make a cool light, eh?

From My New Favorite Place!

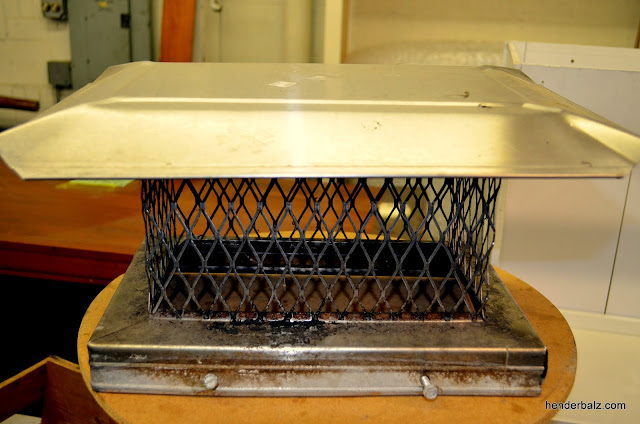
And this one is just fun…let your imagination go wild!

From My New Favorite Place!

I see a bird house, do you?

From My New Favorite Place!

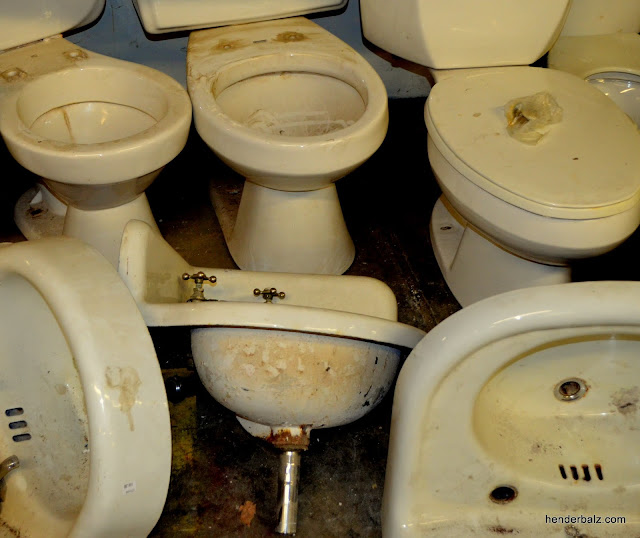
And what is not fun about a bunch of Periclean?

From My New Favorite Place!

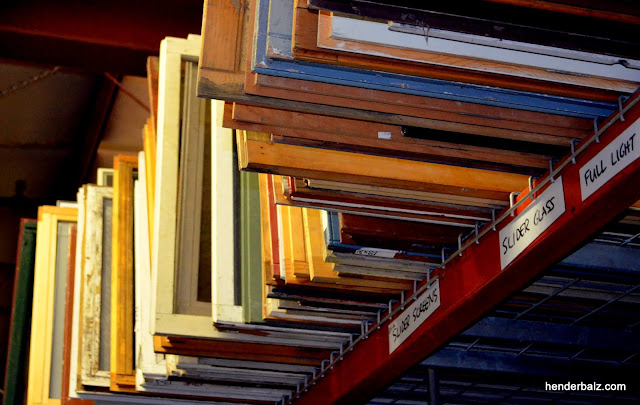
Windows and Doors…Windows and Doors!

From My New Favorite Place!

Love the shine!

From My New Favorite Place!

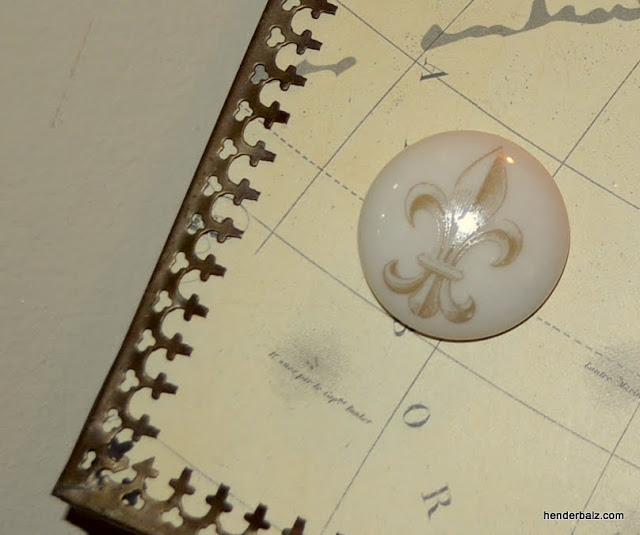
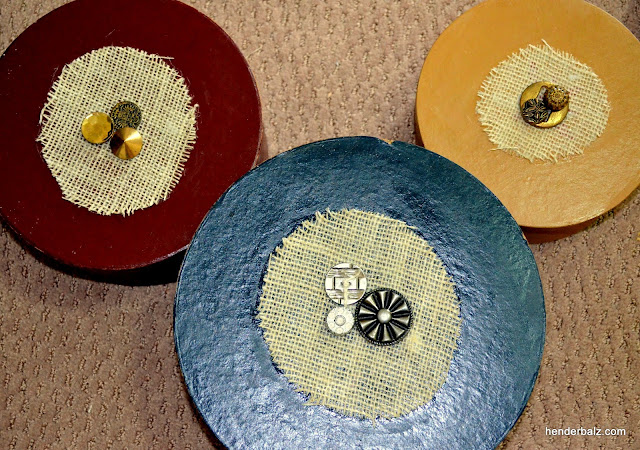
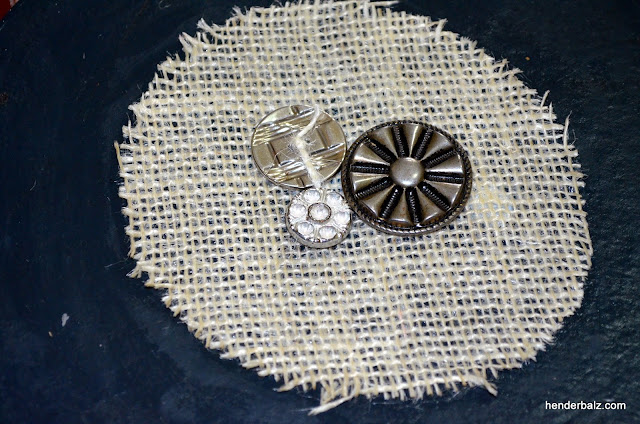
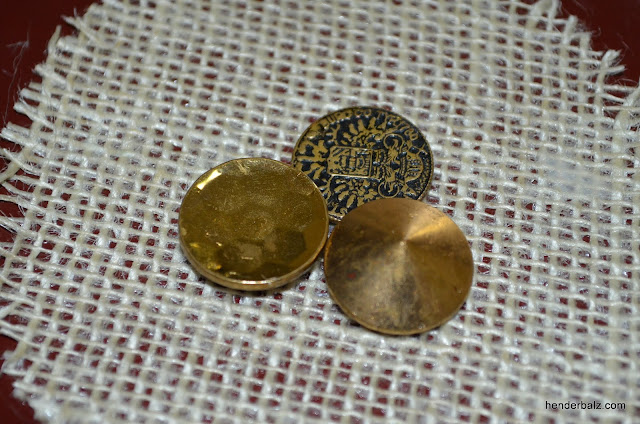
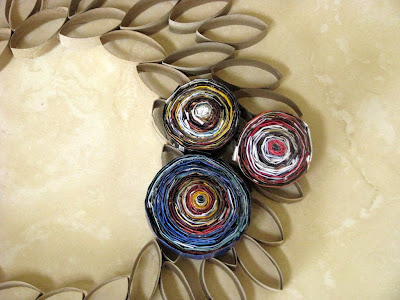
And I think these are just tiny piece’s of art!

Not only did I buy pieces for my projects, I even bought a vintage handmade wood tool box for Jim!  He loved it!

And get this…everything is on sale until Spring!

Give me a…Wooo Hoooo!

Find a renew shop, a salvage warehouse or even a Habitat for Humanity Restore (which just happens to be Jim’s favorite place) in your area.

And recycle the old and give it a new life!

———————————————————————————————————————————————————————-

RSVP-Stamp-6

UPCYCLE LIGHT!

From Vintage Strainer Lamps!

EASY PEASY!

From Vintage Strainer Lamps!

To start the hole, I used pliers and a hammered it just a bit in the centered dot in the centered star of the bottom of the strainer.

You can see the finished hole in the photo.

Oh, and yes, those pliers have a pink rhinestone on them!

From Vintage Strainer Lamps!

To help enlarge the hole, I snipped from the inside with wire cutters.

From Vintage Strainer Lamps!

Then I would push this vintage soda bottle into the hole to make it more round!

From Vintage Strainer Lamps!

Picked these up at IKEA for $5.00 each the other day!

From Vintage Strainer Lamps!

Put lighting through hole, put in lightbulb…

From Vintage Strainer Lamps!

And there you have it…and cool hanging lamp that casts spotted star shapes!

From Vintage Strainer Lamps!

That was fun!

But I was not done creating!

Back to Gnome Christmas Trees!

From Vintage Strainer Lamps!

I so need a gnome for under that tree!

From Vintage Strainer Lamps!

Now, let’s see if these things sell!

———————————————————————————————————————-

I have a thing for circles, balls, orbs, globes, pizzas…anything round!

So I buy needlepoint hoops, lots and lots of needlepoint hoops.

Mind you, I do not do needlepoint!

But I do love cool retro looking material.

So, I put the two together and this is what I got!

From Button Up

This little cutie consists of three different size hoops, 3 different sample pieces from JoAnne’s and some twine.

I did glue them together, so it is a just hang one thing wall decoration!

Note to self, iron material next time!

For those that can not commit to 3…I give you this:

From Button Up

Not attached for cases where just one or two will do!

PS…the lint and stuff on the floor do not come with hoops!

I have saved the largest hoops (one really big…others quite large) for the wall on our new dining room.

Now on to something different.

I like frames, and I could not pass up this little metal one with tiny crosses!

From Button Up

I found a map, which I also love..and this little fleur de lis was calling my name.

From Button Up

All together, and they make an interesting conversation piece!

Circles, Frames and Maps…I wish I only like those 3 things!

Whatever it is for you…find new uses for your favorites!

———————————————————————————————————————————————————————-

Buttons aren’t just for clothing anymore…

Especially cool old Buttons!  

I pulled out my small collection the other day when I wanted to snazz up a few other things.

And here is how it went!

The below were just plain old round colored cardboard boxes.

From Button Up

AND NOW THEY ARE FANCY RESPECTABLE DECORATIVE CONTAINERS!

So easy…old buttons and some burlap!

From Button Up

Oh, and Mod Podge, gotta love the Mod Podge!

Wait, and some glue!

I used the Modge Podge to adhere the burlap and after that was dry, I glued on the buttons.

From Button Up

Sassy & Brassy!

From Button Up

Golden Girls!

They were so cute, I did not stop there!

From Button Up

This nice piece of pottery had the word “Utensils” across the front.

Why? I mean, if the utensils were in it, couldn’t you tell what was in it?

So, I got rid of it and prettied it up with some vintage white buttons!

From Button Up

I really like how it came out!

Can’t wait to use it now!

Any button will do…glue it on, sew it on, or even use wire for jewelry…

JUST BUTTON UP!
———————————————————————————————————————————————————————-

I have been collected leather belts from thrift stores, for this very thing!

I had to wait for the chair!

The chair finally came my way!

From Belt Chair

After I shined the wood up, I took off the seat!

From Belt Chair

My trusted basket of leather belts, don’t you have one?

From Belt Chair

Then I was a’belt weaving away!

From Belt Chair

Not sure if I will keep the belts on this chair or not yet…

as well if I should cut the ends of the belt off or let them hang!

From Belt Chair

Love how the colors in the belts bring out the colors in the wood!

From Belt Chair

Belt Weave!

From Belt Chair

I think this technique turns a plain chair into a conversation/center/art piece!

I love the chair so much…I think I am not going to leave the belts on it as the shape of the back and the wood speak for themselves.

So, I will go back to waiting for the perfect chair again!

———————————————————————————————————————————————-

What do you do when you have a funky piece of “art” in an old cool frame?

From String Weaving Art

Find some string…

From String Weaving Art

And…

START TO MAKE SOME ART!

From String Weaving Art

Figure out your design…

From String Weaving Art

And your color pallet!

From String Weaving Art

Oh, and we can’t forget…

The Accessories!

From String Weaving Art

String and Felt Flowers!

From String Weaving Art

I have to admit…I luuurve these!

From String Weaving Art

Now find the perfect place for the flowers!
(Ahem…maybe where you may think there are imperfections…Maybe?)

From String Weaving Art

And there you have it…

A new bright cheery piece!

From String Weaving Art

And yes…everything is for sale!

But right now…

It is happily placed on the wall in our living room until I am ready to let it go!

————————————————————————————————————————————————————————-

Sometimes I buy things that I have to take apart to make  better!

This is a story about a cute little metal basket with some fake flowers stuck inside it.

From Tear Down & Build Up Craft

I freed the basket!

And made something from the removed “stuff!”

From Tear Down & Build Up Craft

I love decorative balls, but I have never made one for myself.

So, to add this “mossy” one to my collection, that I made, is quite exciting!

From Tear Down & Build Up Craft

And now, how cute is this metal wire basket?

From Tear Down & Build Up Craft

And I will use the flowers for displaying my “book” vases!

For 75 Cents, I got a basket, a ball, and extra flowers to boot!

———————————————————————————————————————————————————————-

100% FROM RECYCLED MATERIALS…

AND IT LOOKS GOOD!

UPCYCLING AT ITS BEST!

From How To – Wreath

AND DOES NOT SMELL!

SUPPLIES YOU WILL NEED:

– Toilet Paper and/or Paper Towel Rolls (lots of them)
– Old Magazines
– Glue Gun
– Scissors
– Spray Paint
– A paper plate

START CREATING!

From How To – Wreath

1) CUT ROLLS!

Toilet Paper rolls can be cut into 5 pieces. They do not need to be perfect or the exact same size.

The paper I buy seems to stick to the roll at the end, and taking it off is the hardest part of the whole thing!

2) START DESIGNING WREATH!

From How To – Wreath

Start to lay pieces around the plate.

From How To – Wreath

Get your design down.

From How To – Wreath

3) GLUE PIECES TOGETHER!

From How To – Wreath

4) START YOUR MAGAZINE PAPER FLOWERS!

From How To – Wreath

Tear out pages of magazines, I go for the most colorful. I cut each page into 3 strips.

4) FOLD STRIPS OF MAGAZINE PAGES.

From How To – Wreath

Fold them in the width that you would like your flower to be. Honestly, they do not need to be the same size…I just fold them up, and used the glue gun to keep the edges down. I have done it without gluing them down…saves some time.

5) ROLL YOUR FLOWERS!

From How To – Wreath

Just start rolling. I glue down the last edge of a strip and then the beginning of the next edge strip. And you can make them as big or as small as you want!

From How To – Wreath

6) LAY OUT WHERE YOU WANT THE FLOWERS TO BE ON YOUR WREATH.

From How To – Wreath

Do not glue yet!

7) SPRAY PAINT YOUR WREATH.

From How To – Wreath

I picked yellow, which worked well on that white paper, but did not come out that yellow on the brown paper rolls!
So pick your color wisely, or test it. Or you can just go plain…I have another piece hanging in my living room with no color!

From How To – Wreath

Let Dry!

8) ATTACH YOUR FLOWERS!

From How To – Wreath

CONGRATS!

You made yourself a Garbage Wreath! Made art and saved stuff from the landfill!
———————————————————————————————————————————————————————-