I have to say it is way easier than Basket Weaving 101 !
Just a bit of background. I have been known to write a children’s book or two. They just sit in the wonder world that is called “My Computer.” I decided to give two to my twin nieces for their upcoming 7th birthday. And decided to have wrap them up in book form to boot
This is a double first, my first hand at making a book and my first “How To” for this blog!
 |
| From The Books I Made |
My First Book!
I have to be honest, my “artwork” is not up to par since this was my first book, I did not spend a lot of time on it in case they did not come out good at all. I feel my books came out just okay, but I am still proud of them and my nieces will get them as is and they will like them, damnit!
BUT in this post I will give you suggestions on how to make yours better!
YOU WILL NEED:
– Old book (for the cover)
– A story (or not, if you want to make a blank journal)
– Double Stick Fusible Tape (Used to adhere pages together).
– Craft paper (or any kind paper)
– Art supplies (for any decorations on your pages)
– Mod Podge
– Glue gun (Used to adhere the fused pages to the cover binding)
– Scissors
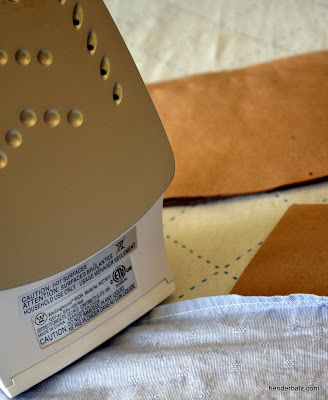
– An iron (for fusible tape)
Ready, Set, Book Make!
1) Detach bound pages from cover! I used X-Acto Knife and cut along where the pages are bound to the cover.
 |
| From HOW TO MAKE A BOOK! |
I love the inside of this book, can’t believe I am covering it up. And by the way…this is the first book I have ever damaged! It was hard, but I got over it!
2) Size and cut pages! I made mine double size and then fold them over (less fusing pages together later).
3) Folding paper in half for true page size. Press hard on the fold. I used the handle part of the scissors to do so.
*IMPORTANT* Set aside two of the folded non-fused together pages, to help attach your bound pages to the front and back covers of your book cover.
 |
| From HOW TO MAKE A BOOK! |
Ha, I am sure this photo is really helping you get the point!
4) Fuse/adhere folded pages together.
 |
| From HOW TO MAKE A BOOK! |
I put the “tape” on one folded page and then lined up the next page carefully (so the pages are all even) on top. I then ironed them together under some light cotton material. Once I got them all fused together, I then fused the sets of two folded pages together. I kept on doing this until all my pages were fused together. My books were only around 25 pages, if you are not counting both sides. I would imagine if you had a 100 page book, the ironing would not work anymore which leads me to give you other options on adhering.
– Glue gun
– Other strong glues made for paper
– Sewing
– Punching holes and tying the pages together
– Grommets
 |
| From HOW TO MAKE A BOOK! |
Search for the above options on the internet, and I am sure you will find how do it! I was thinking about sewing my pages together, but found the fusible tape in my sewing box! So, I went for it. And it worked!
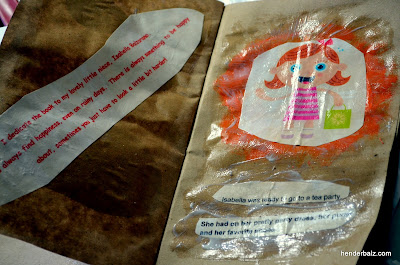
5) Put any artwork on your pages. I Mod Podge’d my paper pieces, and I am not sure if I like it that well.
 |
| From HOW TO MAKE A BOOK! |
I may use it again, by just putting the Mod Podge on the back of the paper and not over the top of it. Any other glue for paper would work well I am sure.
 |
| From HOW TO MAKE A BOOK! |
Here it is still wet, but you get the point. Oh, I started off with glossy Mod Podge and moved to Matte very quickly!
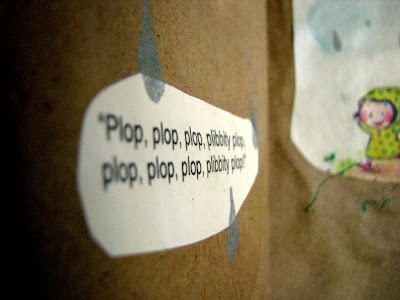
Below are some examples my “art” around the graphics.
 |
| From The Books I Made |
—
 |
| From The Books I Made |
—
 |
| From The Books I Made |
You need to let everything dry very well. Another problem with using Mod Podge over most of the page, in any kind of humid air, the pages may stick together just a bit.
6) Adhering the bound pages to the cover! Sorry, no photo, but I smothered glue gun glue in the binding center part of the cover and on the bound edges of the pages. I held them together tightly until the glue was completely dry. This, so far, has worked well for me. But I will let you know later, how long they stand up to 7 year olds!
7) Adhere your 2 left over pages to the front and back of the book cover.
See #3 if you do not have these set aside pages!
 |
| From The Books I Made |
The tricky part of this is making sure the paper page is the exact right size of the inside cover. If you notice in the above photo, I did not do that, but then I used extra strips of paper to cover the edges. As you can see, that looks okay!
Since I do not have photos, I hope you understand how I describe it!
I Mod Podge’d the back of the right side of the extra folded page to the first page of the bound pages. Then after it dried, I attached the appropriate side to the inside of the front cover. This worked okay, but with Mod Podge you may get some wrinkle. Maybe some spray glue might work better, but it has to be a strong glue as it is helping to keep your pages in the book!
I made the mistake of again putting Mod Podge on both sides of the paper and it just does not look that great! Don’t do it!
Now…
Congratulations, you made a book!
 |
| From The Books I Made |
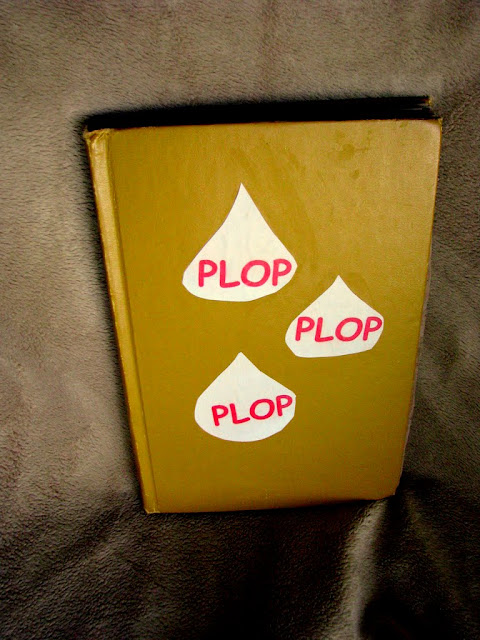
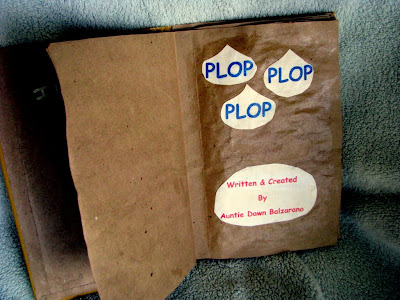
I put the names of my stories on the front on the books! So the girls know they are not going to read books called “Circus” and “Harper Women.”
Hope you enjoyed this post.
I enjoyed making these books even though they did not come out perfect!
And you will never see me doing this for my 120 page children’s adventure/mystery novel!
 |
| From HOW TO MAKE A BOOK! |
Me in the “Craft Office” finishing up the book presents!
———————————————————————————————————————————————————————-

